 Call us at 1-888-GTCOMM1


Website performance and uptime are very crucial for heavy websites nowadays. Setup HAProxy Load Balancer on Debian 10 would be a good way to achieve your website loading goal. HAProxy is an open-source load balancer and proxy server that can be used to distribute web applications across multiple hosts. It is specially designed for very high traffic websites for better performance, availability, and redundancy. HAProxy works by distributing the server load to multiple backend servers using the load balancing algorithm. It is used by many companies including, Twitter, Tumblr, GoDaddy and Amazon.
In this tutorial, we will show you how to setup HAProxy load balancing with two web servers on Debian 10.
Requirements
- One server running Debian 10 for HAProxy.
- Two servers running Debian 10 with a web server installed and configured.
- A static LAN between the HAProxy and the two web servers. In the tutorial we configured IP address 192.168.0.4 on HAProxy server, 192.168.0.10 on Webserver1 and 192.168.0.11 on Webserver2.
Getting Started
Before starting the setup HAProxy Load Balancer on Debian 10, update your server with the latest version by running the following command:
apt-get update -y && apt-get upgrade -y
Once your server is up-to-date. Restart it to apply the changes, if needed.
Install HAProxy
By default, HAProxy package is not available in the Debian 10 default repository. So you will need to add the repository for that.
First, install curl and download the GPG key for HAProxy with the following command:
apt-get install curl -y

curl https://haproxy.debian.net/bernat.debian.org.gpg | apt-key add -
Next, add the HAProxy repository to APT with the following command:
echo "deb http://haproxy.debian.net $(lsb_release -cs)-backports-2.0 main" | tee /etc/apt/sources.list.d/haproxy.list
Then, update the repository and install HAProxy with the following command:
apt-get install haproxy=2*
Once installed, you can check the version of HAProxy with the following command:
haproxy -v
It should show the following output:
HA-Proxy version 2.0.5-1~bpo10+1 2019/08/22 - https://haproxy.org/
You can also check the HAProxy service using the following command:
systemctl status haproxy
Then you should see the following output:
@page { size: 8.5in 11in; margin: 0.79in } p { margin-bottom: 0.1in; direction: ltr; color: #000000; line-height: 120%; text-align: left; orphans: 0; widows: 0; background: transparent } p.western { font-family: "Liberation Serif", serif; font-size: 12pt; so-language: en-IN } p.cjk { font-family: "Droid Sans Fallback"; font-size: 12pt; so-language: zh-CN } p.ctl { font-family: "FreeSans"; font-size: 12pt; so-language: hi-IN } a:link { color: #000080; so-language: zxx; text-decoration: underline }
 ● haproxy.service - HAProxy Load Balancer
   Loaded: loaded (/lib/systemd/system/haproxy.service; enabled; vendor preset: enabled)
   Active: active (running) since Mon 2019-09-09 01:15:46 EDT; 8min ago
     Docs: man:haproxy(1)
           file:/usr/share/doc/haproxy/configuration.txt.gz
 Main PID: 2088 (haproxy)
    Tasks: 2 (limit: 1138)
   Memory: 1.9M
   CGroup: /system.slice/haproxy.service
           ├─2088 /usr/sbin/haproxy -Ws -f /etc/haproxy/haproxy.cfg -p /run/haproxy.pid -S /run/haproxy-master.sock
           └─2089 /usr/sbin/haproxy -Ws -f /etc/haproxy/haproxy.cfg -p /run/haproxy.pid -S /run/haproxy-master.sock


 Sep 09 01:15:46 debian systemd[1]: Starting HAProxy Load Balancer...
 Sep 09 01:15:46 debian haproxy[2088]: [NOTICE] 251/011546 (2088) : New worker #1 (2089) forked
 Sep 09 01:15:46 debian systemd[1]: Started HAProxy Load Balancer.
Configure HAProxy
Next, you will need to Setup HAProxy Load Balancer on Debian 10 for load balancing. You can achieve this by editing file /etc/haproxy/haproxy.cfg.
nano /etc/haproxy/haproxy.cfg
First, you will need to add the Frontend section to defines the IP addresses and ports that clients can connect to. You can add your HAProxy server IP address and port 80 as shown below:
 frontend Local_Server

  bind 192.168.0.4:80

  mode http

  default_backend Web_Servers
Then, you will need to add Backend web servers that will be load balanced and assigned to handle requests. You can add your web servers IP as shown below:
 backend Web_Servers

  mode http

  balance roundrobin

  option forwardfor

  http-request set-header X-Forwarded-Port %[dst_port]

  http-request add-header X-Forwarded-Proto https if { ssl_fc }

  option httpchk HEAD / HTTP/1.1rnHost:localhost

  server webserver1.example.com  192.168.0.10

  server webserver2.example.com  192.168.0.11
Next, add the following lines to enable Haproxy statistics to monitor HAProxy from the web browser.
 listen stats

  bind 192.168.0.4:8181

  stats enable

  stats hide-version

  stats refresh 30s

  stats show-node

  stats auth admin:admin@123

  stats uri  /stats
Save and close the file when you are finished. Then, restart the HAProxy service to apply the configuration changes:
systemctl restart haproxy
Check HAProxy Load Balancing
Now, open your web browser and type the URL http://192.168.0.4:8181/stats. You will be redirected to the HAProxy statistics login page as shown below:
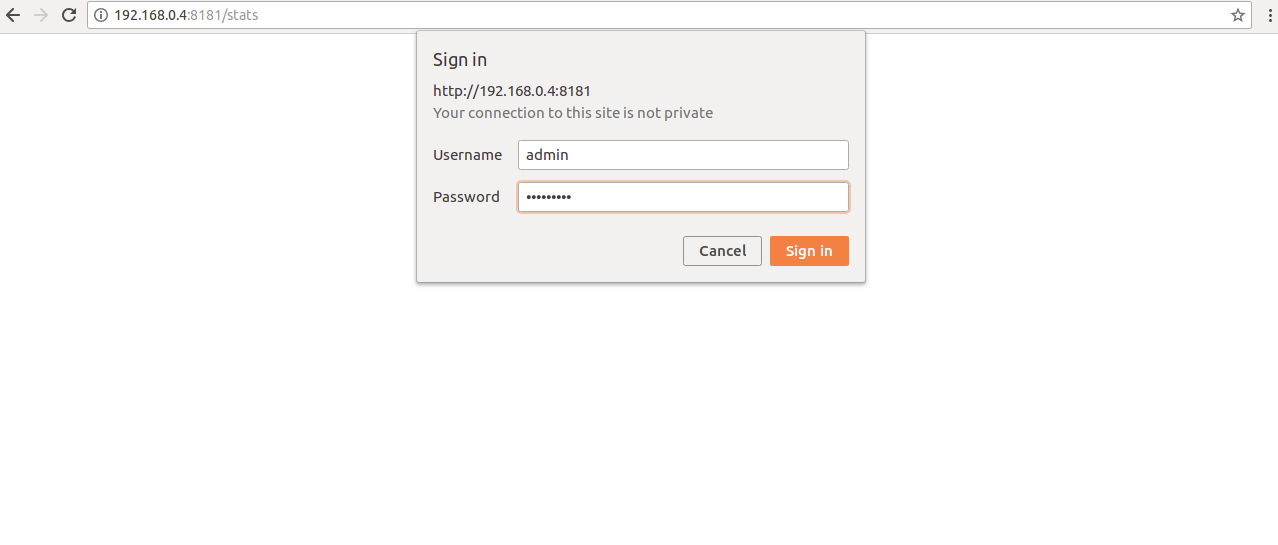
Provide username and password which you have defined in HAProxy configuration file and click on the Sign in button. It will log you into the HAProxy statistics dashboard in the following screen:

You can now also access your web servers by typing the URL http://192.168.0.4 in your web browser and refresh the page. You should see your backend web servers one by one as shown below:
First Web:

Second Web server:
Conclusion
Congratulations! You have successfully configured HAProxy load balancing server on Debian 10. You can now increase your web server performance by experimenting with different configurations.
For more information, you can visit the HAProxy documentation at HAProxy.

