Call us at 1-888-GTCOMM1

Version control is very useful software in today’s software development environment. It helps developers to work together and manage the history of the work. You can easily recover your lost file using the version control system.
Git is a free, open-source and most popular version control system that allows you to store your code on the cloud. It offers very useful features that make it easier for multiple users to work on the same project. It allows you to track every change made by users and also able to revert the changes to the previous version.
In this tutorial, we will show you how to Install Git On Ubuntu 18.04
Requirements
- A server running Ubuntu 18.04
- ROOT access to the server
Install Git From Ubuntu Repository
In this section, we will show you how to install Git from the Ubuntu default repository.
By default, Git is available in the Ubuntu 18.04 default repository. You can install it by just running the following command:
apt-get install git -y
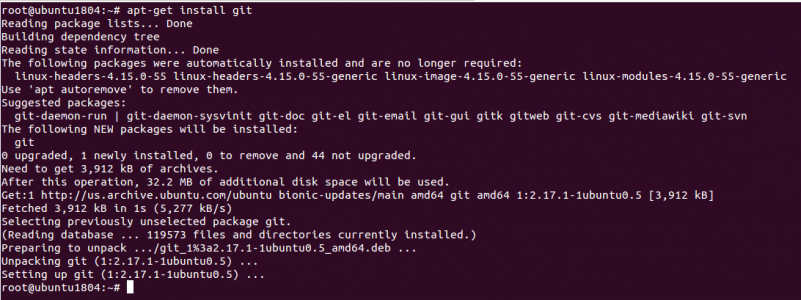
After installing Git, you can verify the installed version of Git with the following command:
git --version
You should see the following output:
git version 2.17.1
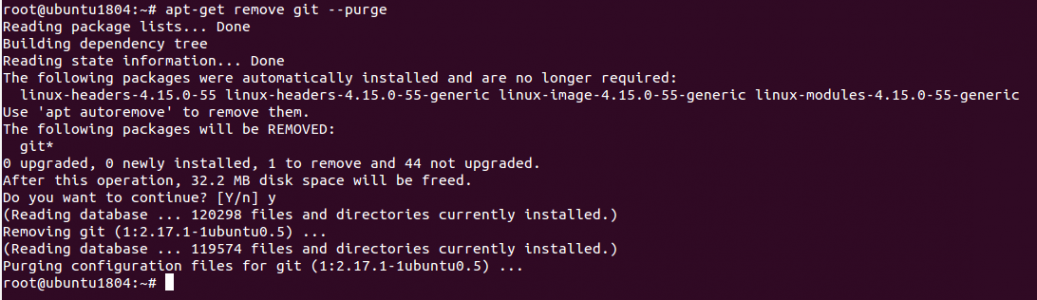
If you don’t need Git, you can remove it with the following command:
apt-get remove git –purge
Install Git From Source
If you want to install the specific version of Git then one of the easiest ways to install the Git from the source.
First, you will need to install required dependencies to compile Git from the source. You can install all of them with the following command:
apt-get install make libssl-dev libghc-zlib-dev libexpat1-dev gettext libcurl4-gnutls-dev unzip -y
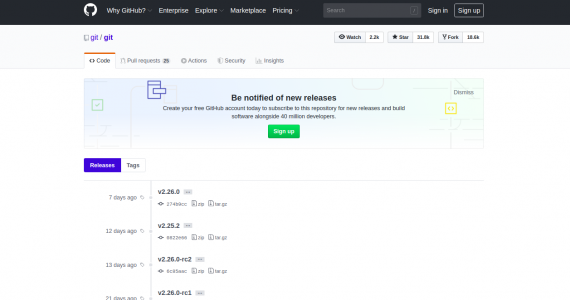
Once all the packages are installed, visit the Git official release page as shown below.
Next, download the latest version of the Git with the following command:
wget https://github.com/git/git/archive/v2.26.0.zip
Once the download is completed, unzip the downloaded file with the following command:
unzip v2.26.0.zip
Next, change the directory to the extracted directory and run the following command to compile and install it on your system.
cd git-2.26.0
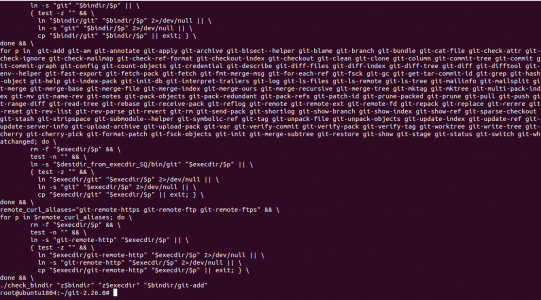
make prefix=/usr all
make prefix=/usr install
Once the Git has been installed successfully, you should see the following screen:
Next, verify the version of Git with the following command:
git --version
You should see the following output:
git version 2.26.0
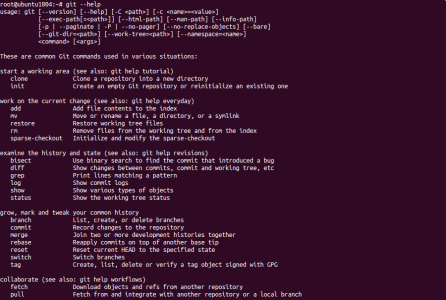
You can also list all options available with Git using the following command:
git --help
You should see the following screen:
Configure Git
Next, you will need to configure Git to define your personal information.
You can define your global username and email address with the following command:
git config --global user.name "GloboTech Communications"
git config --global user.email "sysadmin@globo.tech"
You can see your all settings with the following command:
git config --list
You should see the following output:
user.name=GloboTech Communications
user.email=sysadmin@globo.tech
By default, Git stores all the configuration information in ~/.gitconfig file. You can see it with the following command:
cat ~/.gitconfig
You should get the following output:
[user]
         name = GloboTech Communications
         email = sysadmin@globo.tech
Conclusion
In the above guide, you learned In this tutorial, we will show you how to install Git On Ubuntu 18.04 from the repository and install it from the source. I hope you can now easily install Git in the production environment. For more information, visit the Git documentation at Git.