 Call us at 1-888-GTCOMM1
How to Use Our WordPress One Click App
As a small business, your biggest obstacle on the road to success is getting your product or service out there. You could have the next big thing on your hands, but if you have no way of effectively advertising what you’ve got, then you won’t be able to build your business. That’s where we come in. At GloboTech, we specialize in making you look awesome. We keep on top of the latest innovations and leave no stone unturned when it comes to promoting you. In this post, we’re going to look at how you can take advantage of our easy-to-use WordPress One Click App to get you that much closer to making your first million and giving a super inspiring TED talk. Let’s get started with how to login.
Login to your GloboTech account
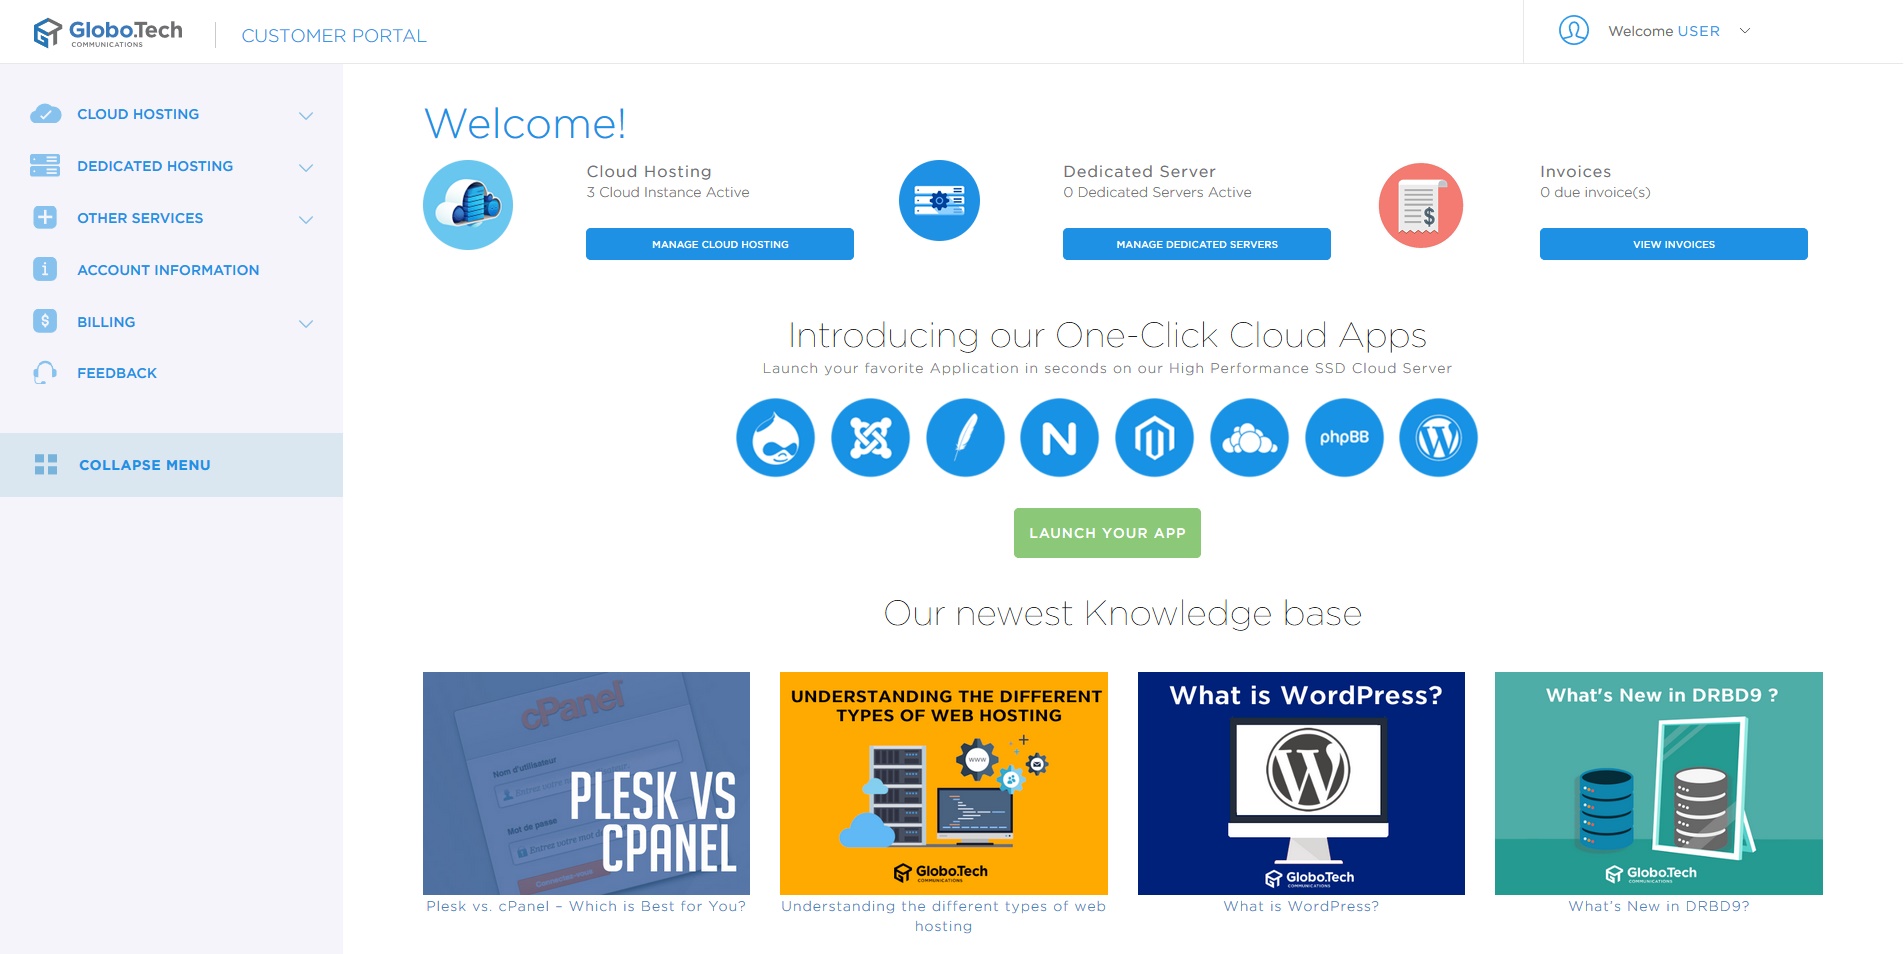
This one’s pretty simple. Just login with your username and password over at https://portal.globo.tech
Deploy your WordPress OCA
What is an OCA?
In simple terms, an OCA consists of a regular system image the same as if you were going to provision an Ubuntu server. The cool thing here is that we’ve set up special images that have your favorite applications pre-loaded into them.
The reason why you’re doing this is that it’ll speed up your setup time and make sure that the system has the right dependencies to accomodate the app.
Creating your Instance
You’re definitely going to want a nifty WordPress image if you want to promote yourself. The way you’ll get this is to click on the “Cloud Hosting” link on the left navigation menu that’s on our portal. After that, you’ll click on “Instances.”
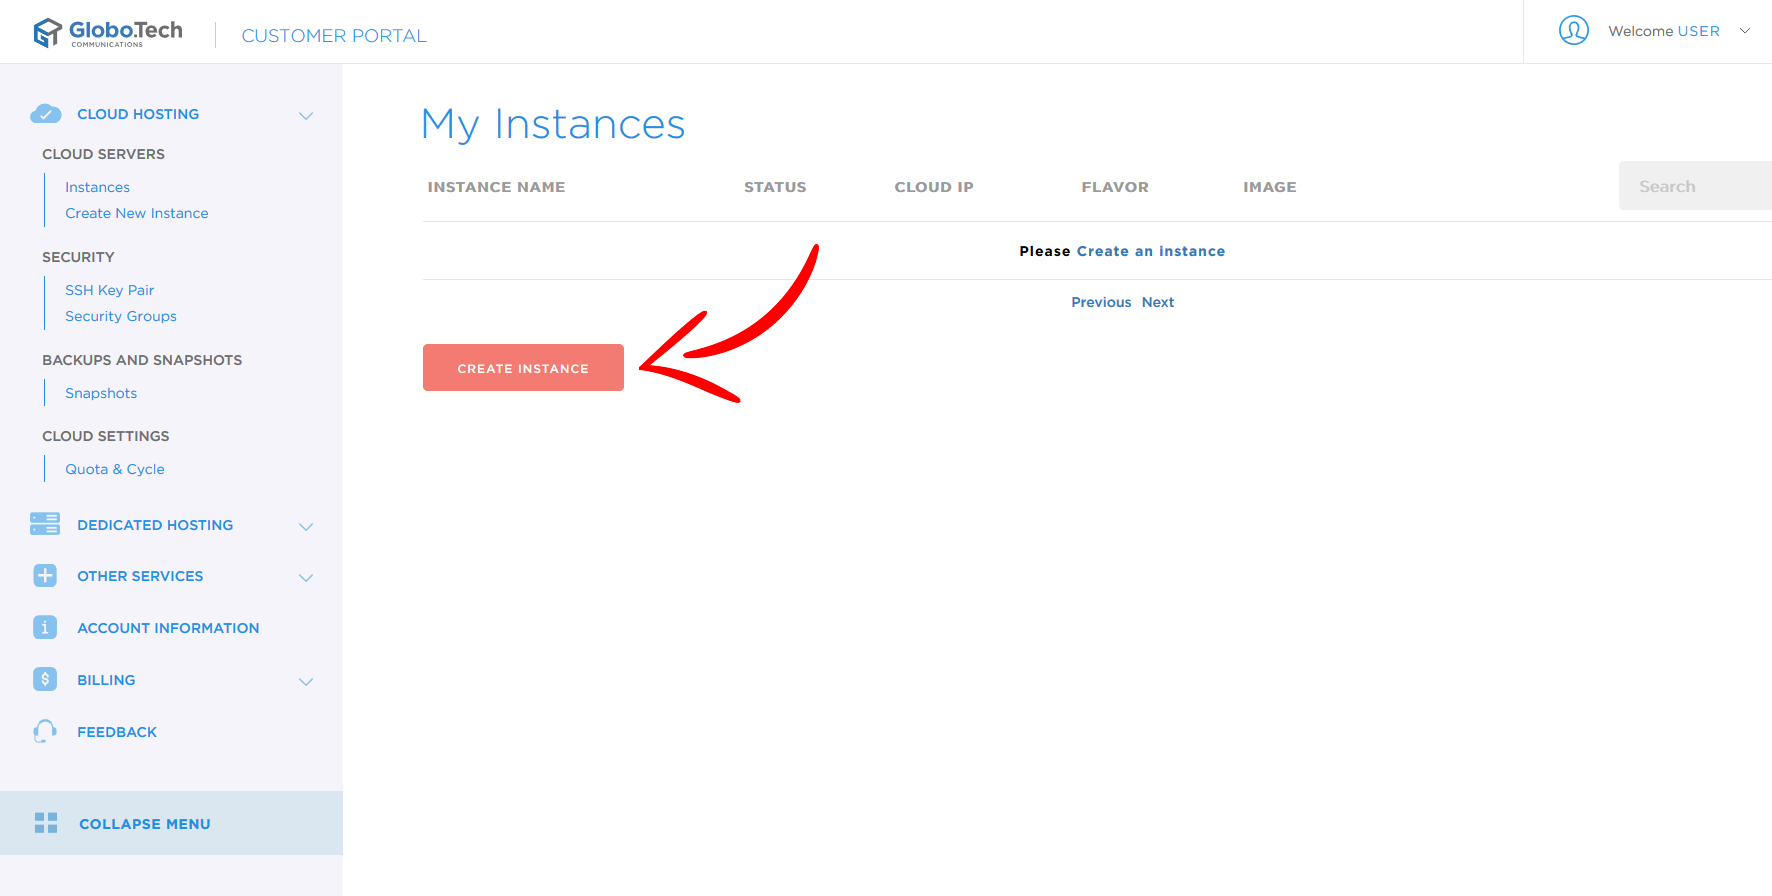
If you’ve already got active instances, they’ll show up here. Self-explanatory, but you’ll then want to click on “Create Instance.”
At this point, you’re on the instance creation page. We’ll explain the various fields below.
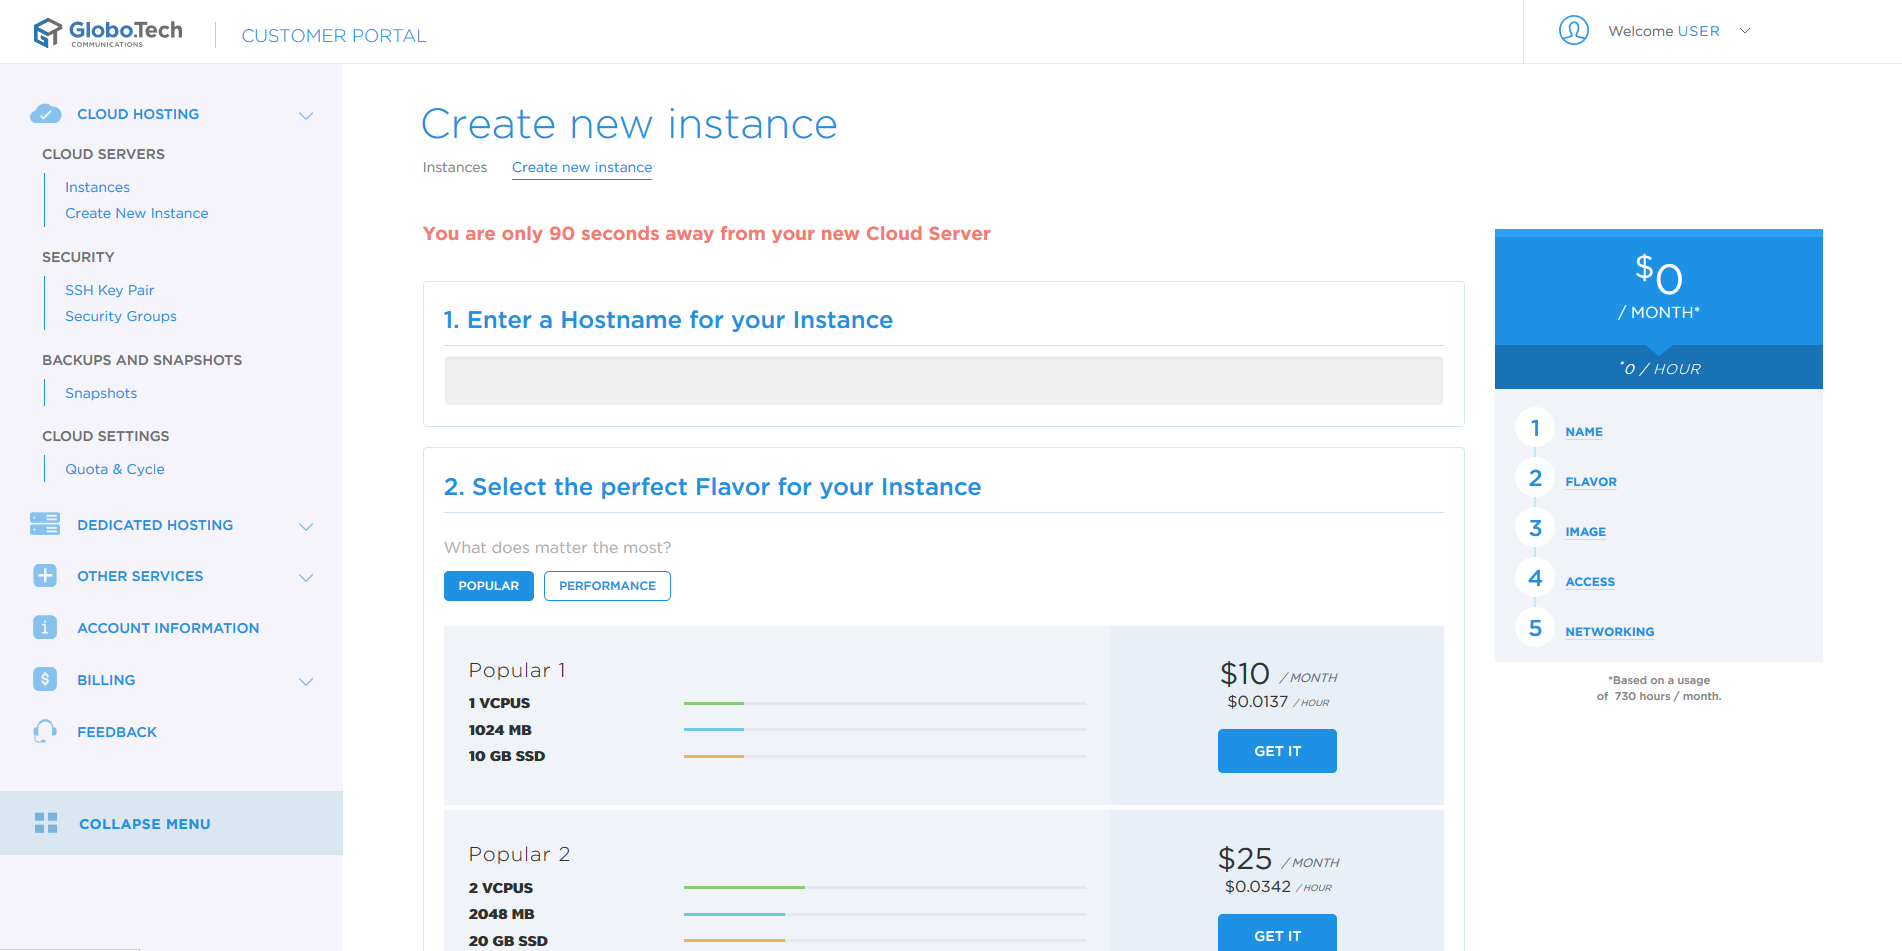
Start by setting an instance name.

Select a Flavor
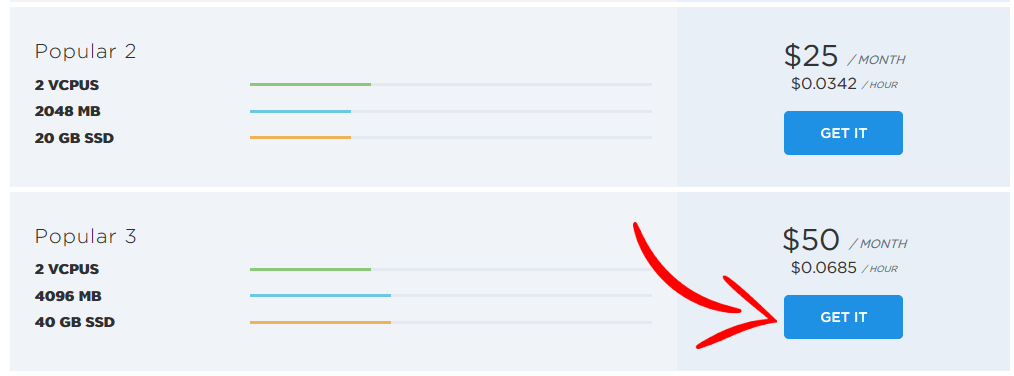
While we wish instances were ice cream, flavor means something different here. Flavors are performance packages associated with cloud servers that limit their amount of CPU, RAM and DISK usage. If you’ve got a cozy little blog, you should go with a Popular 2. If you’ve got a bigger operation going, though, you’d be better off with a Popular 3.
If you’re not sure what to go with, it’s best to start small. You can always upgrade later on. Once you’ve picked your flavor, go ahead and click the giant “GET IT” button on the right.
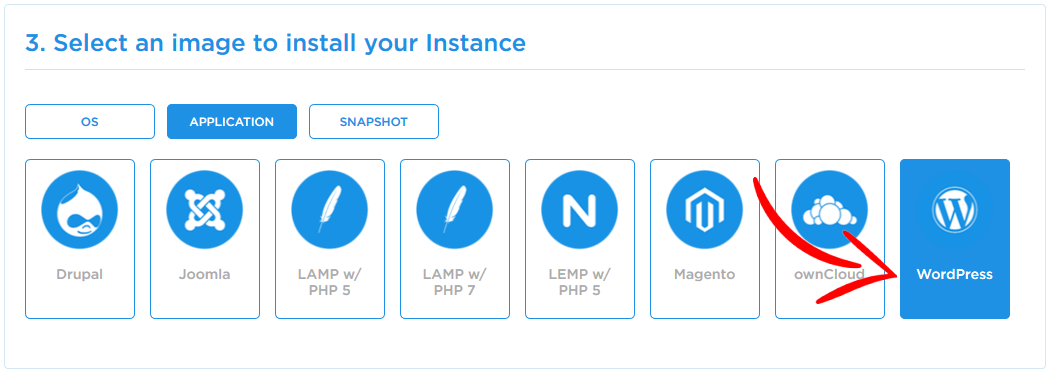
Select an image
You’ve got to have an image on your cloud server, and this is how you’ll get it. We’re going with a WordPress One Click App here, so you’re going to click on the Application tab. You’ll have a huge list of applications to choose from, but you’ll go with “WordPress.”
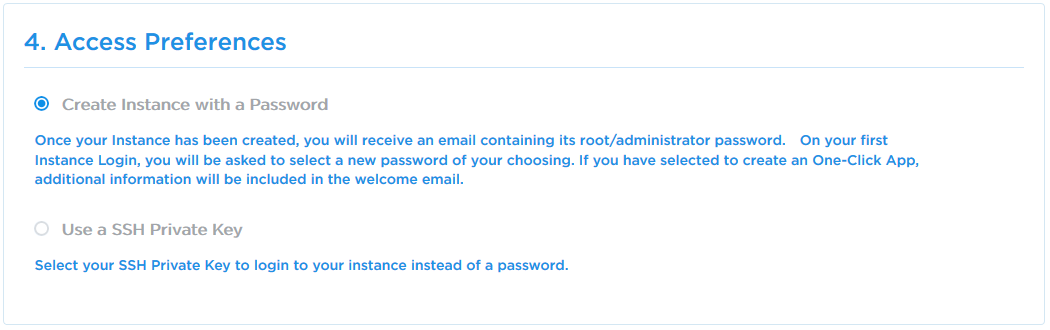
Setup your access preferences
Security is crucial, so here you can either create your instance with a password or an SSH key. Using a password is your best bet.
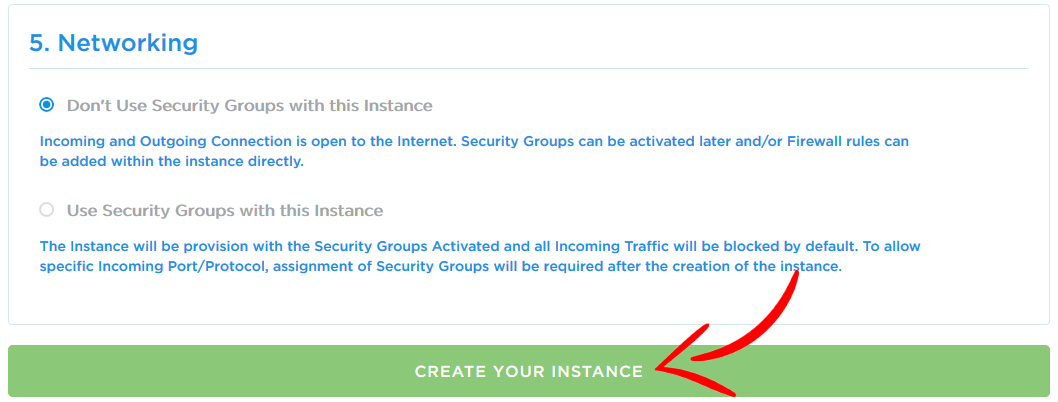
Select networking options and create your instance
Another of the many things you’ll have to decide on is if you want to use Security Groups. We’ll just leave them disabled now, and you can decide later. After this, just click on “Create your instance” to finish your quest.
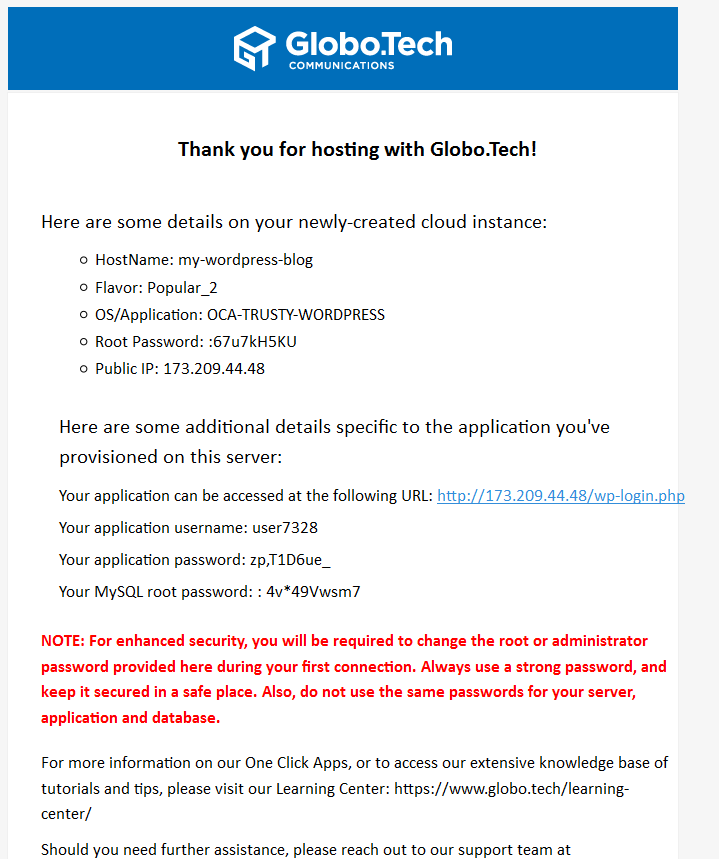
Access Credentials
After you’ve completed all of those steps, you’ll get an email with all the info you need to deploy your app on WordPress.
Test access to your WordPress
Now comes the super exciting part where you test out the instance you’ve made. The simplest way to get there is to visit http://173.209.44.48
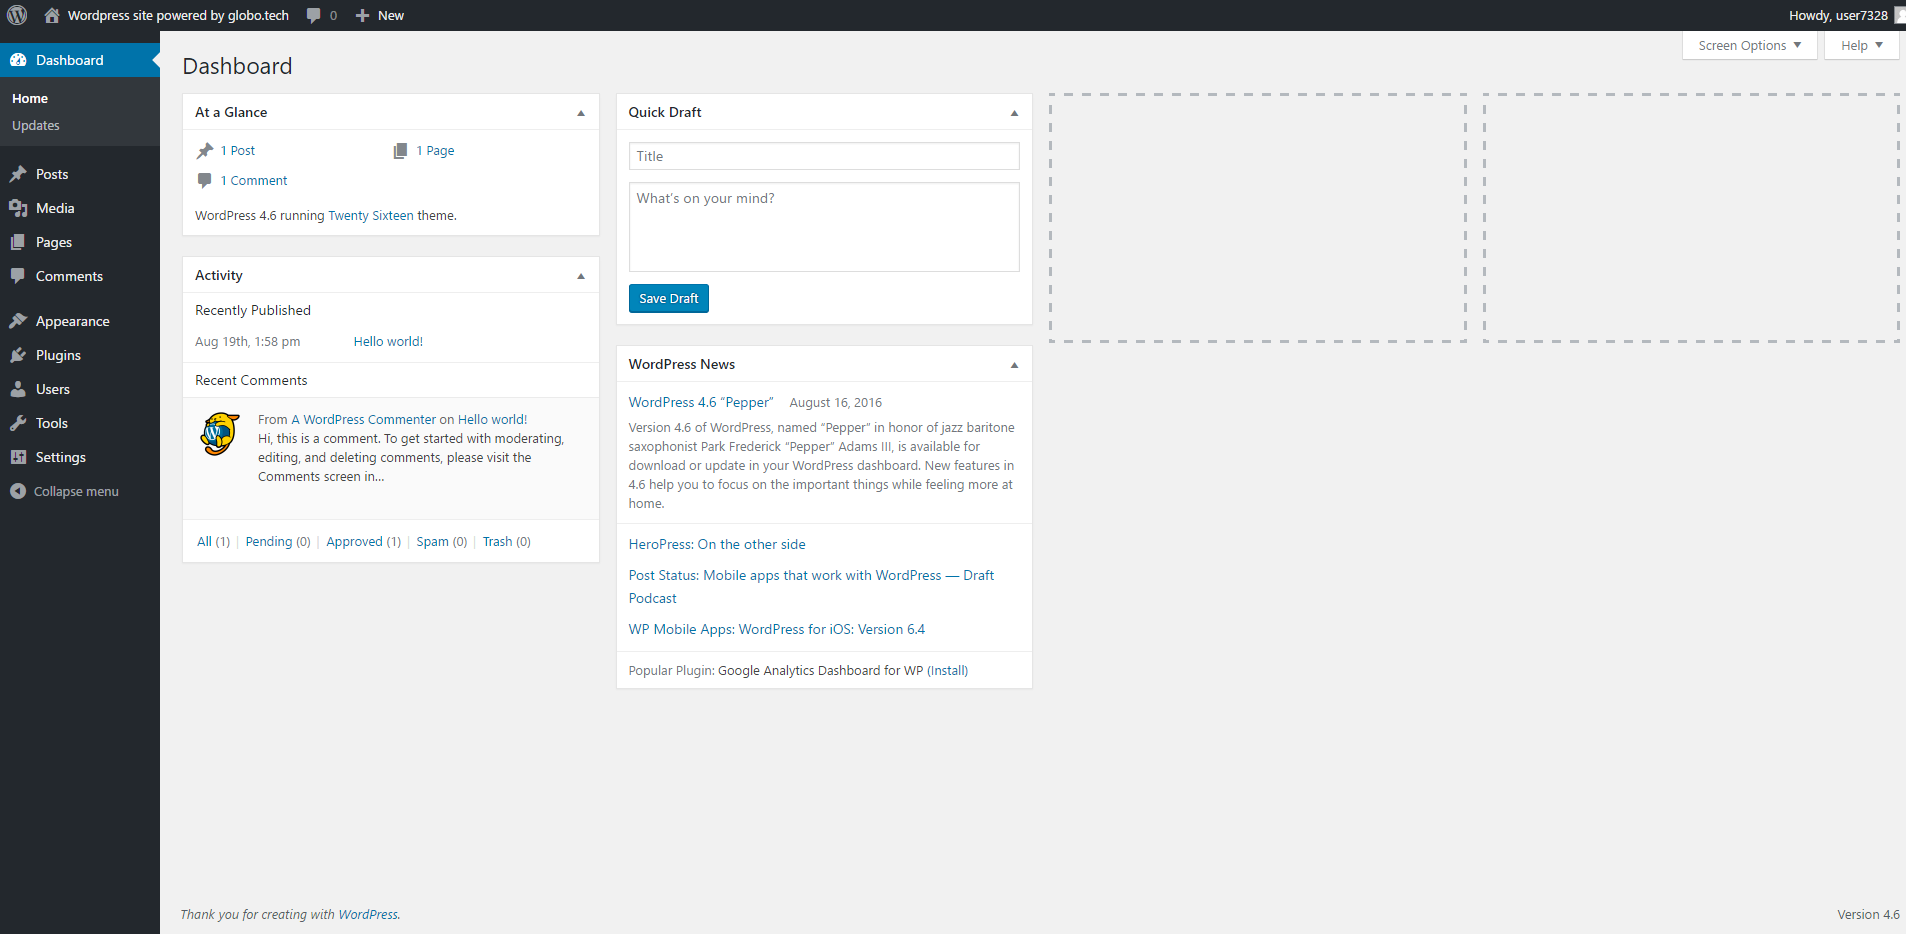
Login as administrator
Once you’ve found the inevitable mistakes in your first draft of the site, you’ll want to access the admin section to tidy up a bit. First, visit http://173.209.44.48/wp-login.php and then use your handy-dandy credentials to get in. Once you’ve done this, you can confirm that your instance is looking good. If it works for you, let’s get some content in there.
Settings DNS records
Your site’s going to need a domain and DNS records, because a domain name is a heck of a lot more appealing than the string of numbers of an IP address. For instance, let’s use “CatsAndDogsBlog.com.”
You’re going to need two “A” records that’ll sync up your domain with the IP. Without all the techy jargon, you’ll need to make sure that catsanddogsblog.com points towards 173.209.44.48 and that www.catsanddogsblog.com points towards 173.209.44.48.
We know you’re going to be antsy to see if everything’s up and running, but it could take some time for everything to show up on the interwebs. Patience is a virtue, after all.
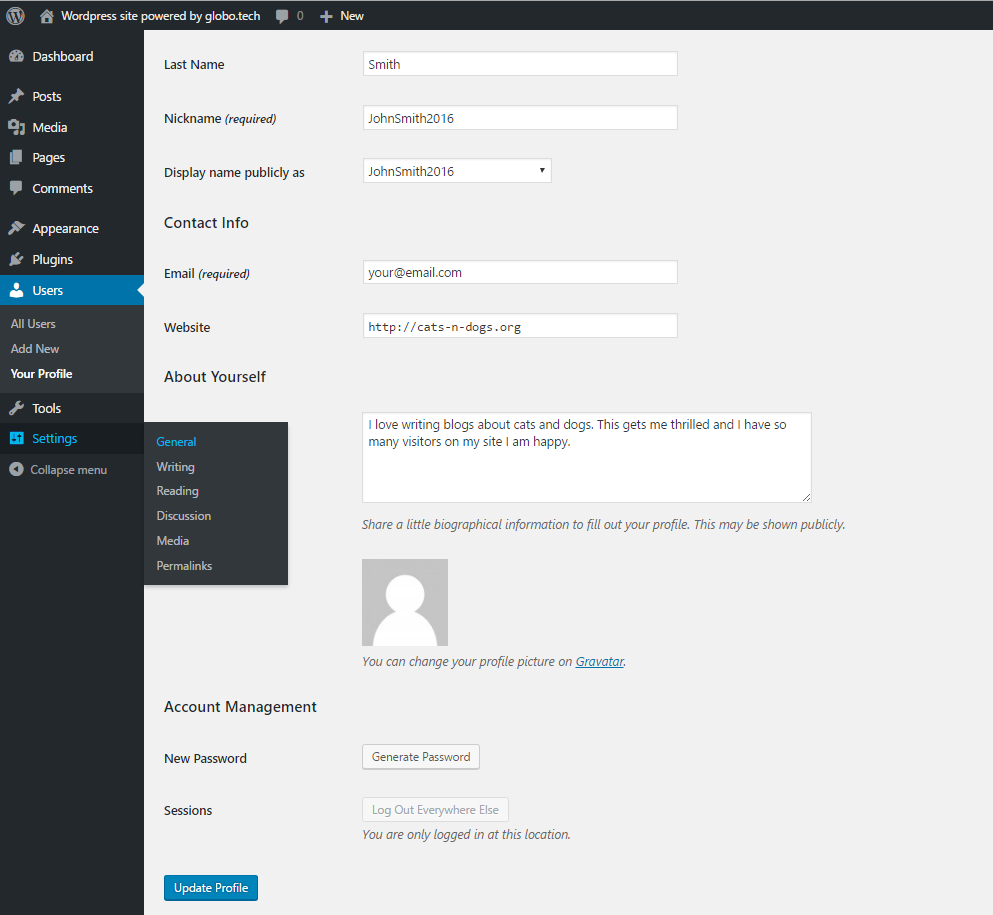
Edit your profile
Creating a One Click App gives you a random username with no profile. Start off by clicking on “Howdy user7238” and then “Edit My Profile.”
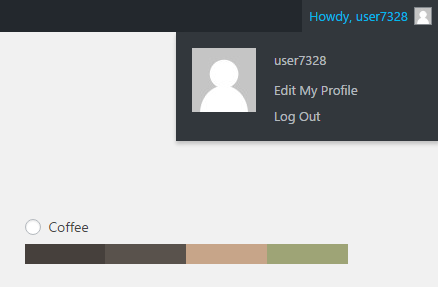
This is where you can setup your super cool profile. You can change your password, nickname, and even your email address.
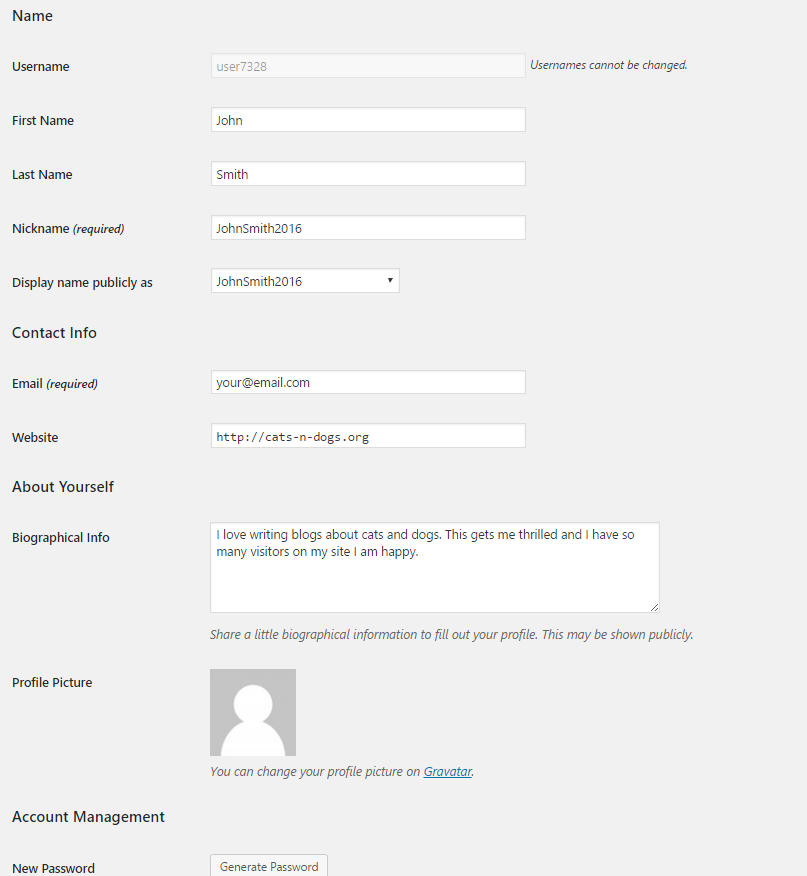
You will land on the profile editing page where you can enter your informations. Once you’re done, click on the “Update Profile” button.
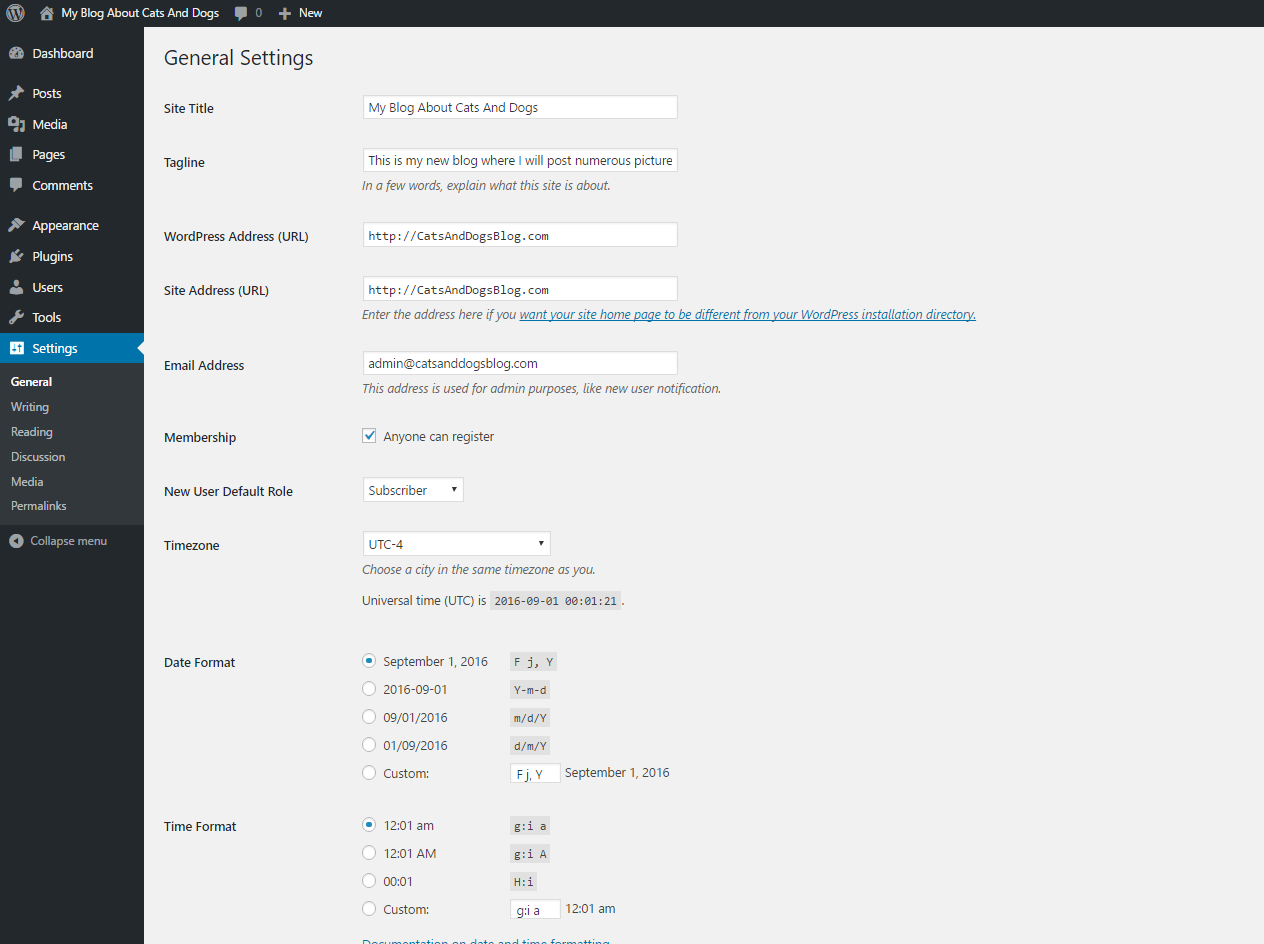
Configure your site informations
Here’s where you make your site pop with descriptions and domains. Hover your mouse over the “Settings” link on the left navigation bar and select “General.”
This will lead you to a page where you can set the blog title, tagline, and domain. Make sure that the wordPress address and site address match the domain name you’ve chosen, or you will not be a happy camper. After that, press “Save Changes.”
Posting your first article
It’s time to post your first article! Simply login to the admin section by visiting http://catsanddogsblog.com/wp-admin and then hover your mouse over the +NEW link on top and select “Post.”
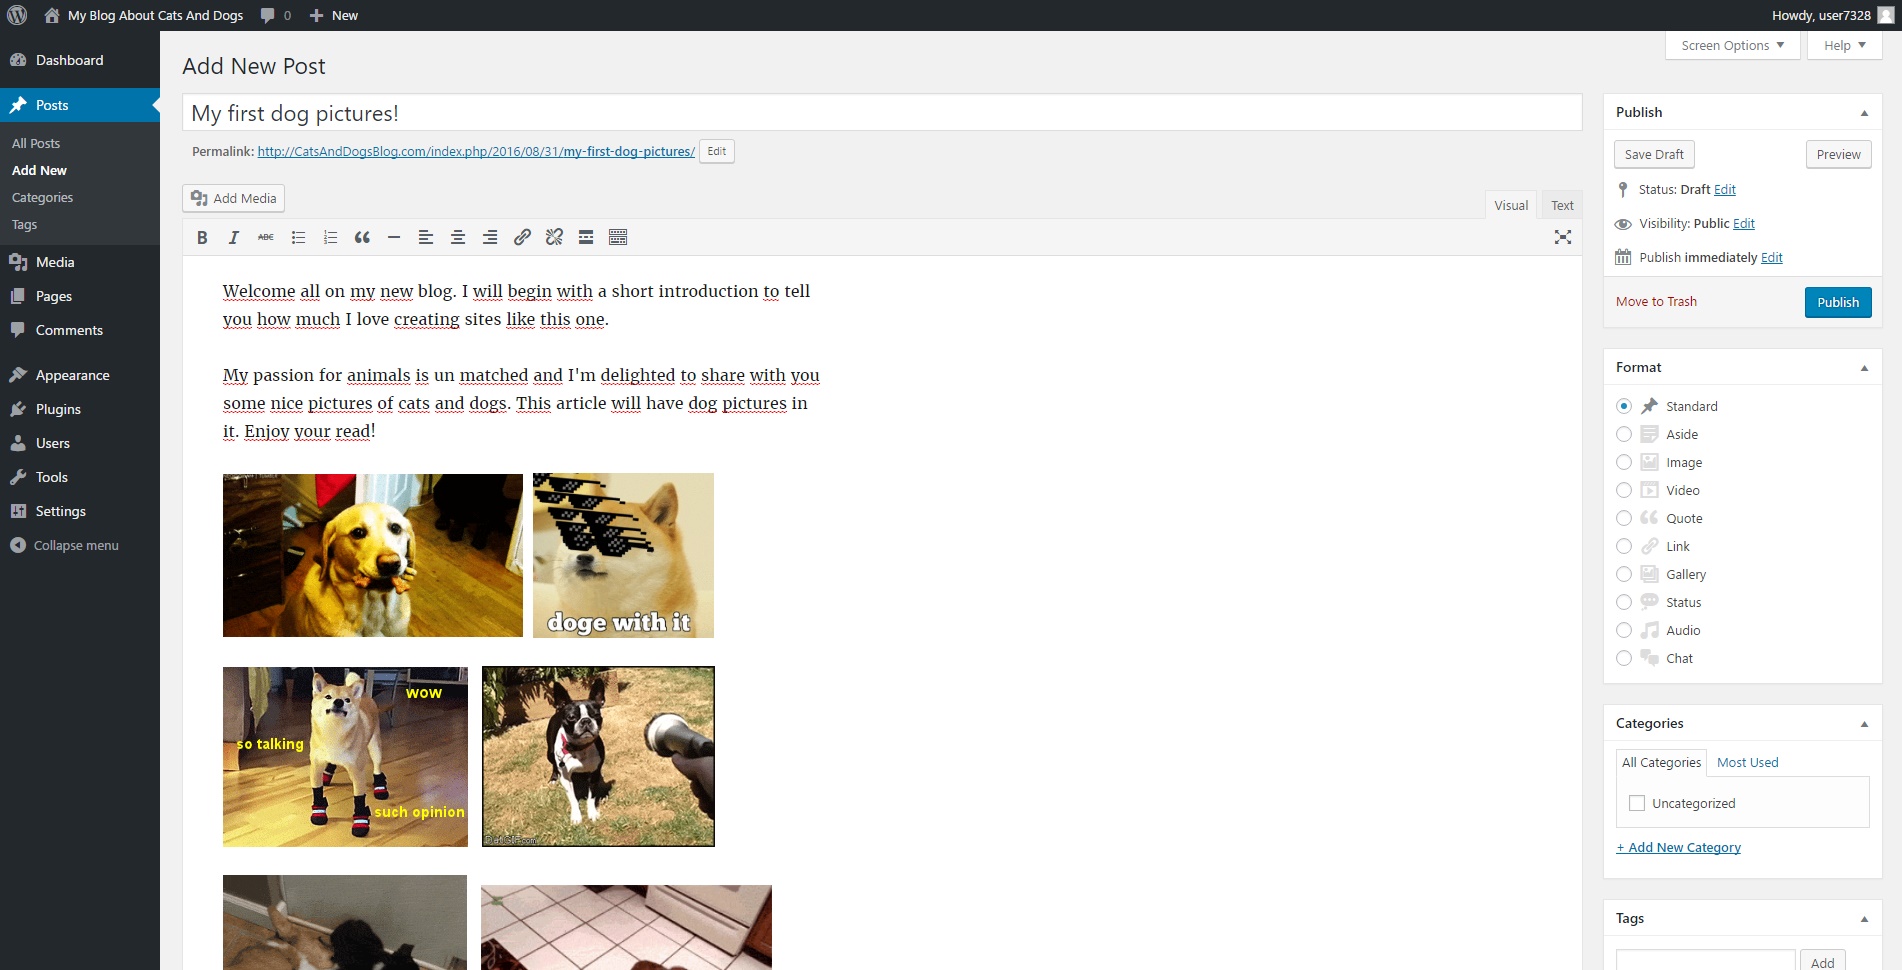
Here’s where you let loose your creative butterfly. You’ve got this. WordPress is pretty cool, as it allows you to add images, links, and other types of content that’ll make you look like the pro you are. Click publish and boom: You’re done.
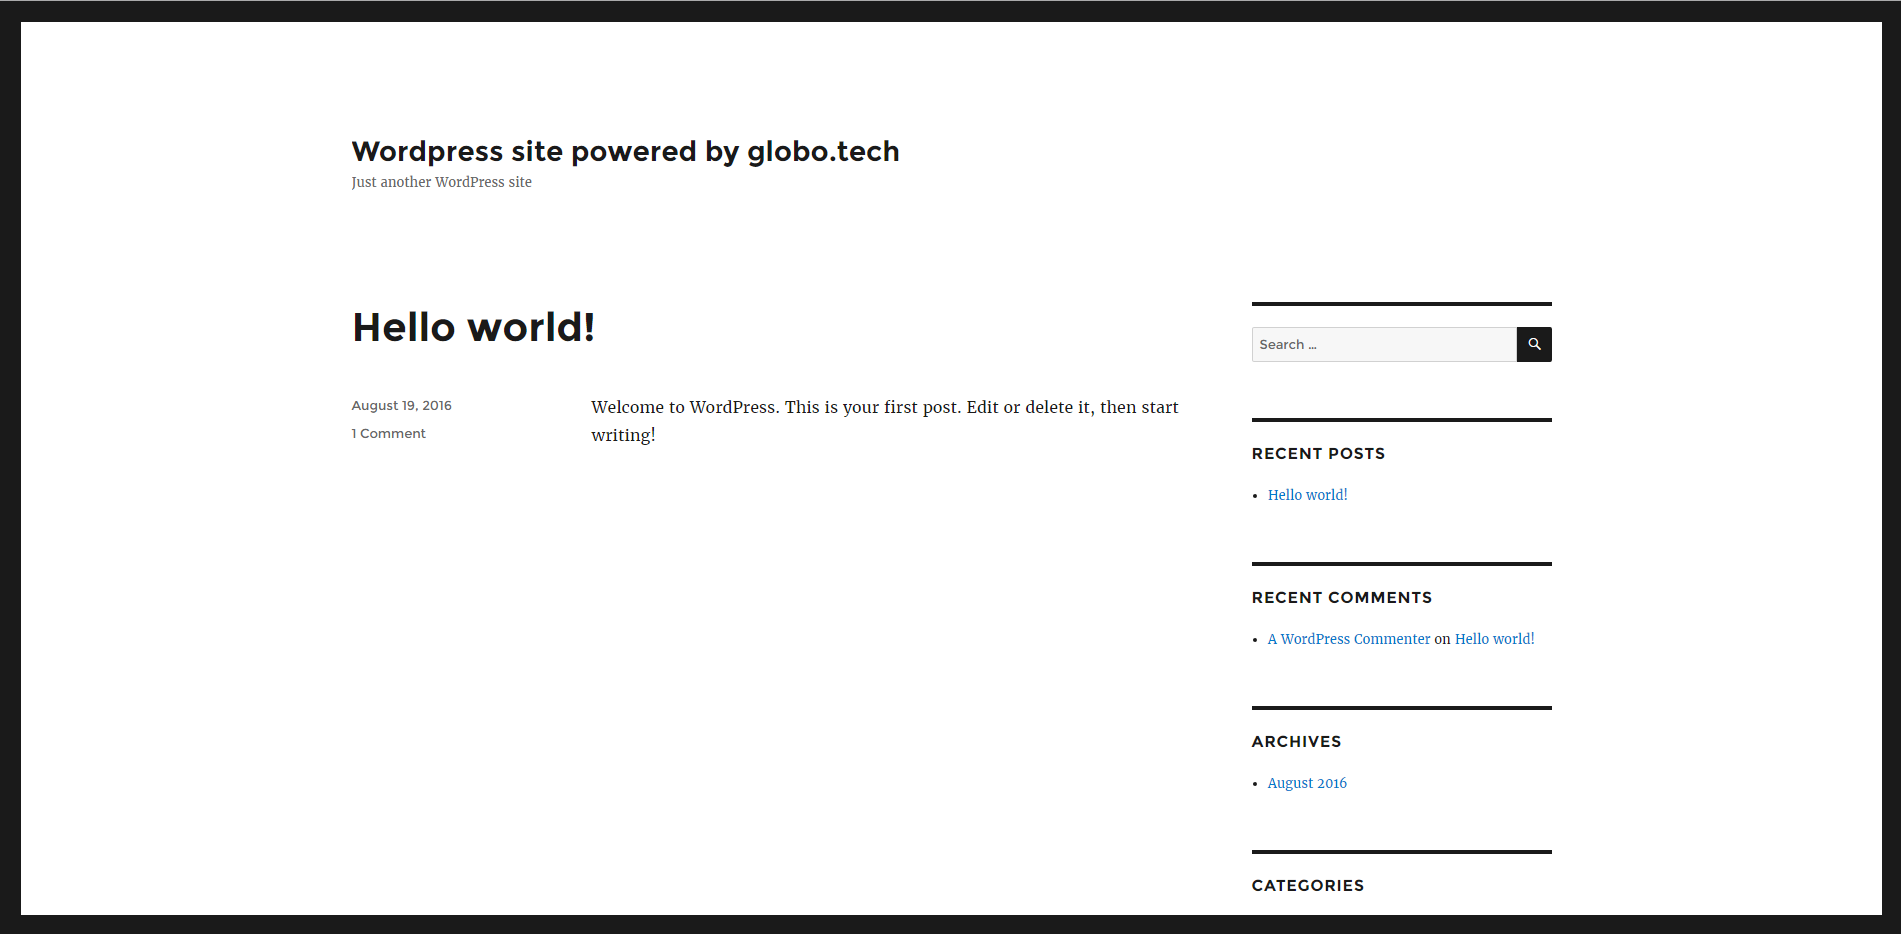
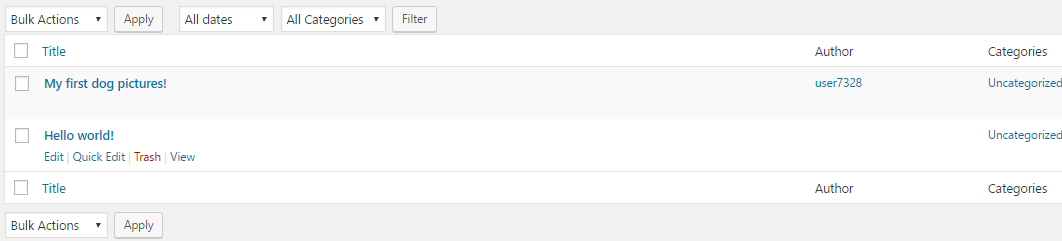
Delete the default blog post
To get rid of WordPress’s default post, go to “Posts” in your admin dashboard.

Delete “Hello world!” and then you’re good to go.
From there, go to http://catsanddogsblog.com and bask in the glory of your new site!

If you follow all the steps we laid out, you’ll be looking like a pro in no time. So get out there and follow your dreams. You’ve got this!

