 Call us at 1-888-GTCOMM1
Whether you want a website for your business, blog or personal musings, keeping it well-maintained and updated is the best way to keep your readers or customers in the loop. A good site that is always secure increases repeat visitors and is the perfect way to connect with them. However, whether you’ve used phpBB in the past, or are a new user, keeping it up to date on your own is a huge hassle. That’s why we’re so excited to bring you our phpBB One Click app. It’s now super easy to install, maintain and update your website automatically and whenever you want.
Tutorial
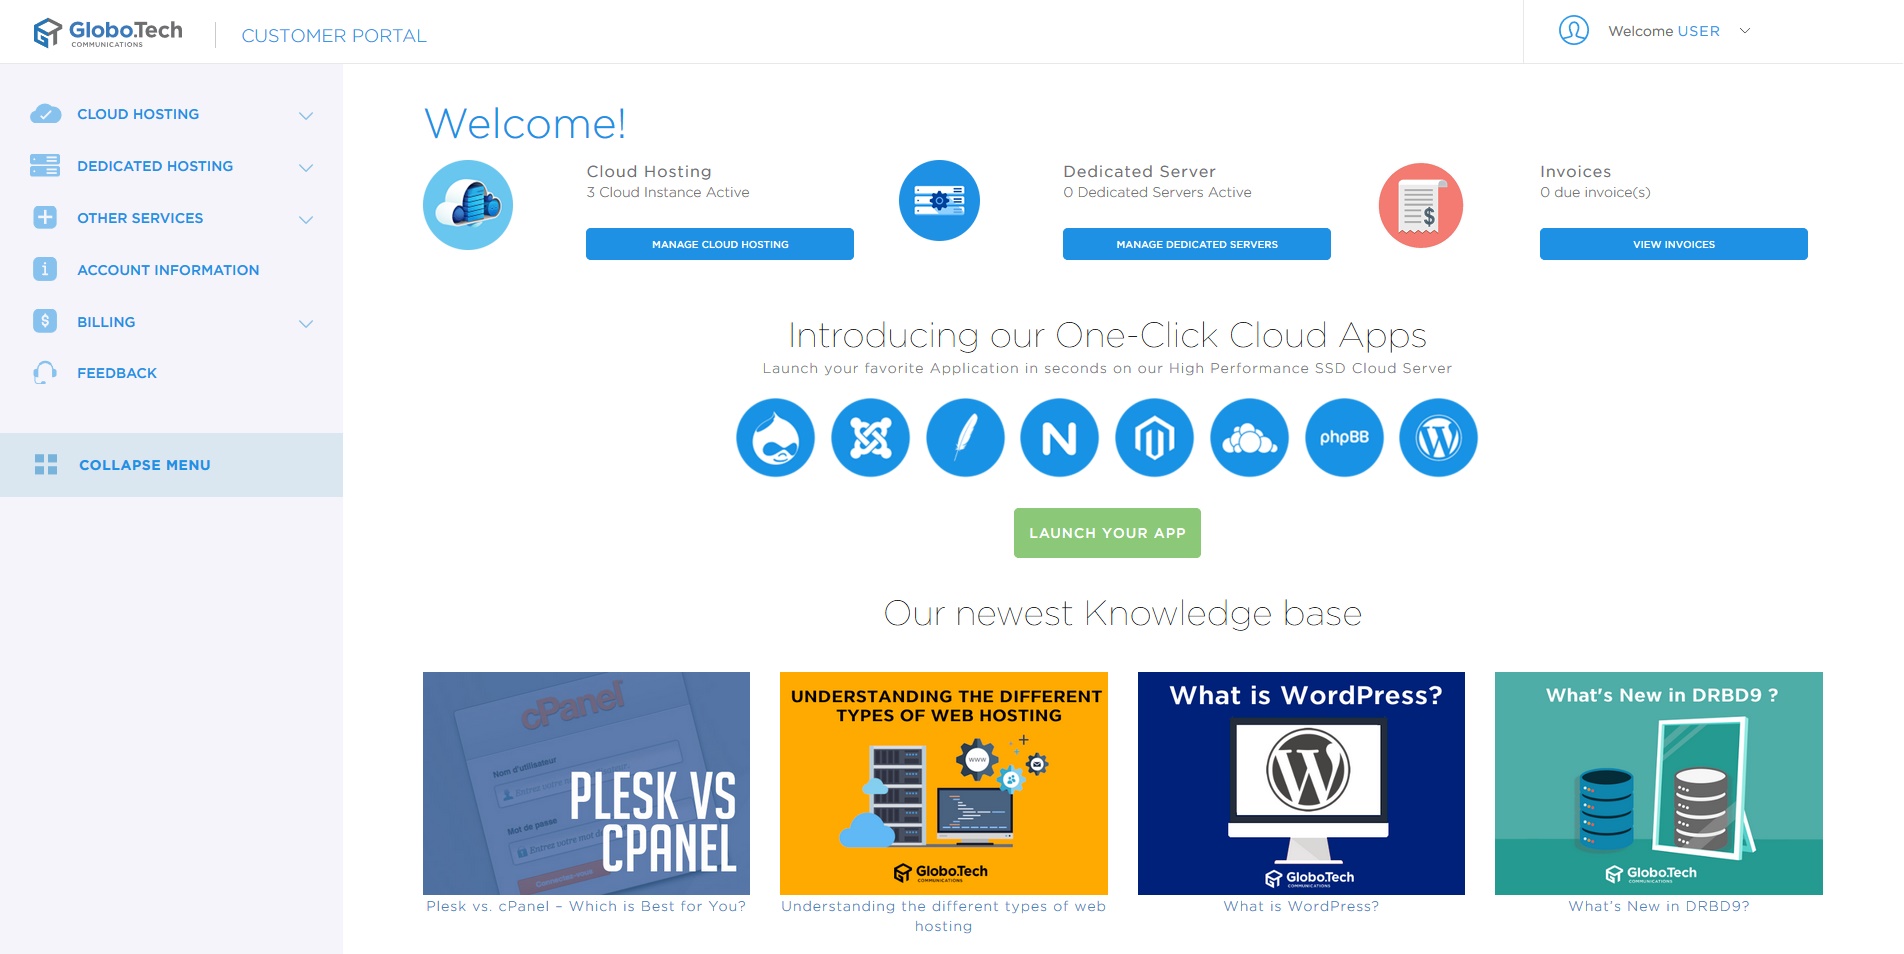
Log In
Before you do anything, you’ll have to log in to your GloboTech account. Enter your username and password here and you’ll reach a page that looks like this.
Deploy Your phpBB OCA
The phrase above may seem like complete gibberish, but OCA simply stands for “One Click App”. The way our One Click App works is that it packages all the services you need to get your site up and running in one handy place. That way, instead of worrying about servers, programming languages, data storage and other miscellaneous bits, you get to focus on the website itself.
In addition to being faster and easier to set up, you don’t have to worry about your site not working. Our OCA automatically updates your system with everything it needs to keep running smoothly.
Creating Your Instance
Now that you know what our One Click App does, it’s time to learn how to use it. The first step is setting up your instances.
One the left side of your portal, you’ll see a menu with various options. Select the one labeled “Cloud Hosting” to open up a larger sub-menu, then select the option called “Instances”. It will show you active instances, if you have any, as well as display a tempting, red button labeled “Create Instance”. Click that button to continue.
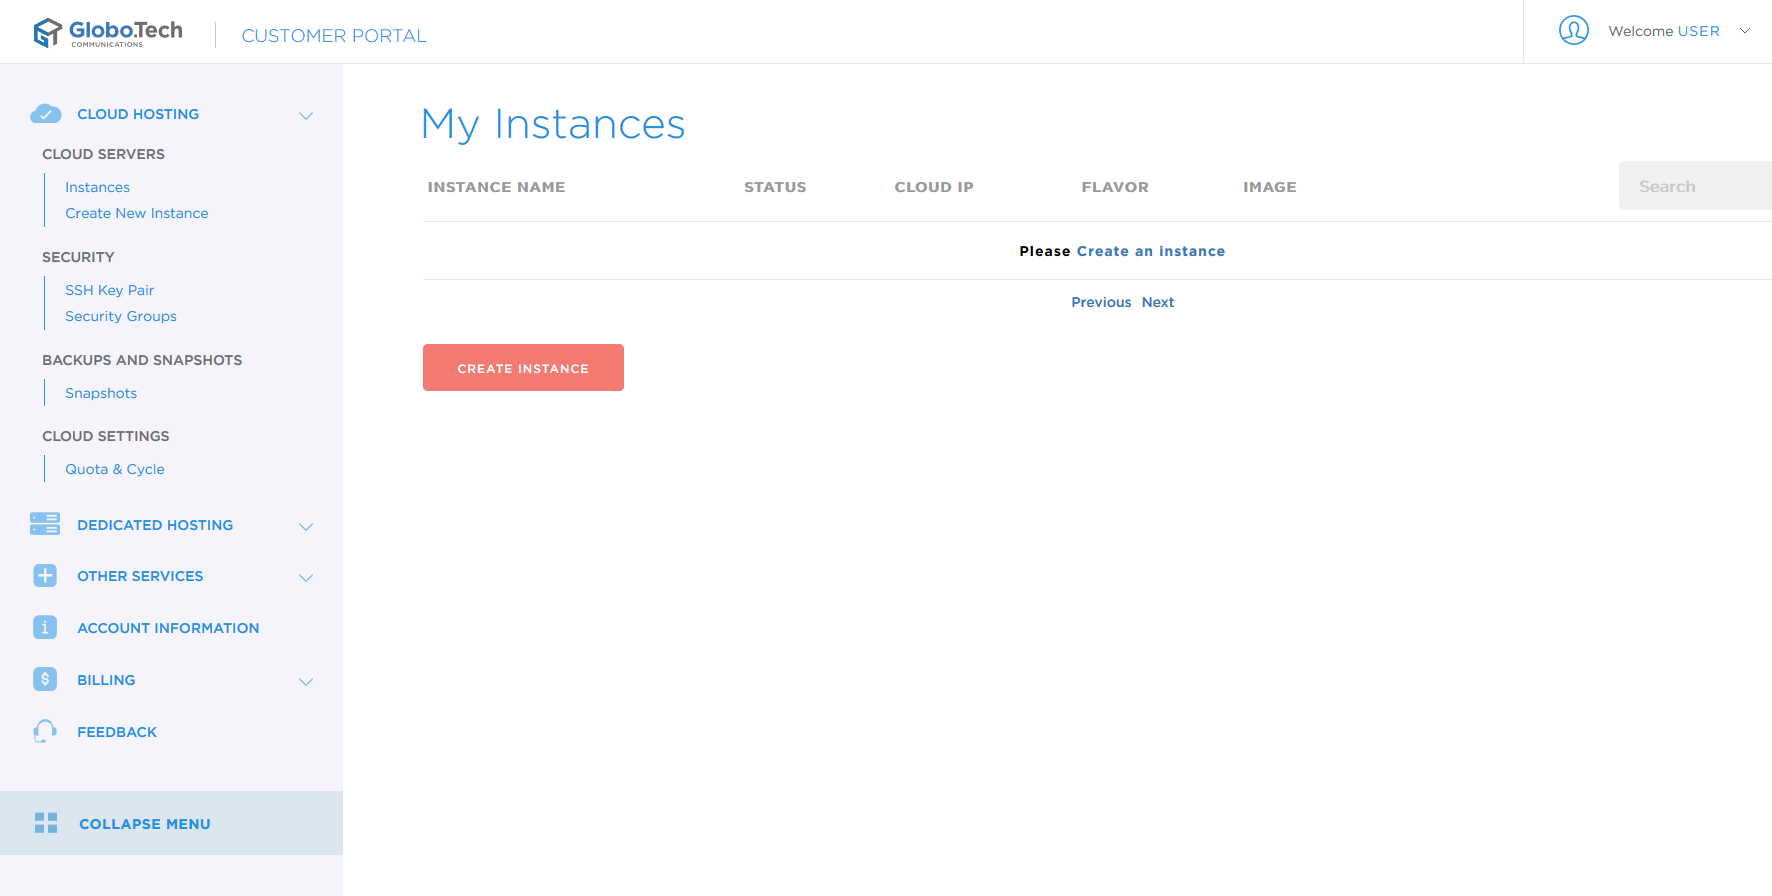
If all steps have been followed correctly, you’ll see an instance creation page that looks like the one below. It might seem tricky, but keep reading to find out what all those blank fields are for.
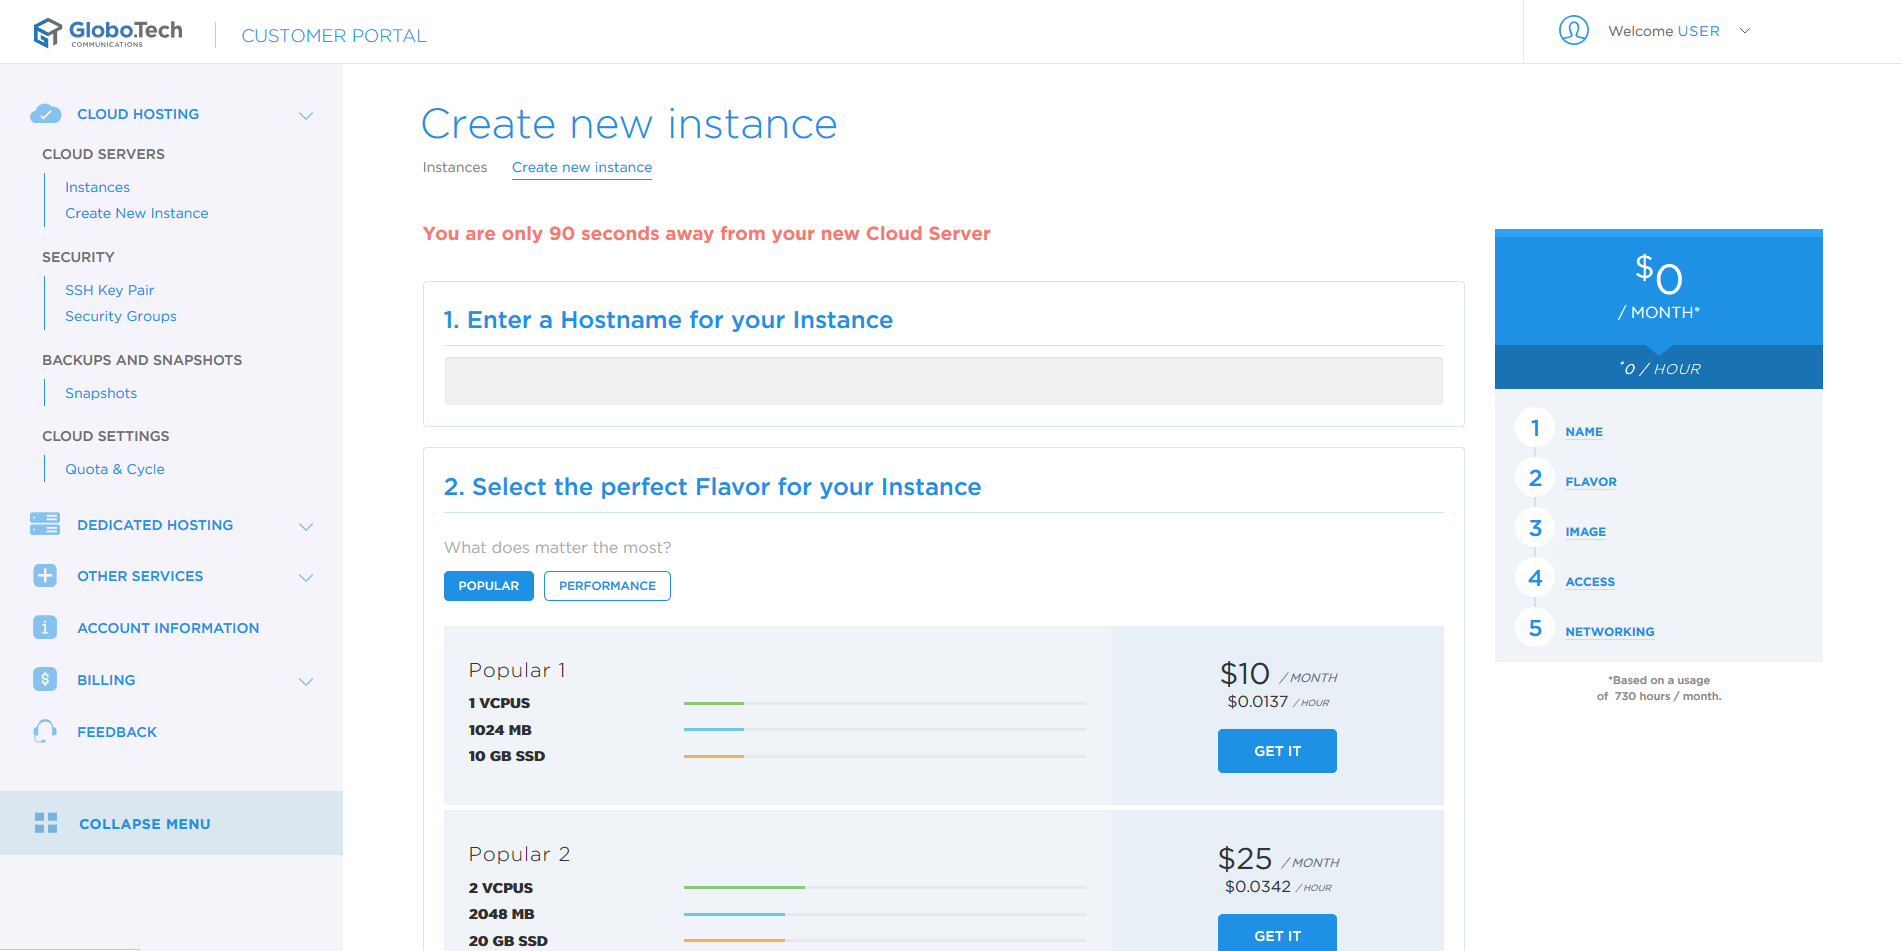
Enter an Instance name
Your first step is to choose a name for your Instance.

Select Your Flavor
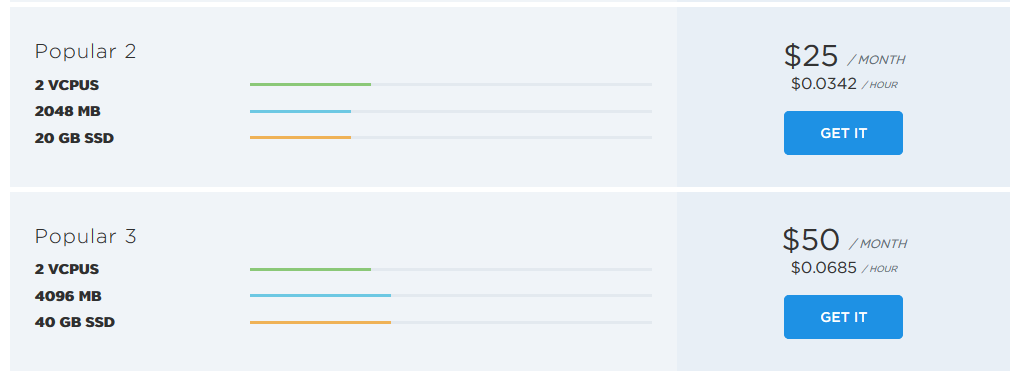
Most hosting sites require you to calculate the amount of RAM, data storage and capabilities of core processors you need. However, that’s not an easy thing to know. That’s where our Flavor option comes in. Rather than mess around with a ton of numbers that may change from day to day, it saves time by letting you choose based on your sites performance.
If you have a relatively smaller site, the Popular 2 option is perfect. It’s nice and simple and perfect for a website that may be just starting out. For larger, more well-established sites with an active visitor base, the Popular 3 is a better choice. Don’t worry about making the wrong choice now, though. You can always scale your Flavor option up or down depending on how much you need.
Once you’ve made your decision, simply click on the button labeled “GET IT” under your preferred flavor!
Select Image
The images represent a server setup that performs the right tasks in your cloud server.
First, select the tab marked “Application”. Because this is all about setting up a One Click App for phpBB, select the image marked “phpBB”.

Setup Access Preferences
For security reasons, you’ll be required to set up your instance with either a password or an SSH key. Because it’s far simpler and more user-friendly, we’ll go with the password option.

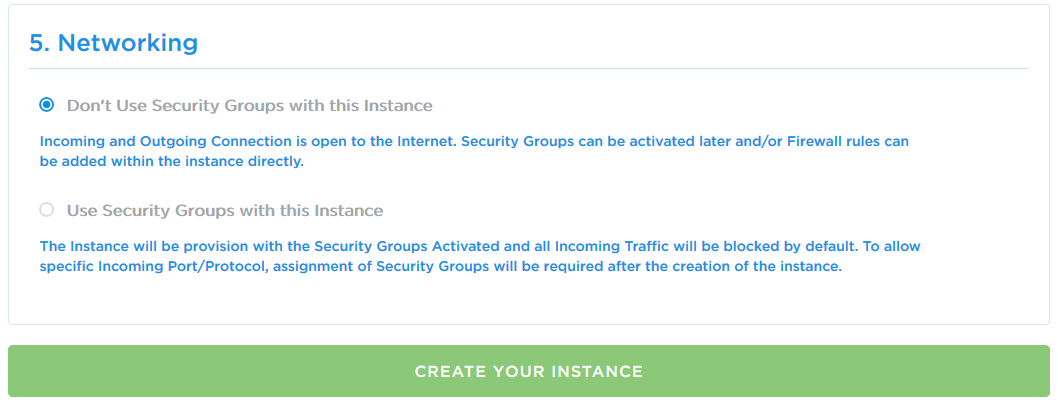
Select Networking Options and Create Your Instance
The real question here is whether you want to use security groups. If you do, we feature a separate guide for how to get those up and running. However, for a faster setup, for now we’ll choose not to use security groups. Once that’s selected, click the button marked “Create Your Instance”.
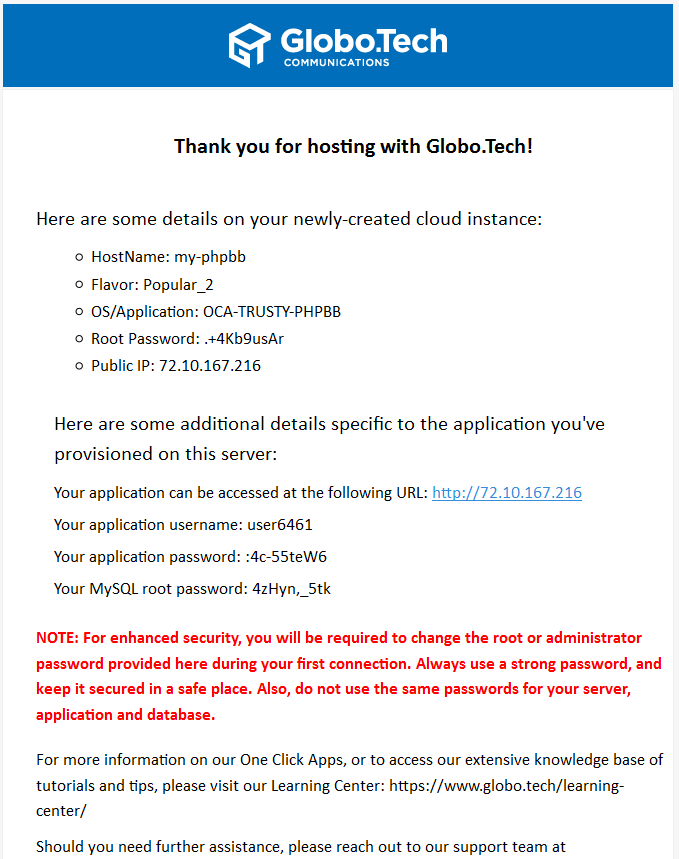
Access Your Credentials
Congratulations! Your instance has been created and you have a brand new website! All that’s left is to check your email and gain access to your administrator credentials for your new phpBB site.
Test Access to Your phpBB Forum
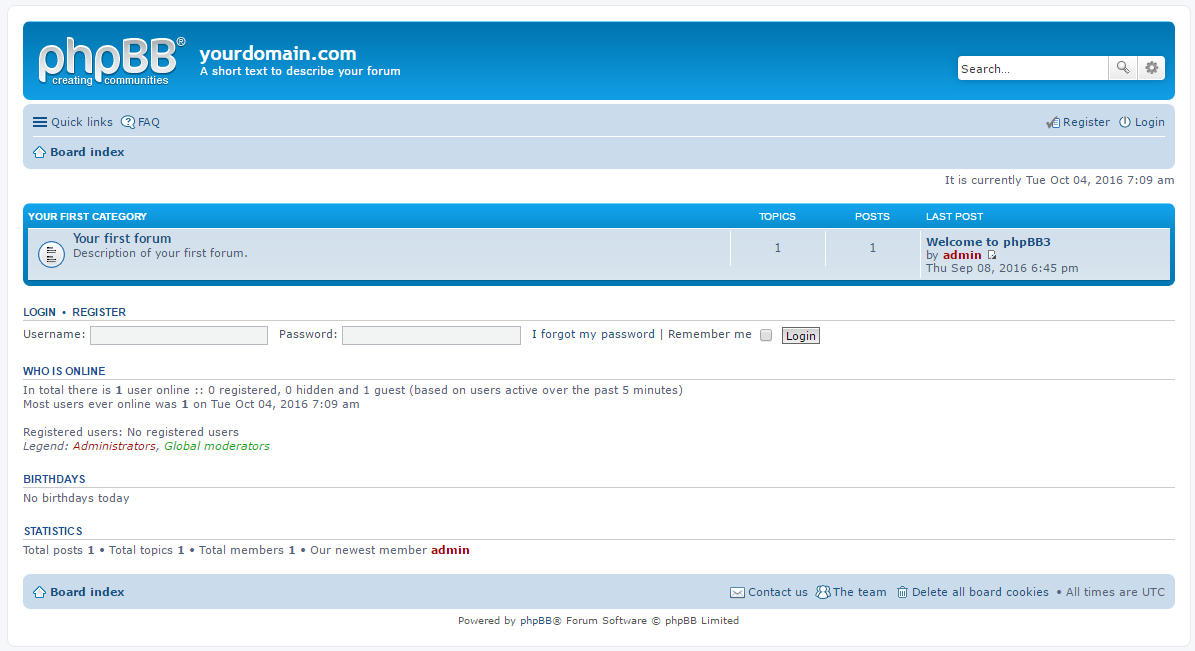
With the necessary information in hand, it’s time to test your new phpBB forum. The first step is to locate the URL in the email you received. In this test, we’ll visit the http://72.10.167.216 URL, which will bring us to the login page.
Log In as Administrator
Use the administrator credentials in the email you received to log in to your new forum. This will bring you to your user dashboard.
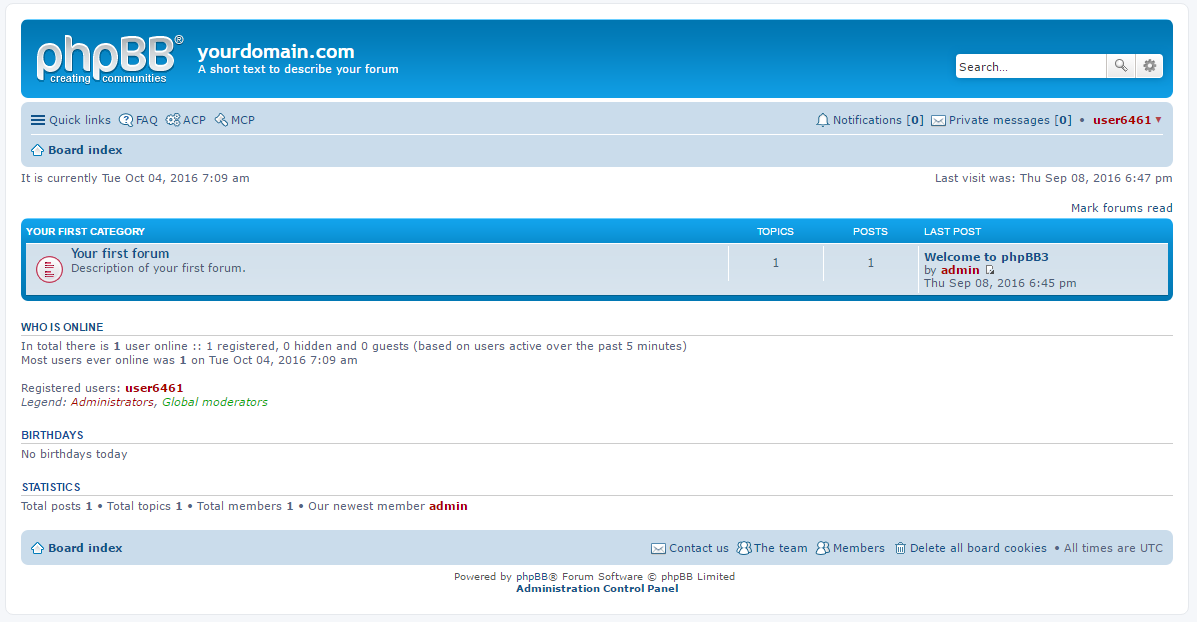
This page will let you modify your user settings, but not forum settings. In order to configure the forum settings, you’ll have to scroll down and click on “Administration Control Panel”. That will take you to another page where, for security purposes, you’ll be asked to log in to your account again.
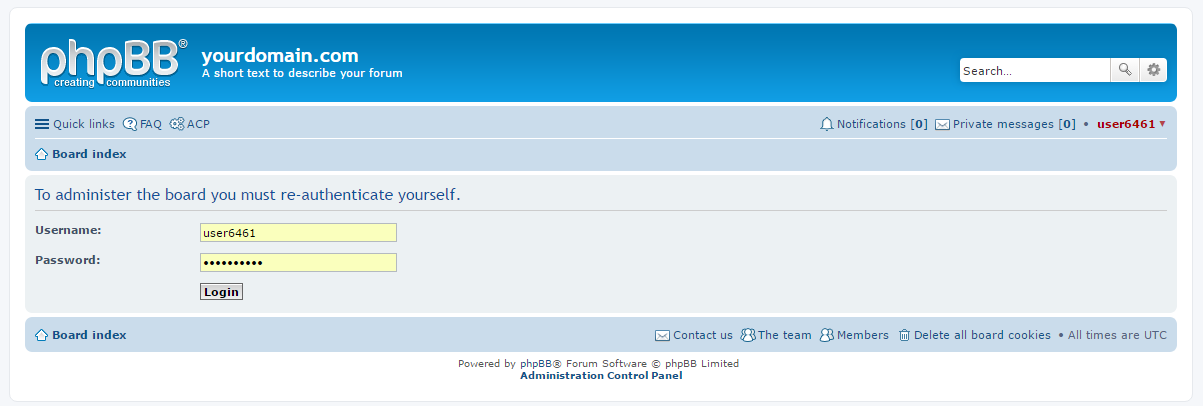
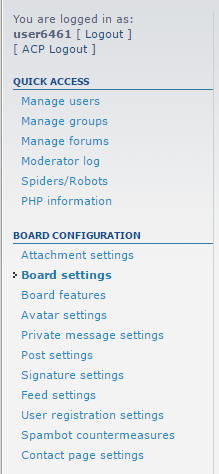
Once you’ve logged in a second time, you’ll be able to access the administration control panel, pictured here in all its glory.

Initial Configuration of your phpBB
The very first step for configuring your phpBB forum is changing the domain name. It’s a very simple process.
You can modify the domain name from the administration control panel. Just click on “Board Settings” to your right.
Here you’ll see a ton of different options, but focus on the Site Name and Site URL.
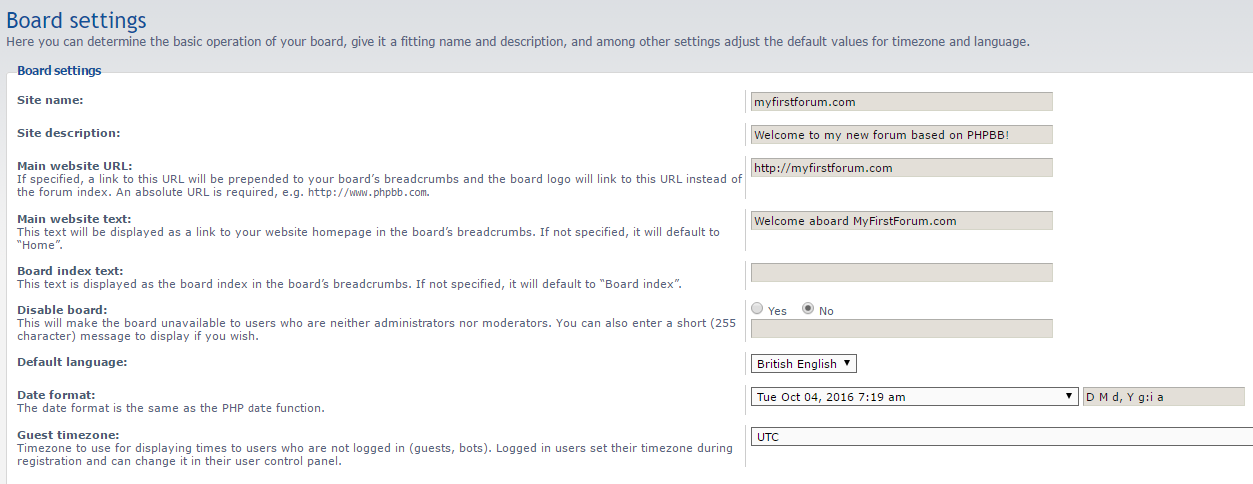
It’s as easy as typing in your information and clicking “Submit”!
The next step is to configure your server settings. See the “Server Settings” link on the left side? Click on it.
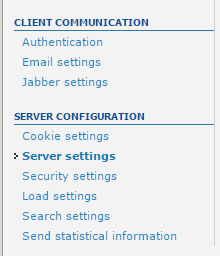
If you’re only hosting one domain, enter it into the configuration block at the bottom titled “Server URL Settings”. If more than one, click “Yes” next to the option labeled “Force Server URL”.
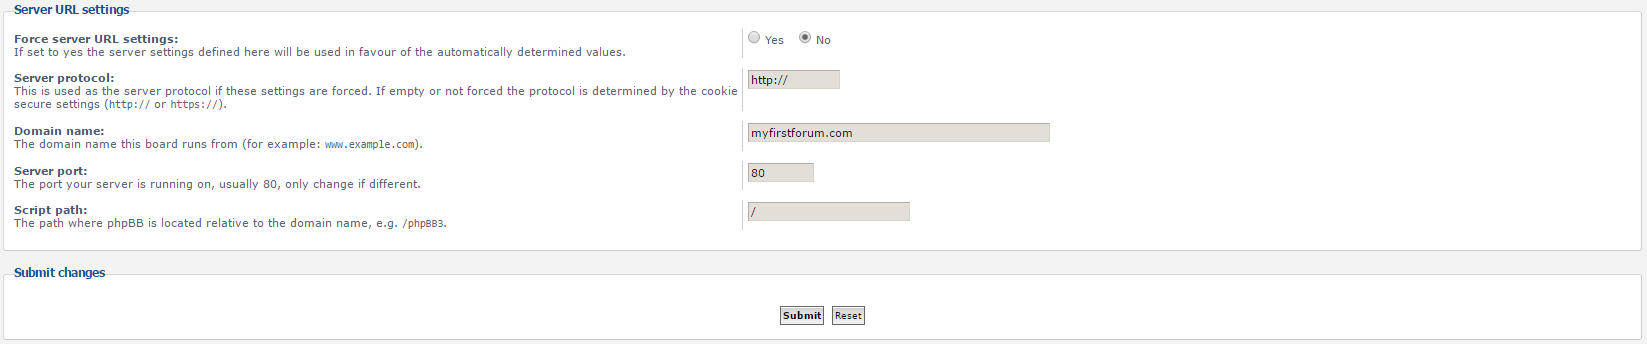
Once you’re done, just click “Submit” to change your server settings!
Your forum is all ready to be used! Just configure your DNS and it’s all set.
Setting DNS Records
Using an IP address as a URL might work, but it’s difficult for visitors to remember and has no bearing on what your site is actually about. Instead, you’ll want your own domain name.
If you aren’t comfortable purchasing a domain name somewhere else, we can help you with that!
For this example guide, we’ll go with something simple, such as “myfirstforum.com”.
First, you have to create 2 “A” records that will point the domain name towards your website’s IP. Because many domains are hosted on different DNS servers and there are a ton of different interfaces used for this, we’ll skip it.
Just make certain that at least two records exist:
myfirstforum.com to point towards 72.10.167.216

www.myfirstforum.com to point towards 72.10.167.216
It might take some time for your website to completely go online, but not too long. Some people report waiting up to 48 hours, but it’s really only a few hours in most cases.
Prefecting your phpBB configuration
Everything is now all set up and you can start to enjoy your brand new phpBB forum!
If you need more help with configuration and modifying your forum, check out phpBB’s existing documents here.

