 Call us at 1-888-GTCOMM1
While installing Joomla isn’t too difficult, there is much more to setting up a website. Not only must you configure the operating system and set up all necessary dependencies, but you’ll also need to keep these components up-to-date. You’ll also be perpetually updating Joomla to avoid the latest security flaws. Fortunately, our One Click App process makes it easy to both install and maintain Joomla with all the latest security fixes.
Log In
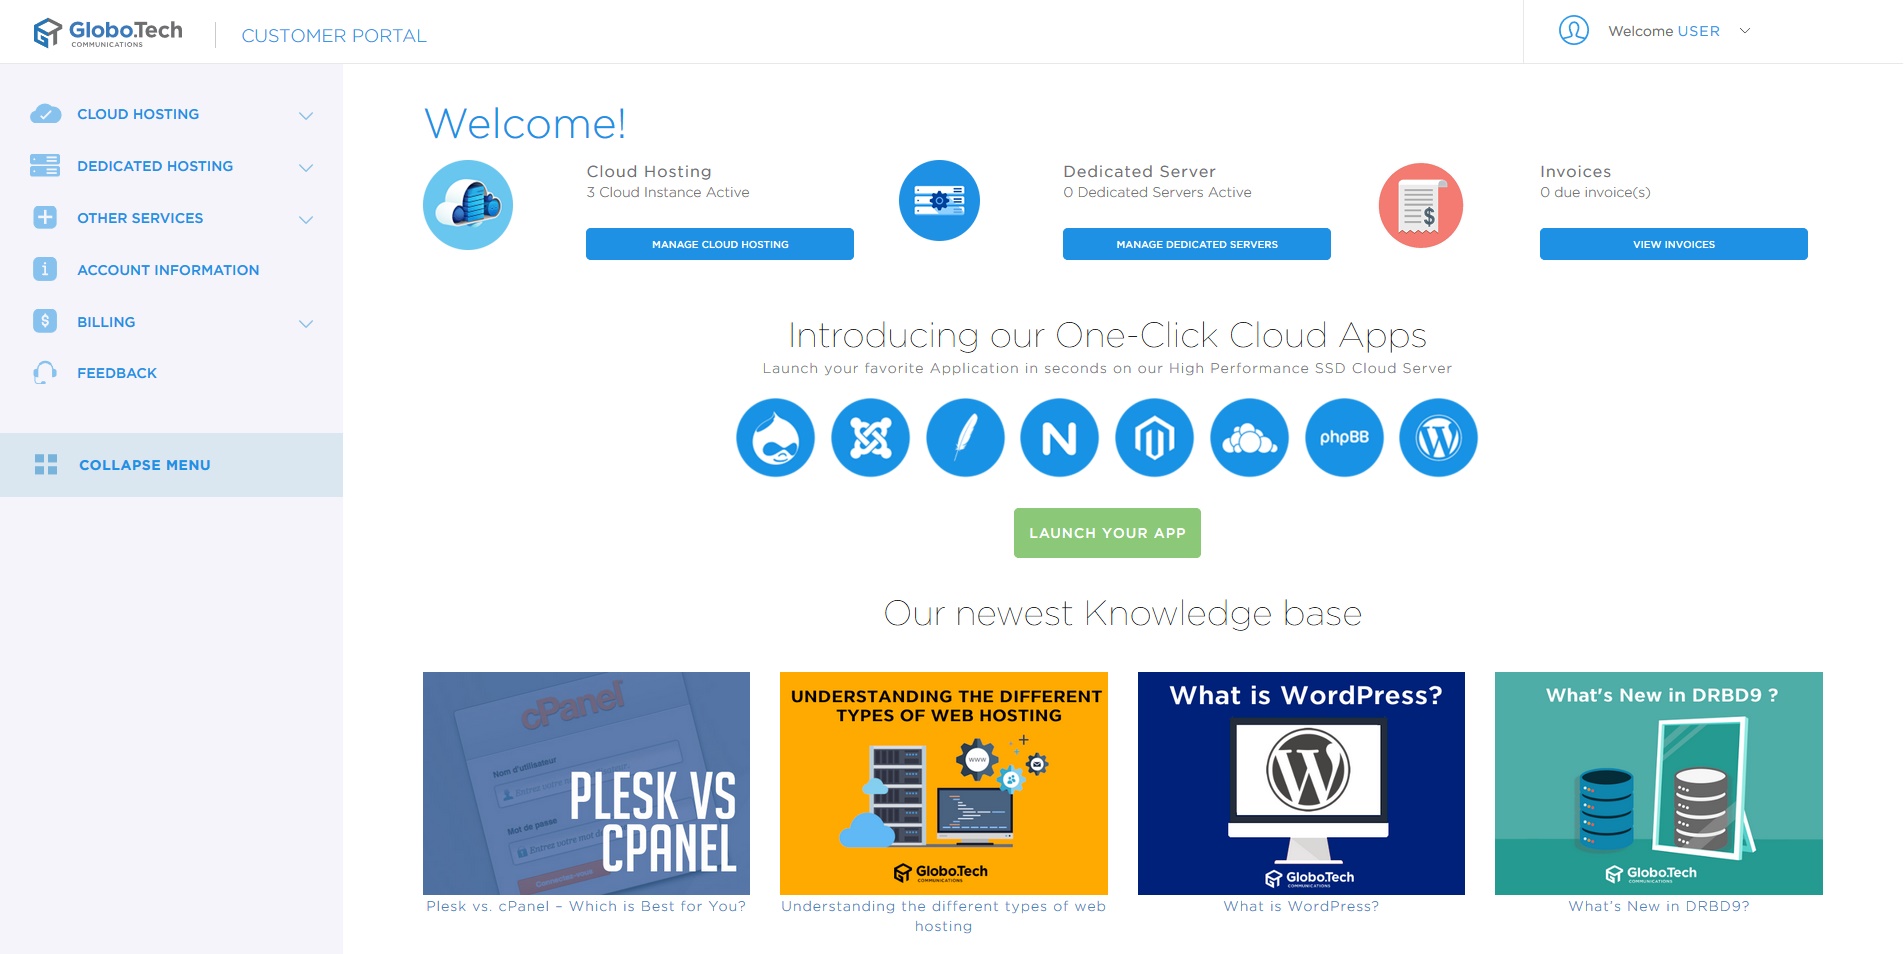
Begin by accessing your account. Once you’re logged in, you’ll see our administrative portal.
Deploy Your Joomla OCA
What is an OCA?
Normally, installing Joomla involves setting up an operating system and securing it against intrusion. You’d also install a database, set up an HTTP server, configure that server to run PHP, and configure Joomla to connect to the database. Our One Click Apps perform all of these steps automatically. This has several benefits.
Most obviously, you’ll save time. Our OCA images do in seconds what might normally take minutes, or even hours. Further, our images set up all of Joomla’s PHP dependencies so you aren’t stuck installing modules and reconfiguring Apache by hand. After all, you’re not interested in maintaining a server. You just want a Joomla website, and our OCAs do just that.
Creating Your Instance
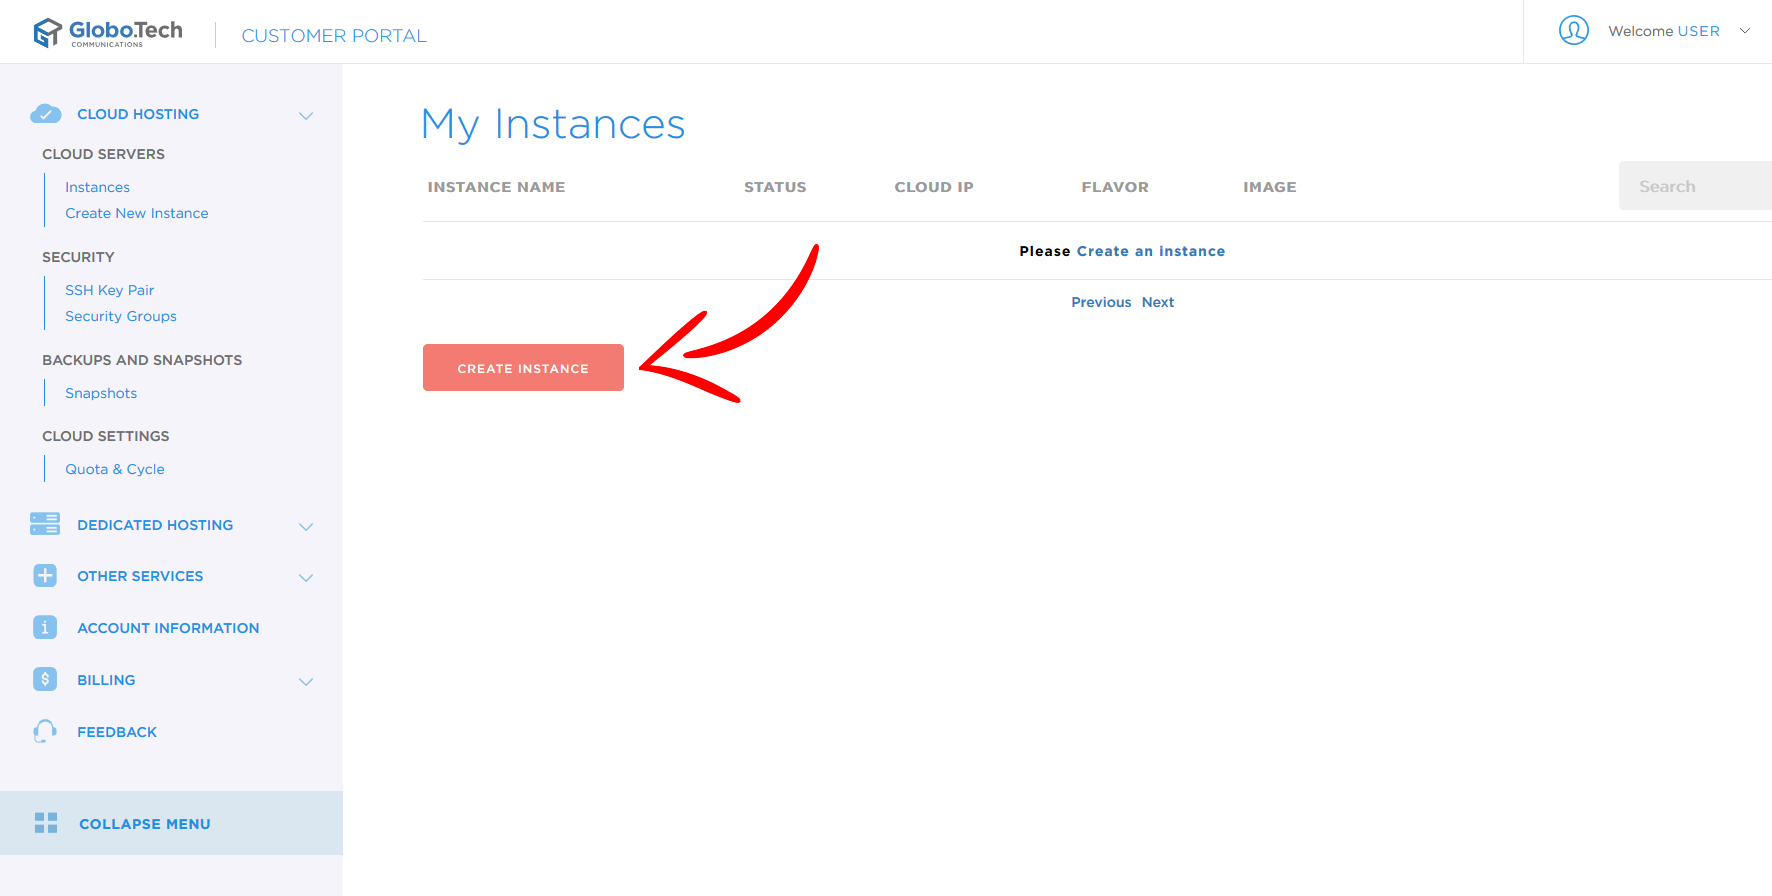
For the purposes of this guide, we’ll be using our Joomla image. Start by clicking “Cloud Hosting” in the left navigation menu. Next, click “Instances.” Here you’ll see all OCA instances active on your account if any are present. Click “Create Instance” to begin setting up your Joomla site.
At this point, you’re on the instance creation page. We’ll explain the various fields below.
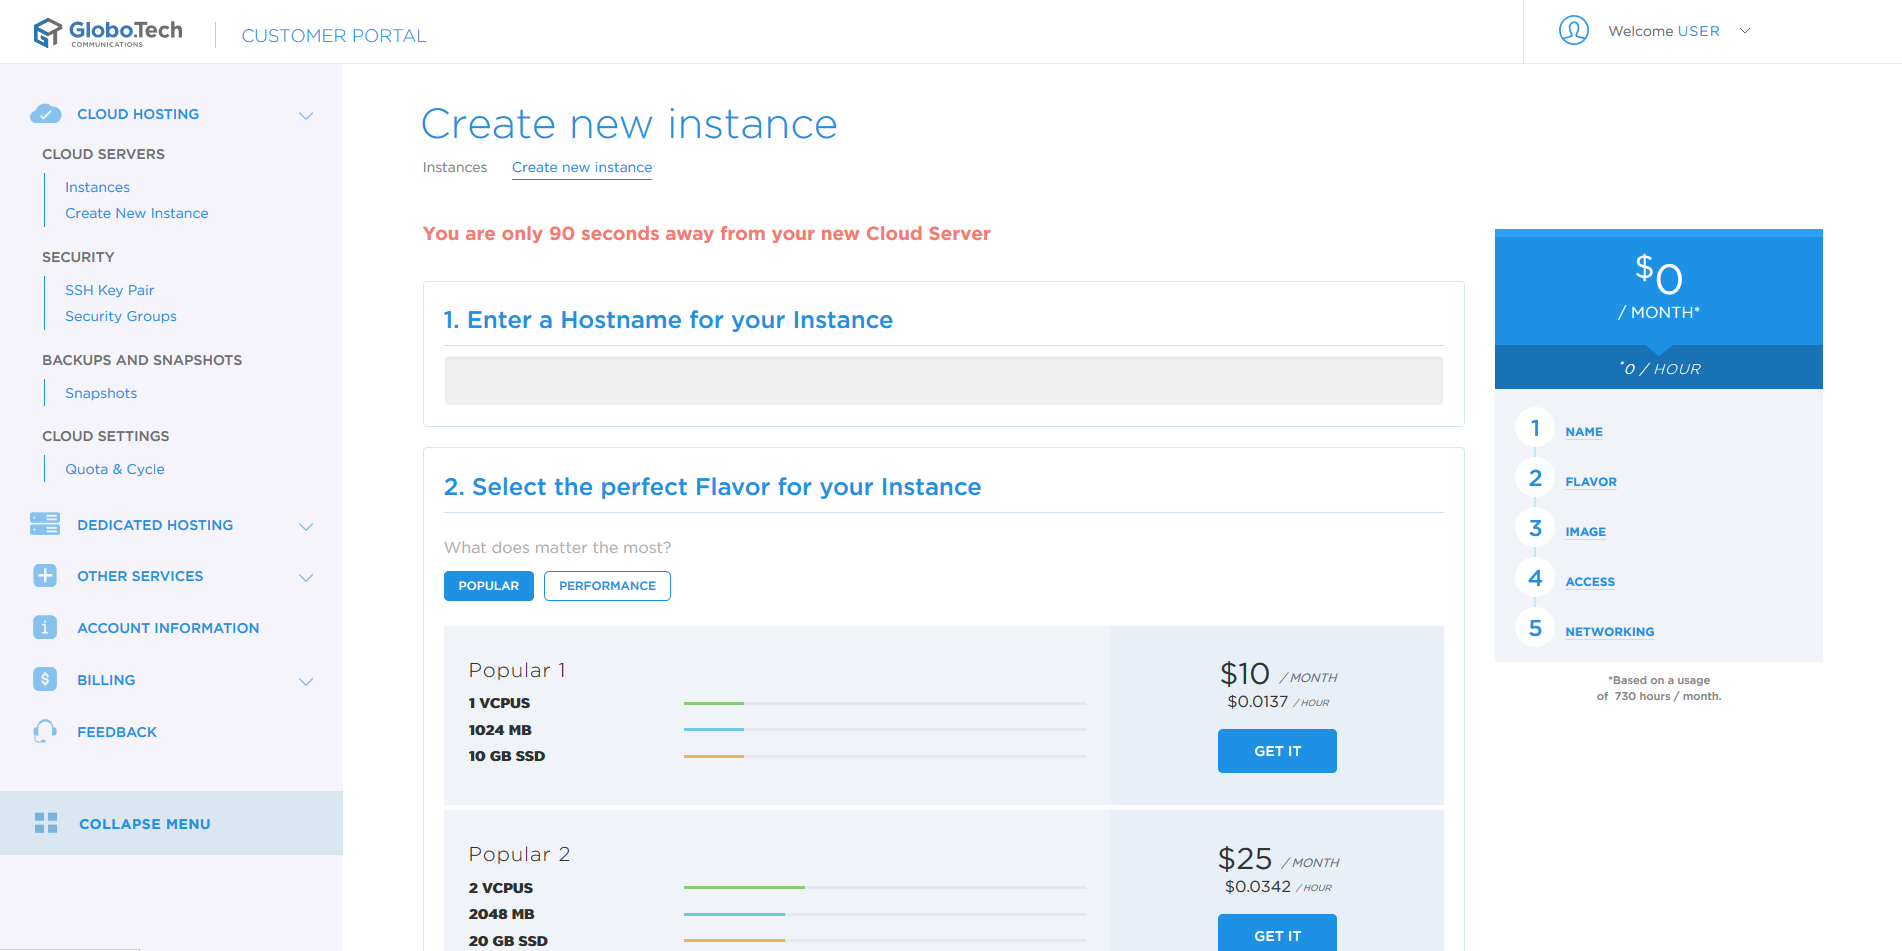
Start by setting an instance name.

Select a Flavor
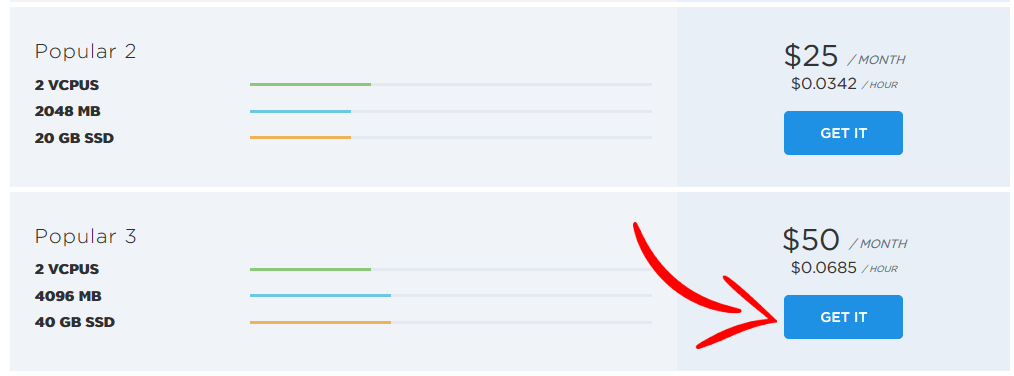
Next, select a flavor. Many variables are involved in setting up a server for your website, and it can be difficult knowing how much RAM, disk space, and CPU power are needed for any given site. Flavors abstract all of that away, letting you instead describe performance in terms of how popular your site is. You can probably begin with a Popular 2, though you’ll likely want a Popular 3 if you already have an active site. Don’t worry, this choice isn’t final. You can change your flavor selection later. When you’ve chosen your flavor, click “GET IT” and we’ll set everything up.
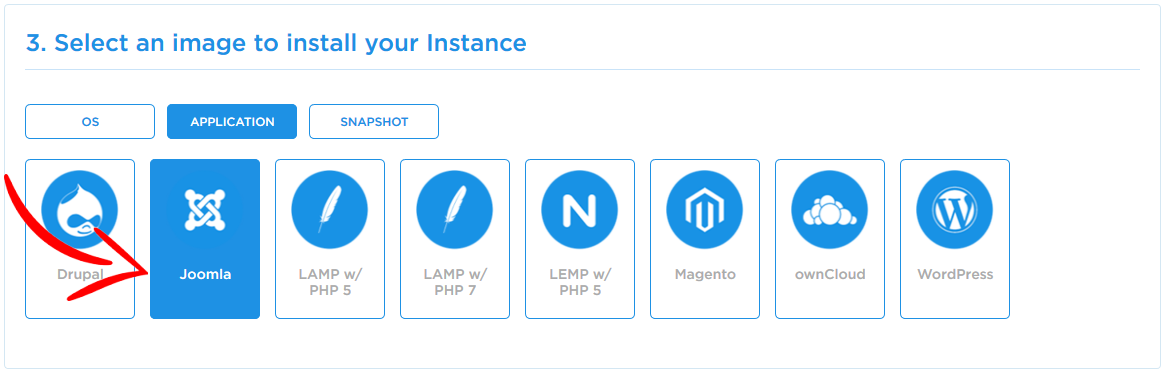
Select an Image
Next you’ll select the image that will be applied to your server. Since we’re using Joomla, start by selecting the Application tab. Then click Joomla.
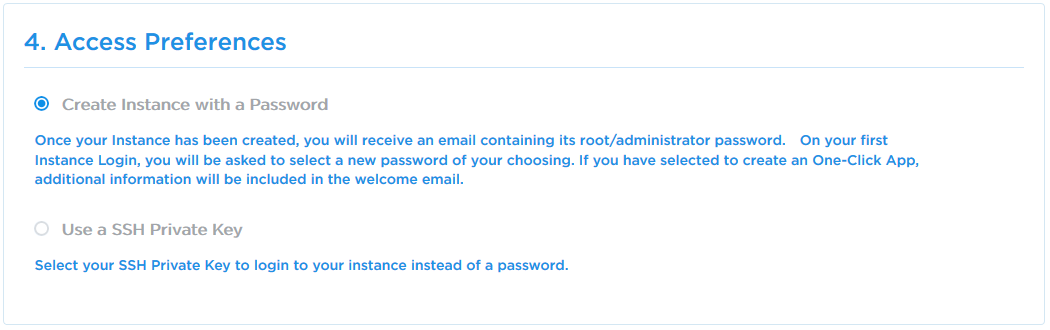
Set Up Your Access Preferences
This screen determines whether your instance will be accessed via password, or with an SSH key. For this guide, we’ll select Password.
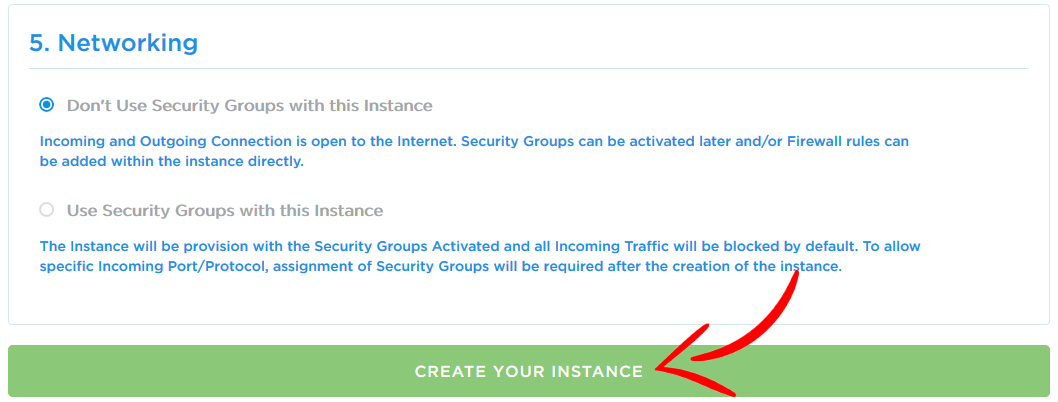
Select Networking Options and Create Your Instance
Here we choose whether to use security groups. Security groups are outside the scope of this guide–we have another article on those–so here we’ll choose to not use them. Once security groups are disabled, click “Create Instance” to continue.
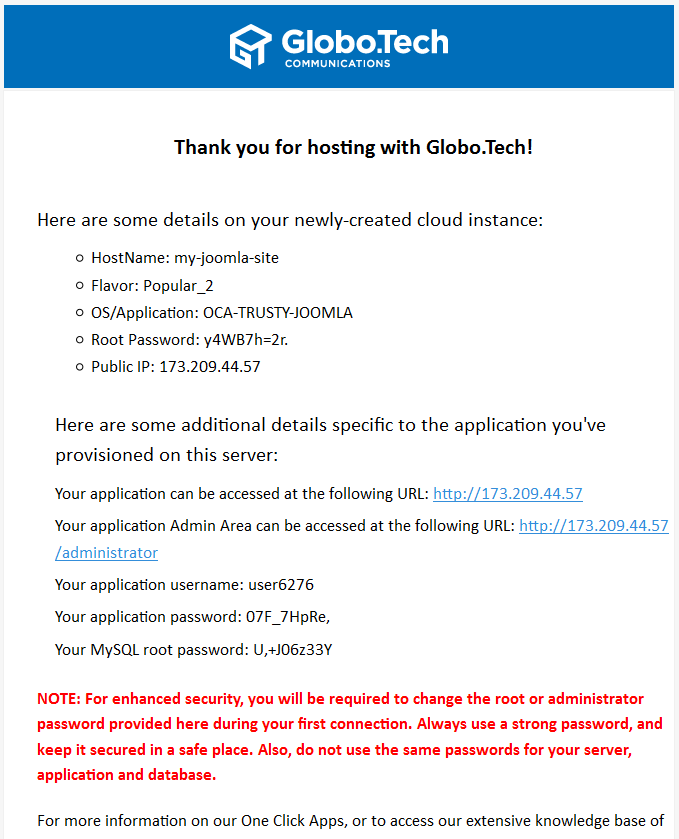
Access Credentials
We’ve created your server, and have emailed access credentials to your address on file. Check your email for these. Save this message, as it contains all necessary details for accessing your new Joomla site.
Test Access to Your Joomla Site
With these details in hand, let’s try connecting to your Joomla site.
Visiting Your Site
Start by visiting your site’s main URL. In this example, the URL is http://173.209.44.57. It will, of course, be different for your own instance.

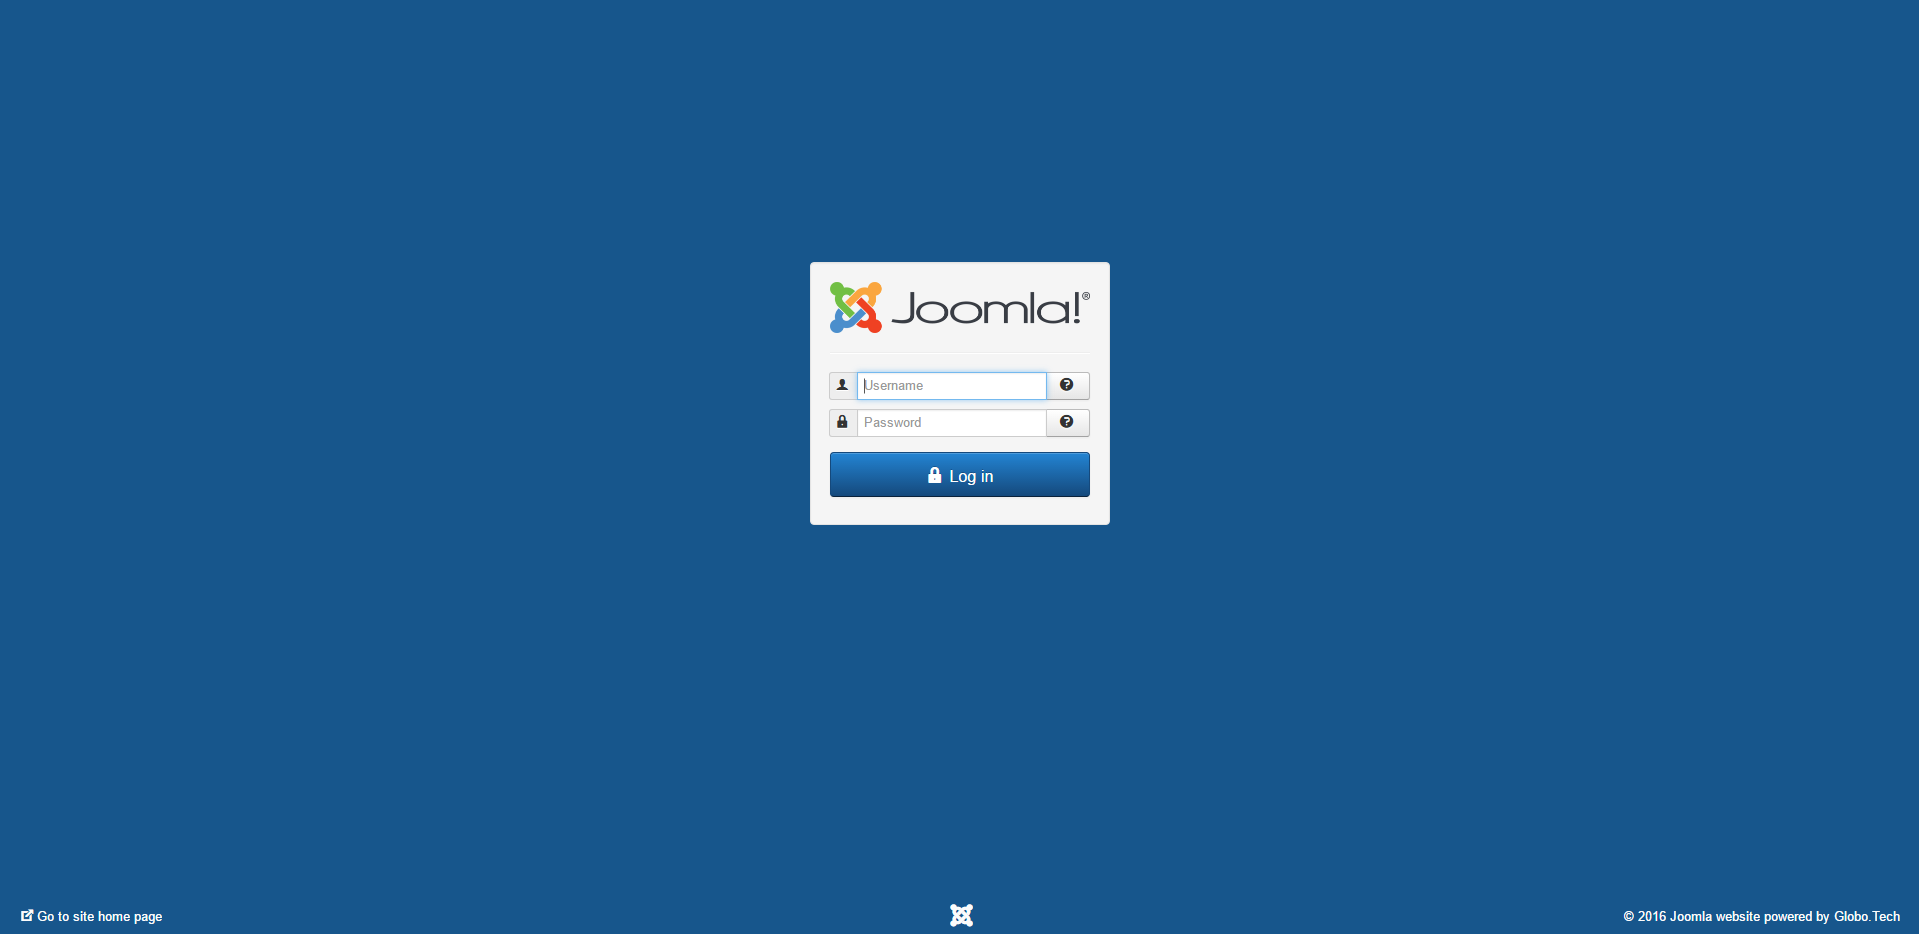
Log In As an Administrator
Next we’ll access Joomla’s administrative interface. Do this using the credentials you were emailed earlier.
In this example, the URL for the administrative interface is http://173.209.44.57/administrator, substituting your own IP address.
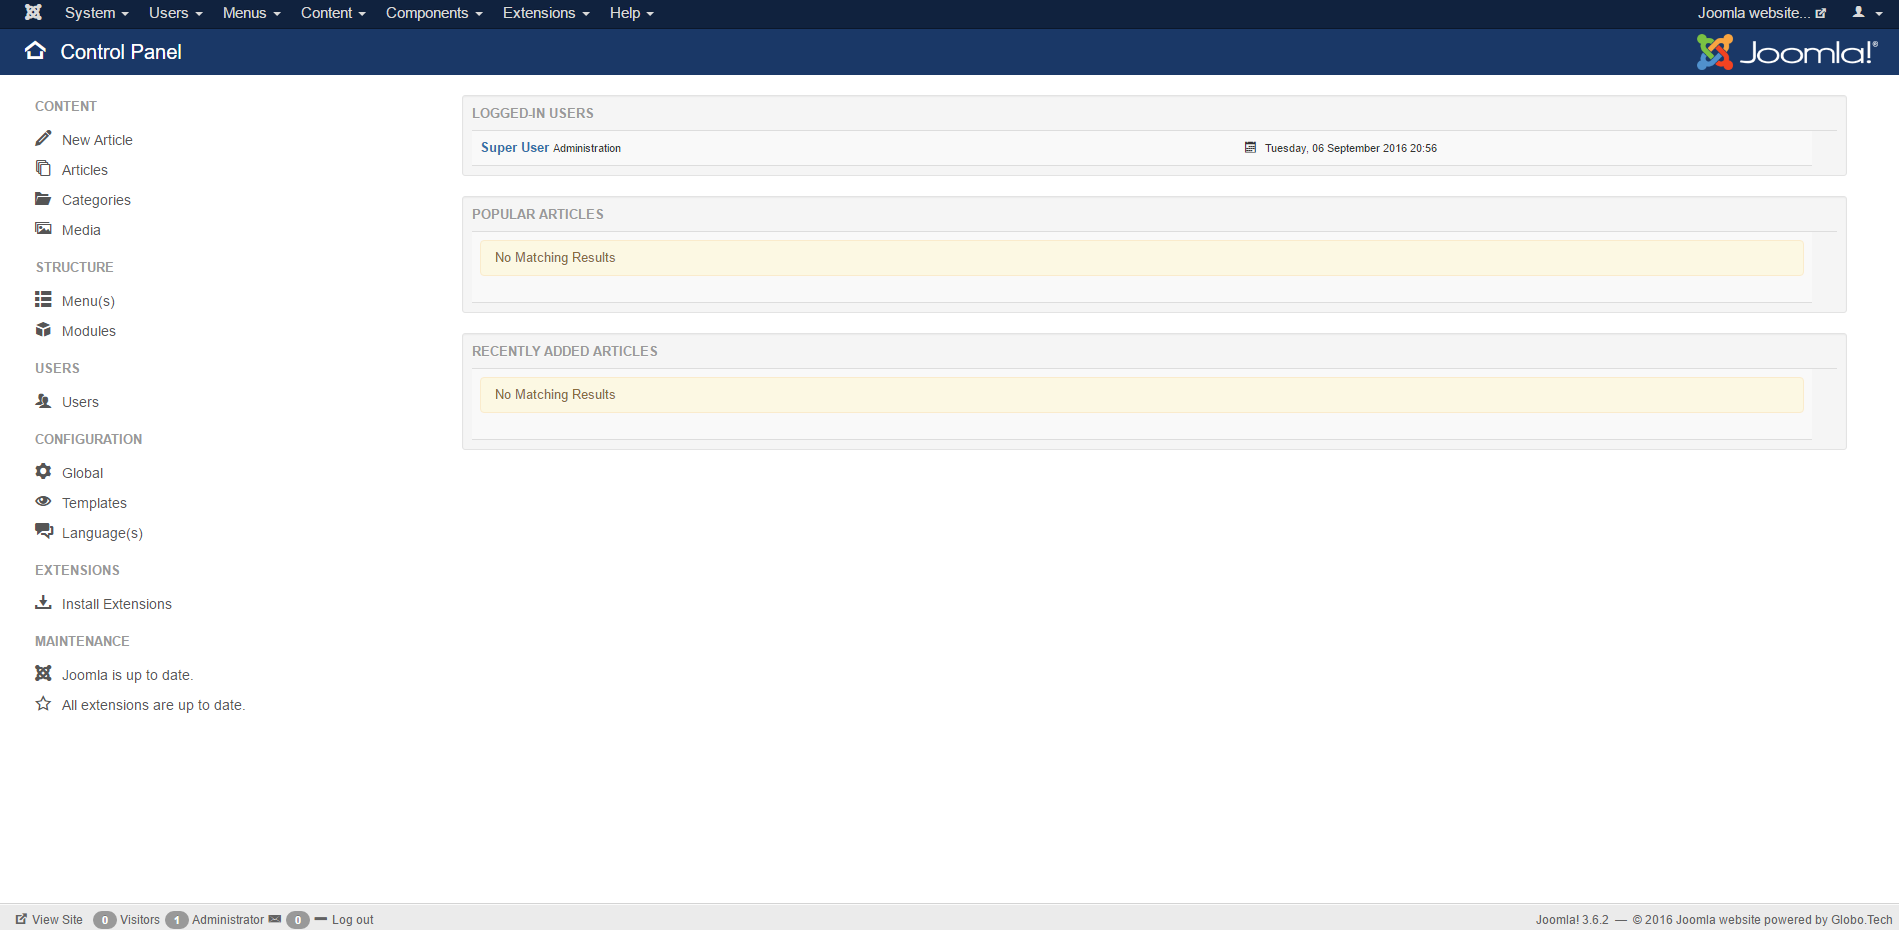
When you’ve entered your credentials and clicked “Log in,” you’ll be taken to Joomla’s administrative interface. Here is where you can publish content, configure your site, and change various aspects of how the site appears.
With this step complete, Joomla is up and running, and you can begin customizing your new website. Next you’ll want to configure Joomla and start adding content.
Configuring DNS Records
Ideally, your site will be reachable via a domain name so visitors don’t use your IP address directly.
You’ll need to purchase your own domain name before continuing. This can be accomplished either through a third party registrar, or directly from us. Get in touch and we can help with the process of acquiring and configuring your domain.
The screenshots in this guide will use the domain named MyJoomlaSite.com. Substitute your own when completing the following steps.
You will need two A records pointing at your IP address. Domain name registrars use different interfaces, so it is impossible to show exactly how this is done on every provider. You’ll need records for MyJoomlaSite.com and www.MyJoomlaSite.com set to the value of your IP address.
Unfortunately, DNS records take time to propagate throughout the internet. In some instances it can take as long as 48 hours, though records are generally available in only a few hours.
Configure Joomla
You’re now ready to configure your new Joomla site by installing themes and plugins. Details on doing so are beyond the scope of this tutorial, but Joomla’s own documentation is of great help with this stage. Visit it at https://docs.joomla.org/main_page.
Conclusion
We’ve achieved much in this guide, setting up an entire operating system and server stack for your Joomla website. Without our OCA system, you’d have had to do all of this from scratch, learning how to configure and maintain an entire operating system simply to run a Joomla site. Instead, you’re now up and running with one of the world’s best content management systems, and can instead focus on creating a great experience for your visitors.

