 Call us at 1-888-GTCOMM1
Git is a popular version control software that you can use to organize development and track progressive versions of your code with ease. Gitlab is a web-based Git repository manager that allows you to skip the command line and graphically interact with your codebase.
We here at GloboTech have made installing Gitlab on your account easier than ever. The following is a guide to our Gitlab One-Click App.
Tutorial
Log In
This guide is written for the GloboTech customer who already has credentials for the customer interface.
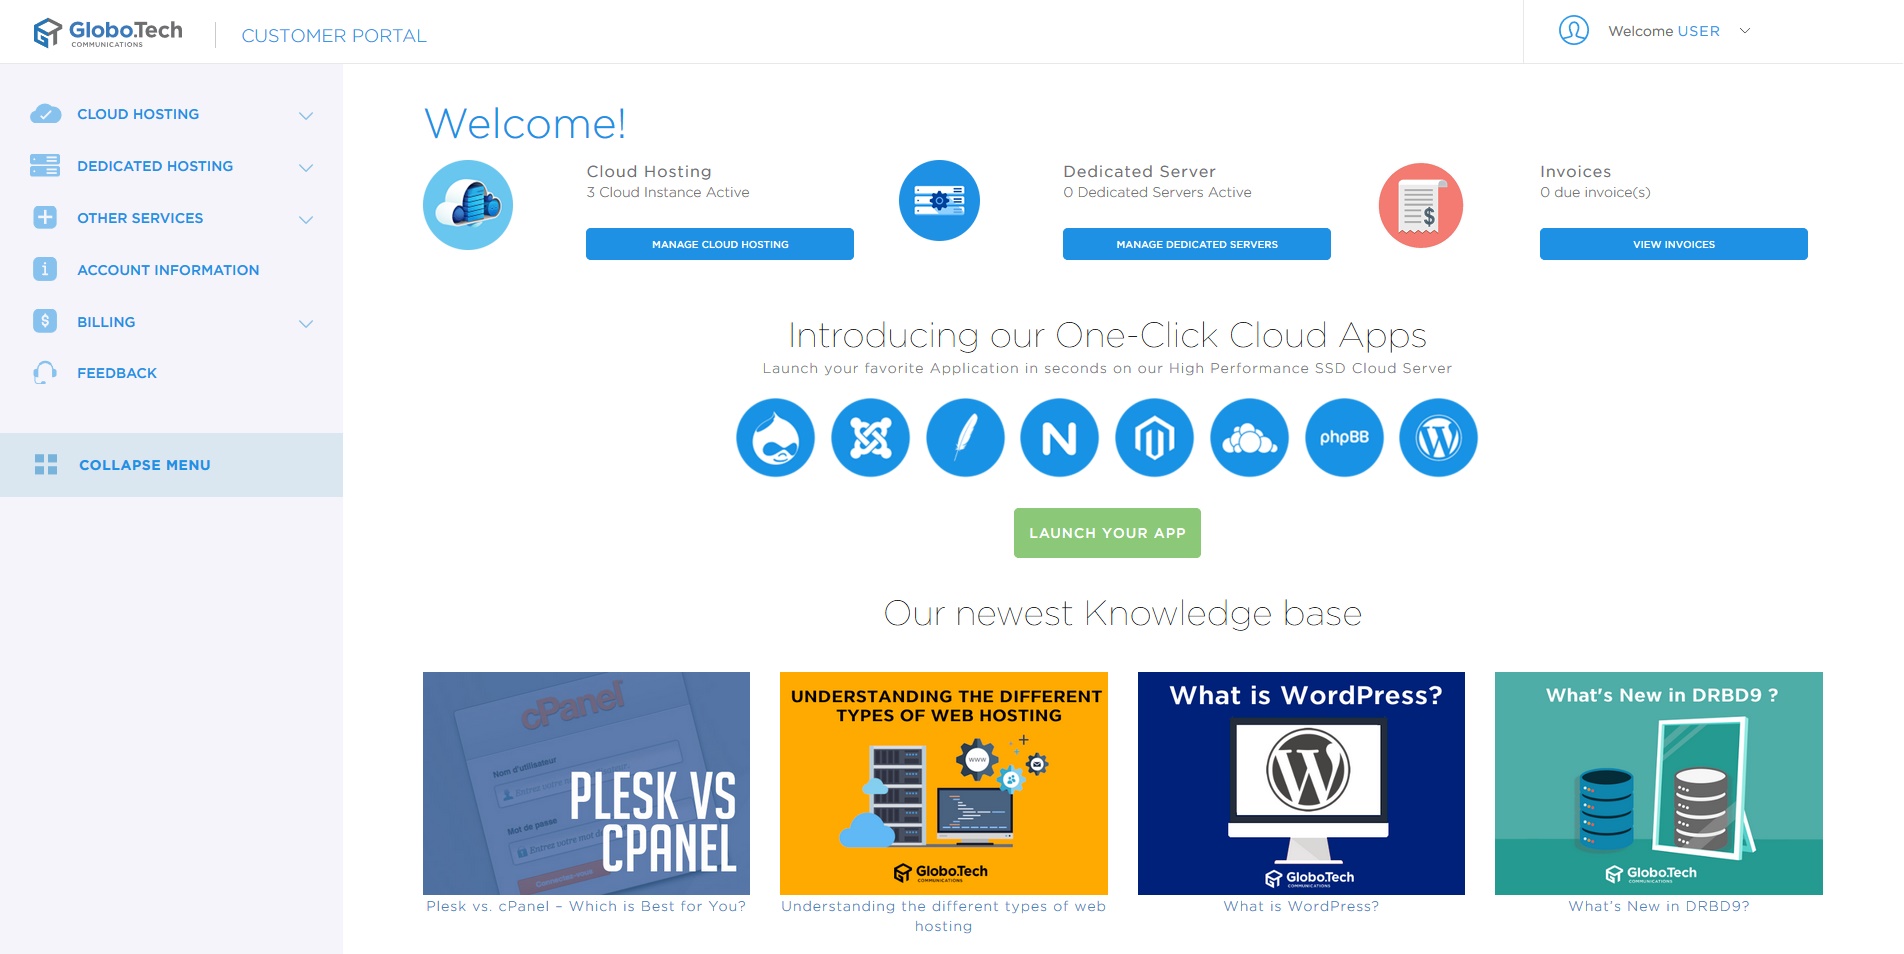
Your first step will be to log in to your GloboTech account at https://portal.globo.tech. After logging in, you should see a page similar to the following screenshot.
Deploy Your Gitlab OCA
We’ll be running Gitlab on an OCA server image. GloboTech provides special OCA instances preloaded with a variety of useful applications, making less work for you as you don’t have to worry about spending time installing dependency after dependency.
Creating your Instance
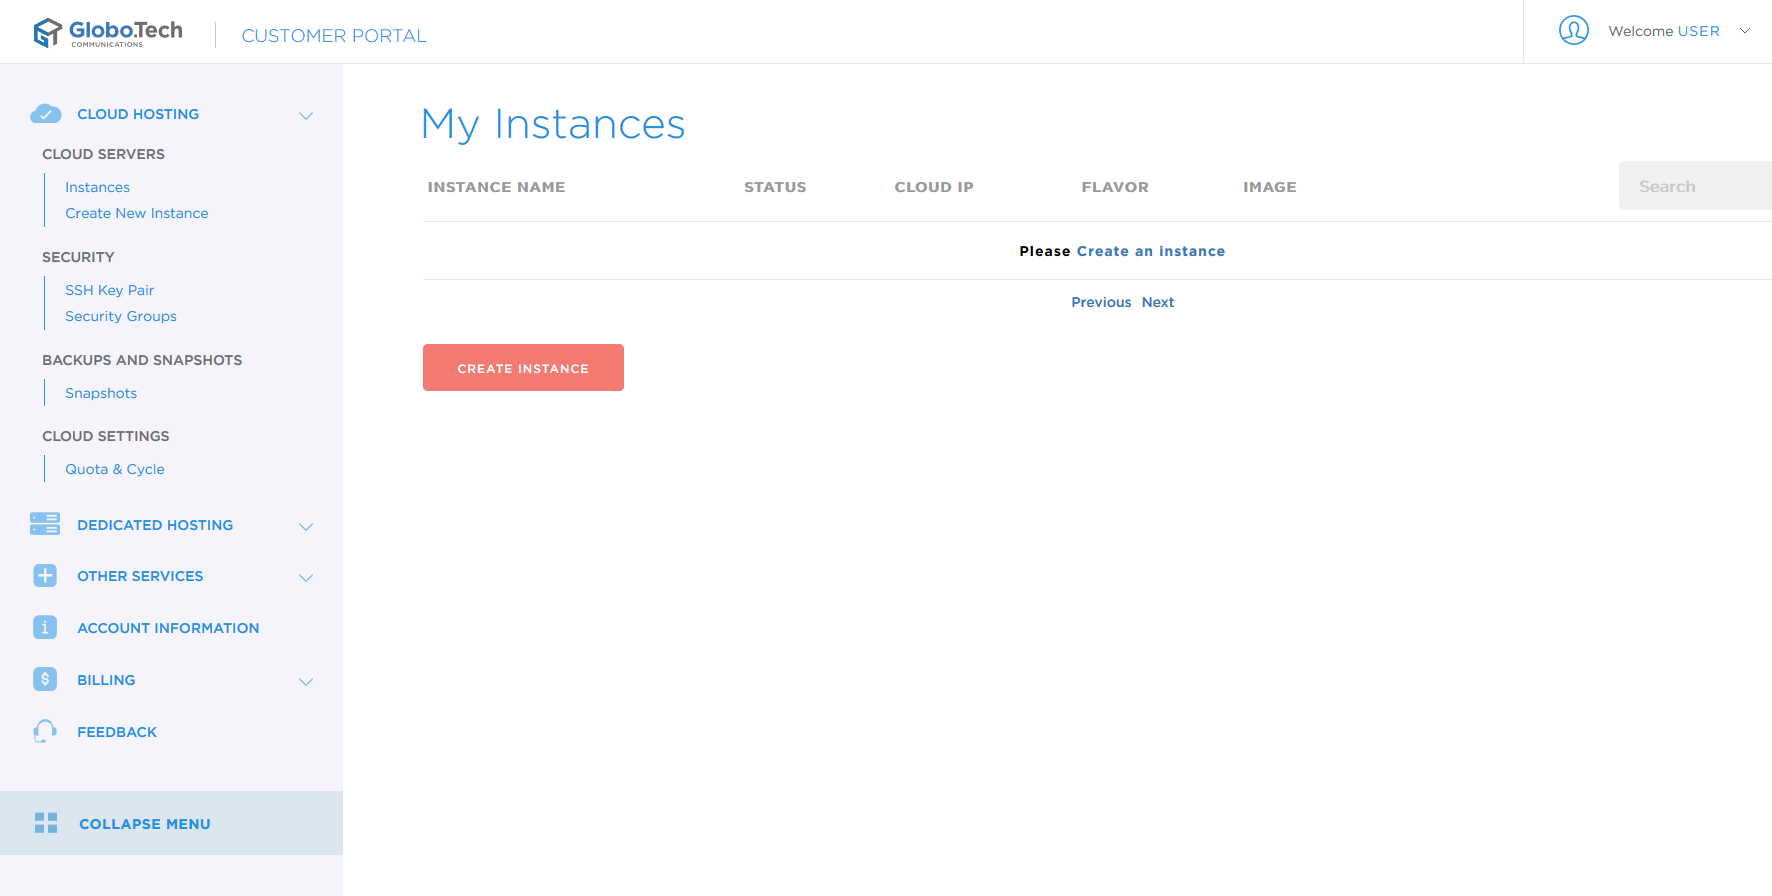
To begin the OCA setup, click on the “Cloud Hosting” link on the left navigation menu of the portal. Next, find and click “Instances”. This will show you any active instances you might have. We want to create a new instance, so click the “Create Instance” option.
You’ll be transferred to the instance creation page, which looks like the following screenshot.
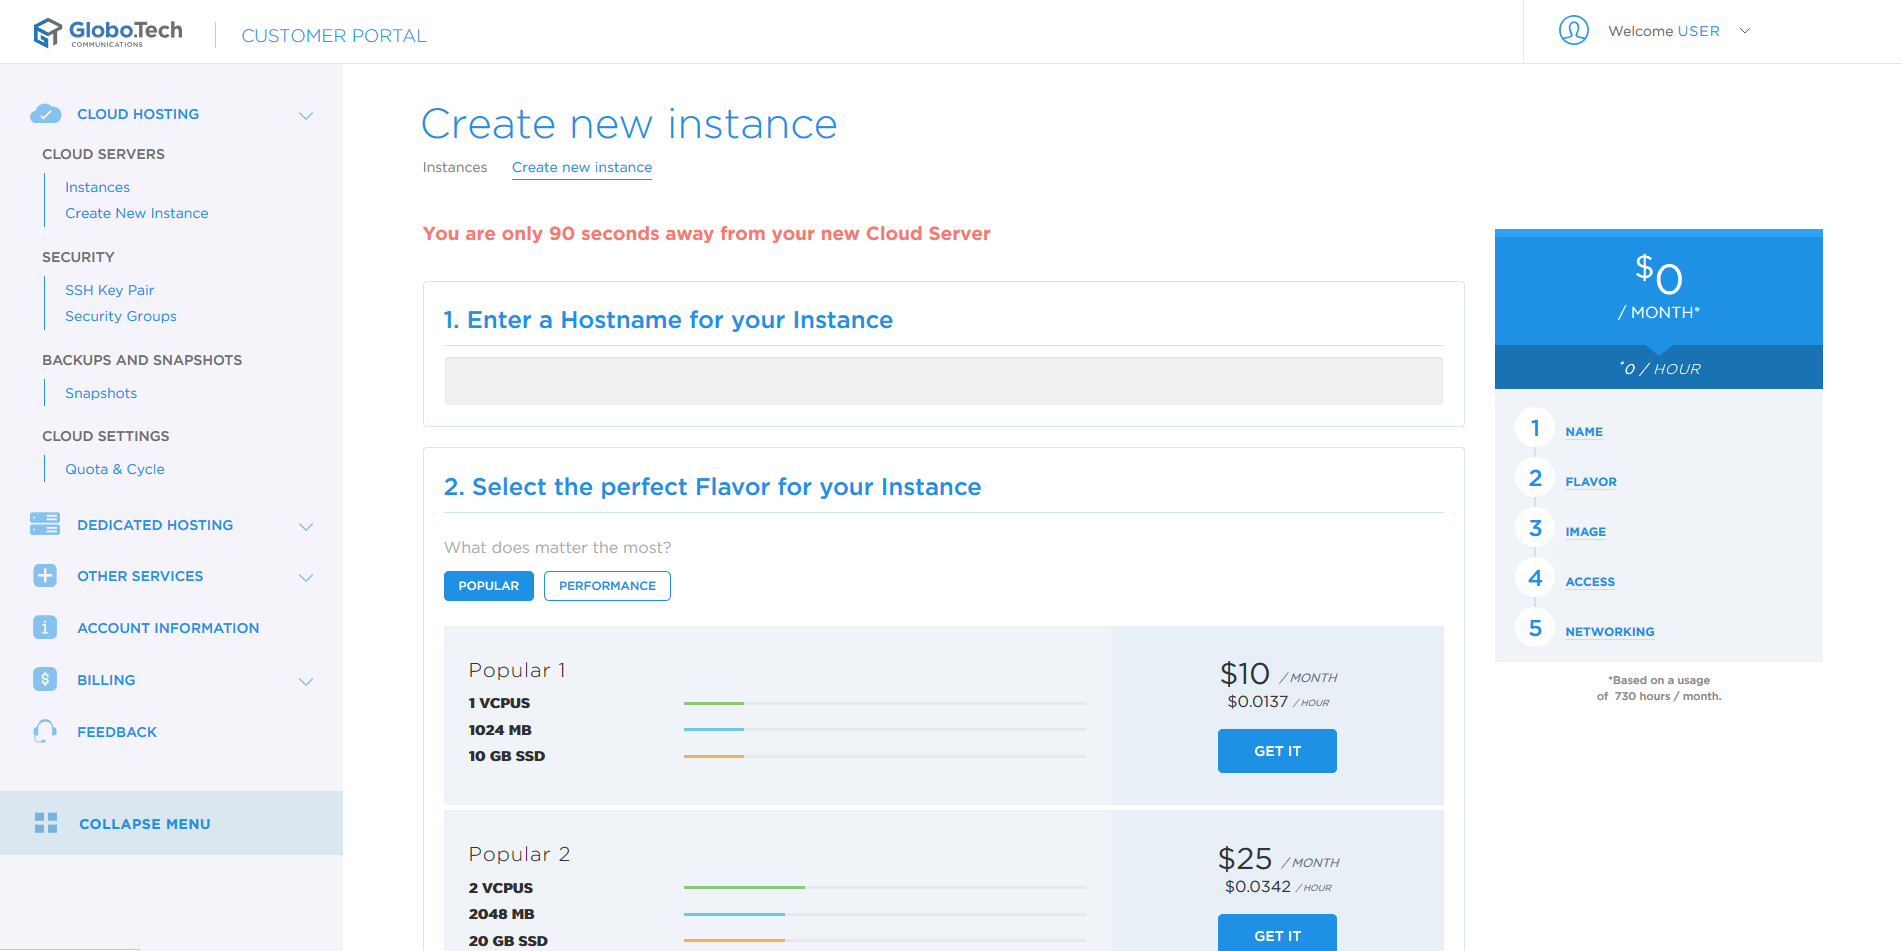
Enter an Instance name
Here, you can name your instance.

Select Your Flavor
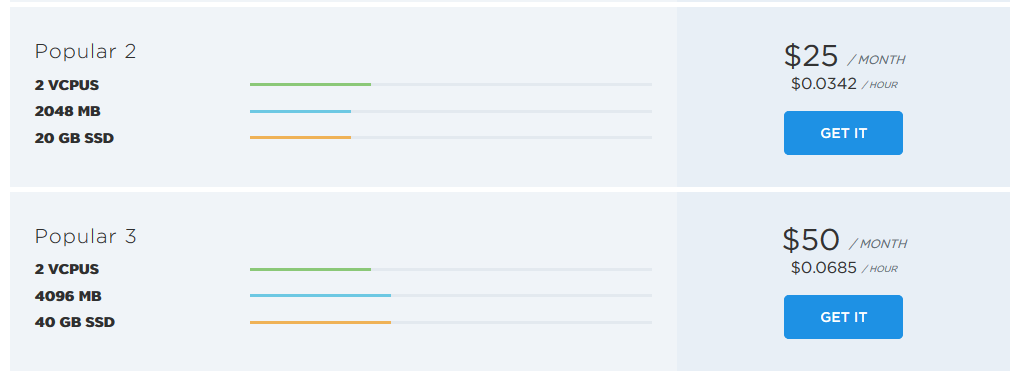
Next, you can select which “flavor” you’d like to use. Flavors are performance packages that limit the amount of CPU, RAM and DISK usage a server instance will use. For example, Popular 2 for a site that hosts a small blog. Popular 3 is useful if you already have an active userbase with more visitors. It’s easiest to select a small flavor at the beginning and upgrade it if you find your performance suffering later on.
Once you have made your choice, click on the GET IT button on the right.
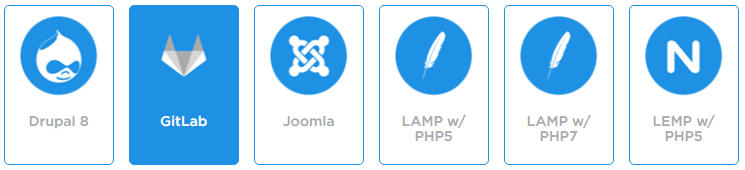
Select Image
To begin the installation of our Gitlab One Click Application, click on the Application tab. You’ll be presented with a list of applications. Select Gitlab as your choice.
Setup Access Preferences
Now let’s set up your access preferences. Here you may choose to either create your instance with a password or use a SSH key. For the purposes of this guide, we’ll select the password option.

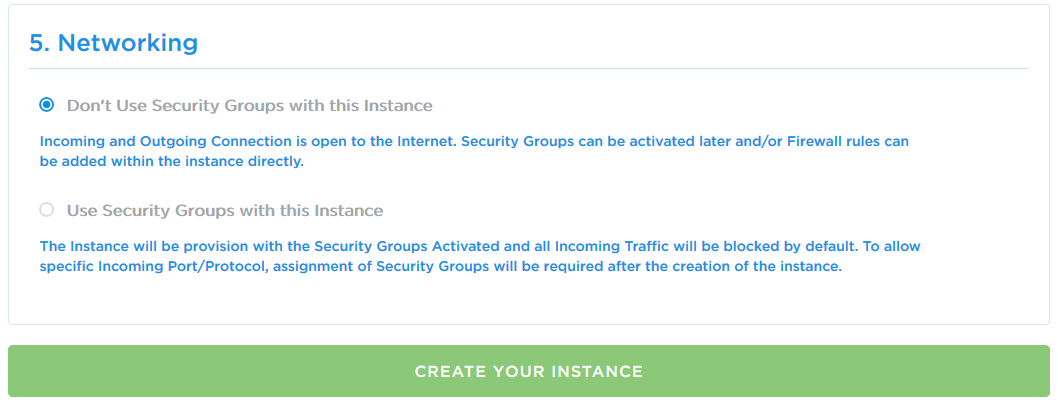
You also have the option of using security groups. We’ll disable it for now. Be sure and refer to our security groups article for more information on how they can benefit your server.
Select Networking Options and Create Your Instance
Finally, click on “create your instance” below to finish.
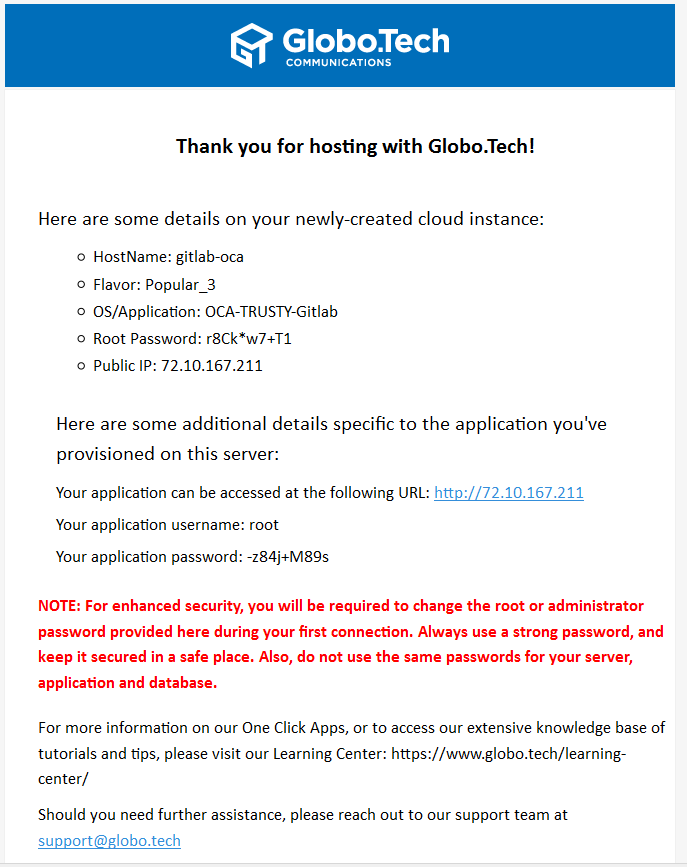
Access Your Credentials
After instance creation, we’ll email you your server information.
Test Access to Your Gitlab
Let’s test out our Gitlab instance. Visit the URL that we emailed you. You will land on the login page for Gitlab.

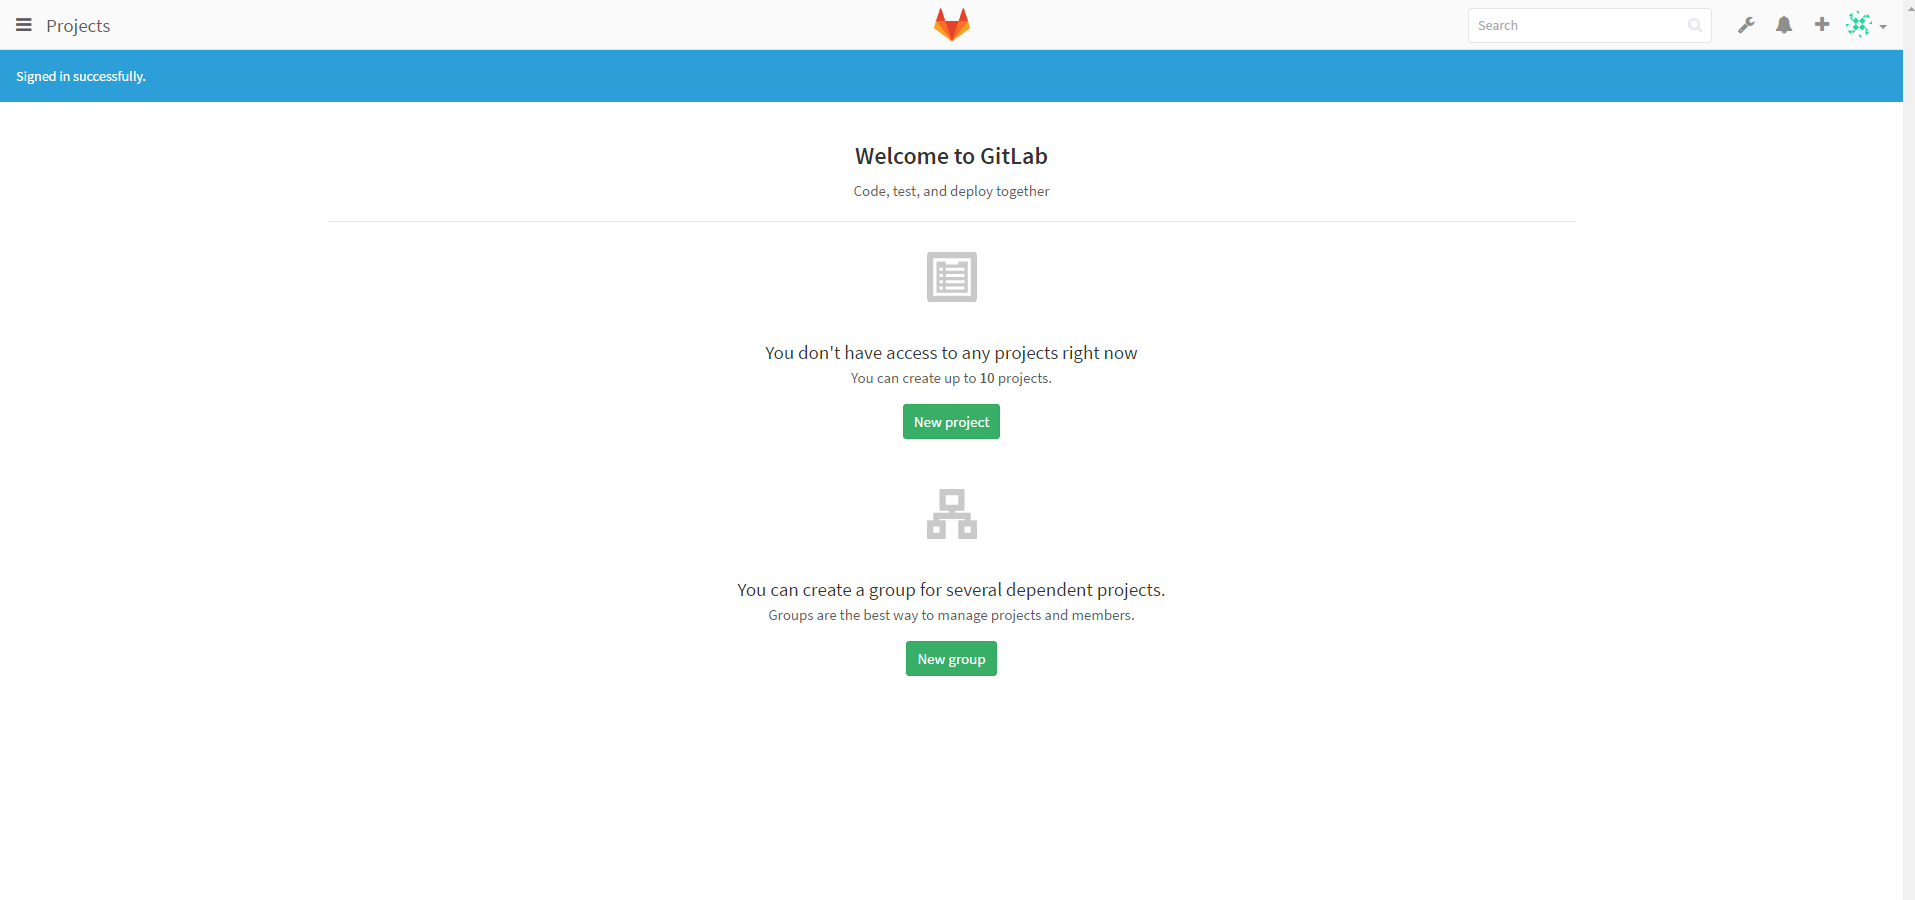
Log In as Administrator
The credentials we gave you will allow you to log in as an administrator. Once logged in, you’ll be taken to the admin dashboard:
In order to be able to visit your Gitlab site with a domain name rather than just an IP address, the site will now require a domain and DNS records.
If you don’t have any domain to use, then you can buy a new one for your site. Please ask our team if you are not at ease with this part, as it’s quite easy to purchase domain names from us directly.
For the purposes of this guide, we’ll use “mygitcode.com” as an example of a domain name you might use, and “72.10.167.211” as the example IP address it might point to.
You will need to create 2 “A” records that will point the domain name towards your website’s IP. All providers use different interfaces and you also may have your domain hosted on separate DNS servers already, so we will skip this part. Just make sure that both of the following records exist:
mygitcode.com to point towards 72.10.167.211

www.mygitcode.com to point towards 72.10.167.211
Allow some time for those records to propagate to the internet. In some cases it can take up to 48 hours. However, in the majority of cases it only takes a few hours to propagate entirely.
Conclusion
Now that Gitlab is installed and fully operational, you can refer to gitlab’s official documentation to further customize your configuration for your needs. More information is available here: https://docs.gitlab.com/ce/

