 Call us at 1-888-GTCOMM1


How to Assign a Static IP Address in Windows Server 2016
IP addresses, short for Internet Protocol addresses, are numbered labels that each device on a network receives; the IP address allows for the device to communicate while assigning identification and addressing. A static IP address is a specific classification that of address that is assigned or configured for a specific device; this means the address is not assigned by the client/server protocols used for automatically assigning IP addresses. These addresses are considered static since the IP address does not change; a static address may be used to provide a stable address for a device in your network, allowing requests to be forwarded consistently to a designated address without worrying about an IP address change.
Getting Started
In this tutorial, we’re assigning a static IP address in Windows Server 2016. To do that, you will need one node that already has Windows Server 2016 installed; the node you choose may be hosted on a cloud server or a dedicated server. A cloud server is a shared resource that hosts a virtual server environment while a dedicated server is a hardware server that’s been configured to be used by one party.
When you’ve chosen your node, make sure to run any updates necessary for your Windows Server 2016 instance; running updates on the system is a good first step for any changes or installations.
It’s important to note that you will need access to the administrator account or an administrative login for your server before you can set a static IP address.
Assigning a Static IP in Windows Server 2016
The first step to assigning your new IP address is to connect to the node through the console or a remote desktop connection, if accessible:
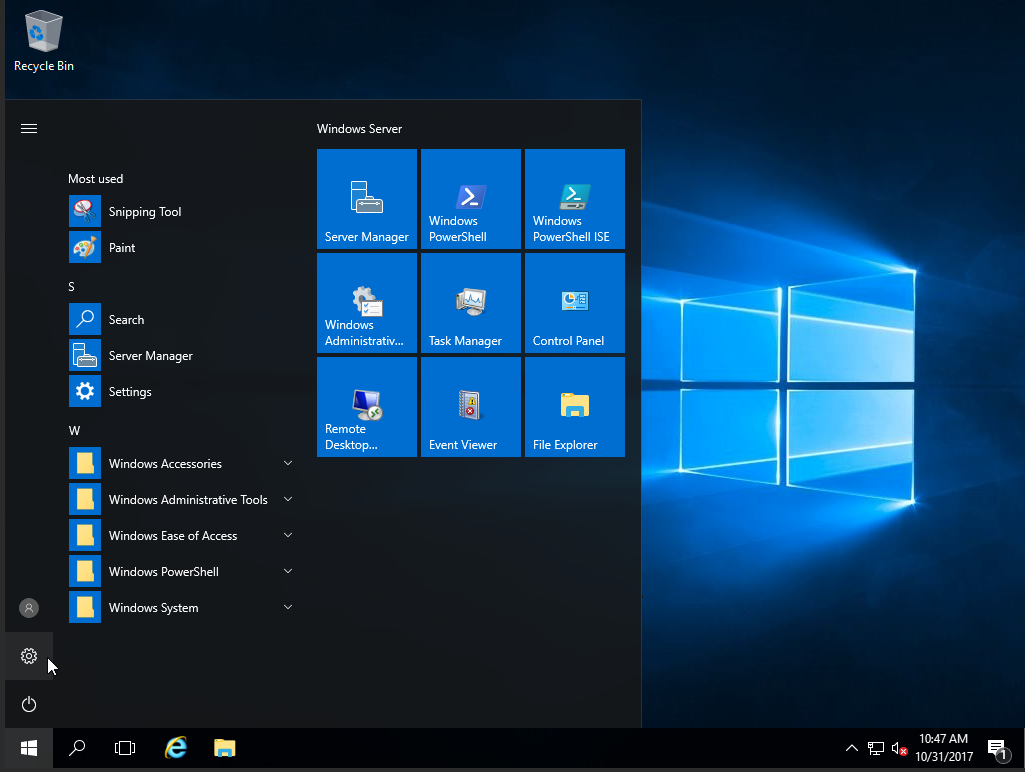
Once accessed, you need to open the settings:
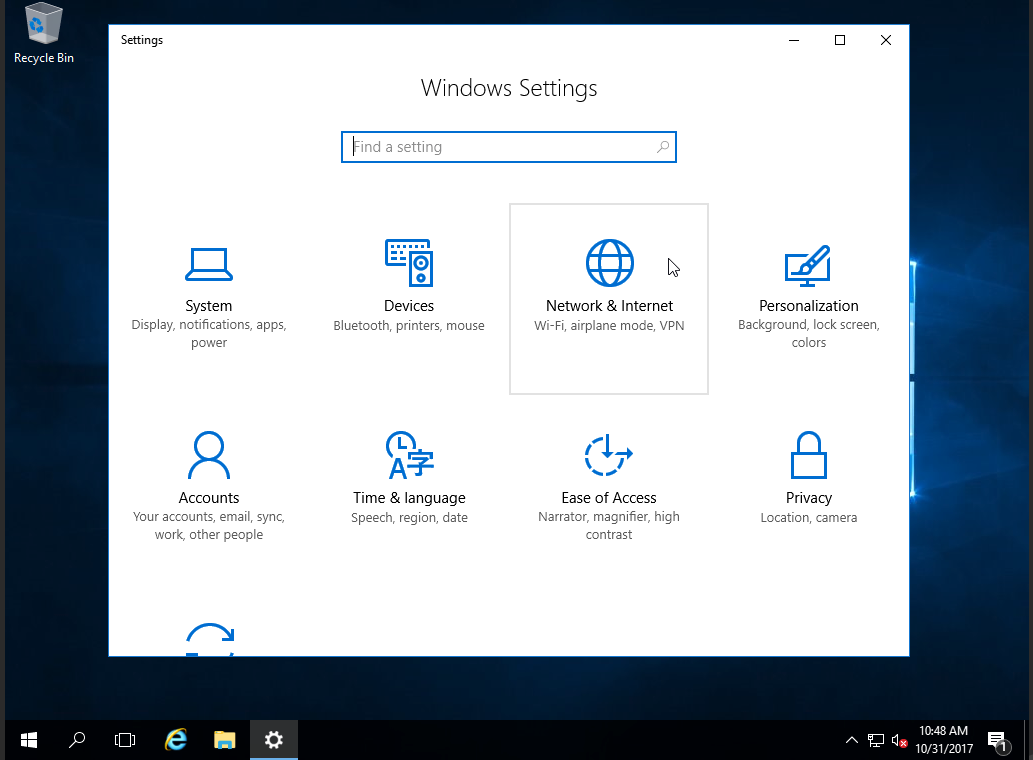
In the settings, open the network and internet settings:
When opened, click on the Ethernet option:
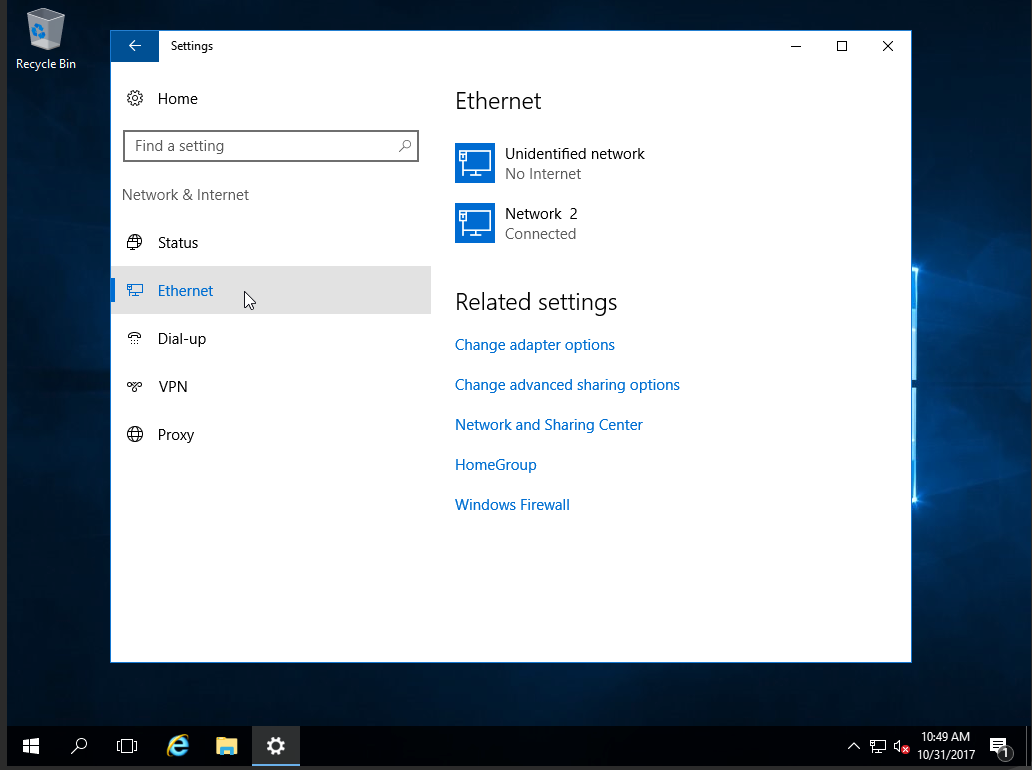
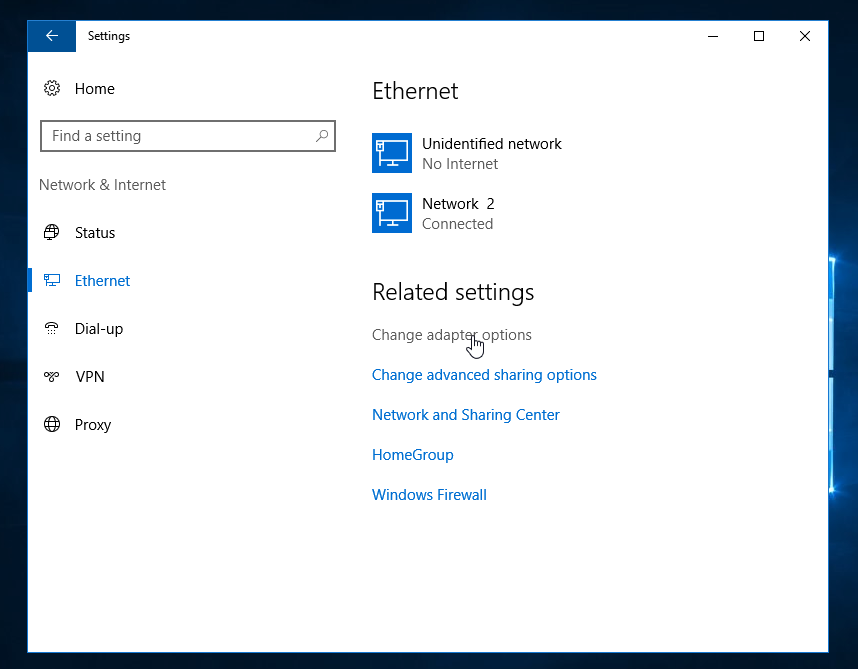
Then you can select the Change Adapter options:
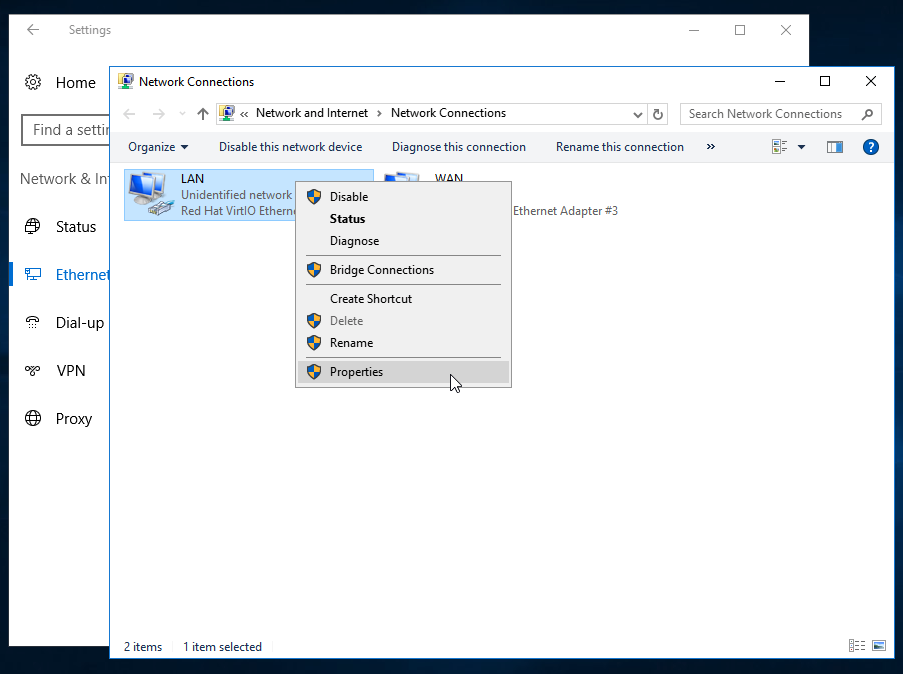
After the options are open, right click on the interface you’re attempting to configure (this usually is your network connection) and then click on properties:
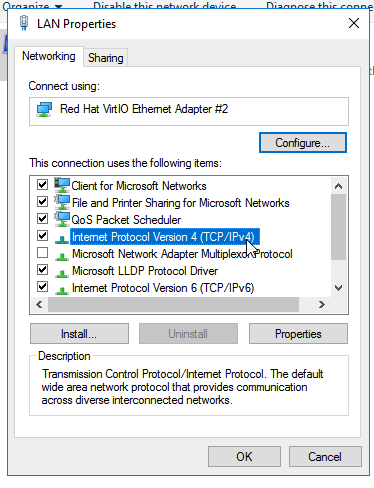
Then choose the Internet Protocol Version 4 (TCP/IPv4) option, click on the properties option:
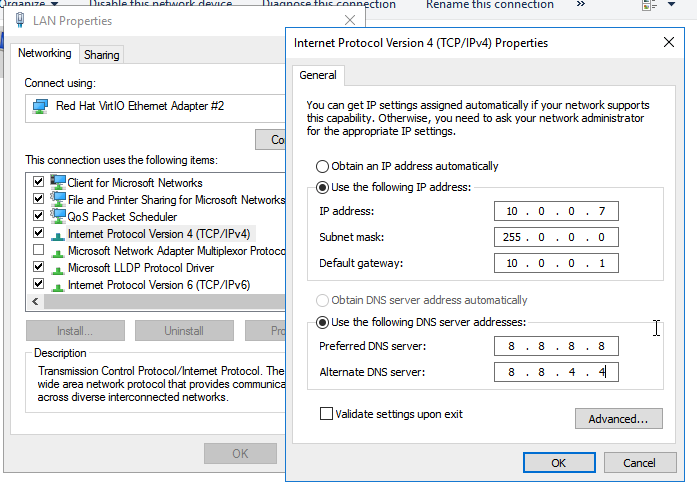
Once opened, you can then fill in the information that’s required to make the change to a static IP, making sure to update the Network Mask, Default Gateway, and DNS IP address as necessary:
After updating the necessary information, click OK, then click OK again when the interface page comes up:
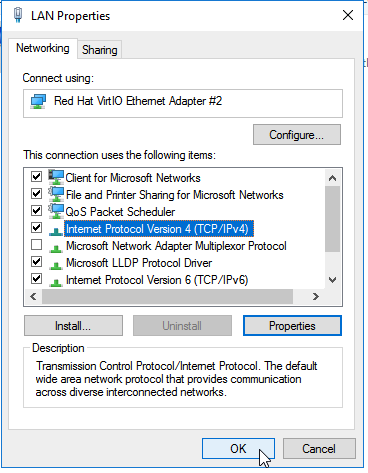
Once complete, your IP address has been configured to static, meaning it will not change or be assigned a new address.
Conclusion
Congratulations, you’ve successfully updated your node running Windows Server 2016 with a static IP address. Your IP address will no longer be assigned by the client/server protocols, instead of remaining the same each time. If you found this guide helpful when making changes to your Windows Server instance, please share this guide with other users attempting the same process.

