 Call us at 1-888-GTCOMM1


How to Setup DRBD 9 on Ubuntu 16
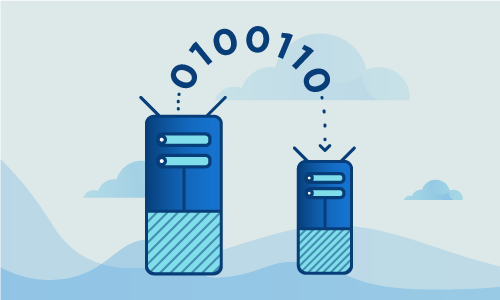
DRBD, or Distributed Replicated Block Device, is a special kind of data storage that uses multiple servers. A “primary” server stores the data, and the other “passive” servers act as mirrors of the primary. If the primary server fails, one of the passive servers will then become the primary.
DRBD is an excellent solution for preventing data loss for businesses of any size. Additionally, the codebase is open source under the GNU General Public License (version 2), meaning it can be tweaked for the needs of an individual company.
Getting started
Before following this guide, make sure you have prepared these prerequisites:
• 2 Nodes (Cloud Server or Dedicated Server) running Ubuntu 16.
• All commands should be run as the root user
• At least one partition free on each node (Partition must have the same size)
Tutorial
Ubuntu 16 only has DRBD version 8 in the repositories. Fortunately, you can upgrade to version 9 with not much trouble.
sudo apt-get update

sudo apt-get install -y drbd8-utils
Once it’s installed, you will have to ensure that your server’s hostname will be resolved to the IP Address that you’ll be using for the cluster. This requires a quick edit of /etc/hosts. Open the file in a text editor and replace 127.0.0.1 (the loopback address) with the server’s hostname.
In the example below, we have two hosts named alice and bob. In each /etc/hosts file we have input the same entries:
127.0.0.1 localhost

192.168.56.101 bob

192.168.56.102 alice
Additionally, the Network Time Protocol, or NTP, must be installed on each server for accurate time syncing.
sudo apt-get install -y ntp
Each host should have an additional unused disk on partition. On each of these disks, create a partition of the same size. This is where the data will be replicated.
sudo dd if=/dev/zero of=/dev/sdb1
Next, on each host edit the DRBD configuration file, which should be located at /etc/drbd.conf.
global { usage-count no; }

common { protocol C; }

resource r0 {

    on bob {

        device /dev/drbd0;

        disk /dev/sdb1;

        address 192.168.56.101:7788;

        meta-disk internal;

    }

    on alice {

        device /dev/drbd0;

        disk /dev/sdb1;

        address 192.168.56.102:7788;

        meta-disk internal;

    }

}
Load the kernel module on each system.
sudo modprobe drbd
Now all you have to do is create the mirror device:
sudo drbdadm create-md r0
Then simply bring the mirror device online with this command.
sudo drbdadm up r0
You can view the status of the mirroring like so:
sudo drbd-overviewsudo cat /etc/drbd
Both nodes are initially set to be secondary, or passive. Force one of the nodes to be primary:
sudo drbdadm -- --overwrite-data-of-peer primary r0/0
Afterwards, format and mount the disk.
sudo mkfs.ext4 /dev/drbd0

sudo mkdir -p /var/www/html

sudo mount /dev/drbd0 /var/www/html
In order to upgrade, do the following:
apt install software-properties-common
then
sudo add-apt-repository ppa:linbit/linbit-drbd9-stack
Finally, perform apt-get update so that Debian will recognize the updated repository. After that, you can run the apt-get upgrade to upgrade DRBD to version 9.
apt-get update

apt-get upgrade
Conclusion
DRBD provides a secure, reliable way to ensure data never goes missing upon HD or server failure. You can add as many servers as you like for extra redundancy. If this guide was helpful to you, kindly share it with others who may also be interested.

