 Call us at 1-888-GTCOMM1


How to Install VestaCP on Debian 9
Vesta control panel (often abbreviated as VestaCP) is an open source hosting control panel, allowing the user to manage websites, create email accounts, manage email accounts, manage FTP accounts, and more. During this guide, we will install VestaCP on Debian 9, which is a freely provided operating system designed to be similar to Unix systems and is a popular system used with cloud and dedicated server instances.
Getting Started
To get started installing VestaCP on Debian 9, you will need a node running Debian 9; you can choose to use a cloud server or dedicated server to host your node. Your node should be running the most up-to-date version of Debian 9.
Time to Install VestaCP on Debian 9
Now that you’ve selected your cloud or dedicated server, you’ve verified your node is running Debian 9, and you’ve confirmed Debian 9 is running the current software version, you’re ready to begin.
The first step is getting a Debian 9 minimal install on a virtual private server (VPS) or dedicated server.
Then it’s time to run the update for Debian 9 and reboot your node:
apt update && apt upgrade -y && reboot
Once the update is complete, you can download the VestaCP installation script:
curl -O http://vestacp.com/pub/vst-install.sh
After downloading the installation script, you can run it on your node:
bash vst-install.sh
If you need to customize your VestaCP installation, you can do so at https://vestacp.com/install/.
While running the installation script, you will be prompted to fill in the following questions with the appropriate answer:
Would you like to continue [y/n]: y
Please enter admin email address: your_email@email.com
Please enter FQDN hostname [vestacp]: server.example.com
The installation of VestaCP may take up to 15 minutes to complete.
Once the installation script completes, you may receive the following notification:
root is not in the sudoers file. This incident will be reported.

=======================================================

_| _| _|_|_|_| _|_|_| _|_|_|_|_| _|_|

_| _| _| _| _| _| _|

_| _| _|_|_| _|_| _| _|_|_|_|

_| _| _| _| _| _| _|

_| _|_|_|_| _|_|_| _| _| _|
You’ve completed the installation of VestaCP. You will receive a prompt with the username, password, and host once complete.
https://********:8083

username: admin

password: *******
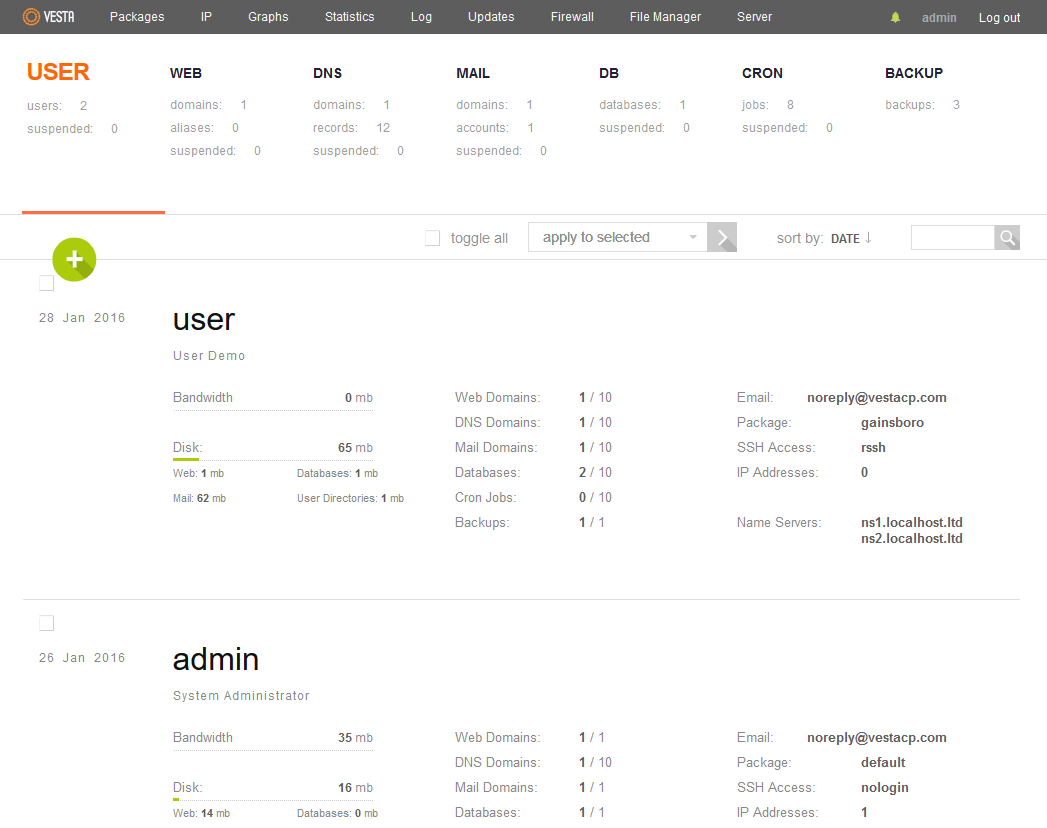
You can now sign into your control panel and begin utilizing your VestaCP installation.
Conclusion
Congratulations on completing your install of Vesta CP on Debian 9, you’re now ready to begin managing websites, email accounts, FTP accounts and more. If you found the use of this guide helpful in setting up your new control panel, please share it with other users engaging in the same setup process.

