 Call us at 1-888-GTCOMM1

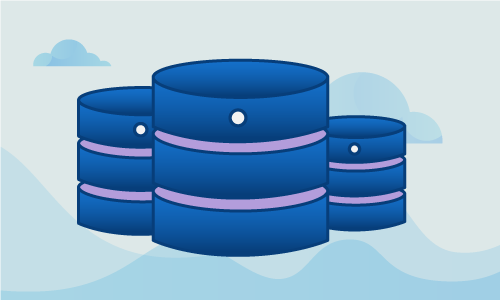
PHPMyAdmin is a browser-based server administration tool used to create and manage databases such as MySQL using a visual interface. Its name comes from the fact that it is written in PHP. It was created in 1998 and is still the most popular browser-based server management tool.
PHPMyAdmin is free and open source under the GNU General Public License version 2.
Getting started
You’ll need the following in place before getting started with this guide:
• 1 Node (Cloud Server or Dedicated Server) running Ubuntu 14.
• Root access
• LAMP stack configured
Tutorial
Before installing, you will need to make sure that your server is up to date.
apt-get update
Afterwards, proceed to install PHPMyAdmin from the repository.
apt-get install phpmyadmin
A windows will appear and ask you to choose between apache2 and lighttp. For the purposes of the guide, you can select apache2. You will also need to choose what your MySQL root password and the password you want to set for PHPMyAdmin will be.
In order for PHPMyAdmin to work correctly, you next need to enable some PHP modules. After doing so, restart the apache daemon so it reflects the changes you made.
php5enmod mcrypt

service apache2 restart
You should now have now access to your PHPMyAdmin. Follow this URL to log in to the interface:
http://your_main_IP/phpmyadmin/
To prevent others from doing the same, it is necessary to secure the directory of your PHPMyAdmin with a .htaccess file.
You need to open this file in a text editor:
/etc/apache2/conf-available/phpmyadmin.conf.
Add the AllowOverride All directive.
<Directory /usr/share/phpmyadmin>

Options FollowSymLinks

DirectoryIndex index.php

AllowOverride All <--------------- The line you need to add
After making the change, save and exit. Once again, restart apache to update.
service apache2 restart
We will now create the .htaccess file in /usr/share/phpmyadmin/. Add the following block:
nano /usr/share/phpmyadmin/.htaccess
AuthType Basic

AuthName "Restricted Files"

AuthUserFile /etc/phpmyadmin/.htpasswd

Require valid-user
When completed, save and close the file.
To generate the password encryption, install this package onto your server:
apt-get install apache2-utils
We can now set the password for authentication. For the purposes of this guide, we’ll be using a user called admin.
htpasswd -c /etc/phpmyadmin/.htpasswd admin
The “-c” flag in the above command is used for the first user created. If you find the need to add another user, merely use the same command without the “-c” flag.
Your PHPMyAdmin installation should now be secured with a .htaccess file. Try it out by visiting the same URL as before:
http://your_main_ip/phpmyadmin
If set up correctly, you should see a small box asking for your admin login and password. Enter the ones we created previously, and you will be redirected to the login page of PHPMyAdmin to login with your MySQL root credentials.
Conclusion
PHPMyAdmin is one of the most popular server management tools for a reason. You should find it a breeze to manage the databases on your server with its clear, intuitive interface.

