 Call us at 1-888-GTCOMM1


Here is how to install LiteSpeed on CentOS 7 with cPanel. LiteSpeed is a proprietary web server software developed by LiteSpeed Technologies. It is a high-performance web server very similar to Apache and fully compatible with existing Apache configuration files. LiteSpeed is compatible with mod_rewrite, .htaccess, mod_security and most used control panel like cPanel, DirectAdmin, etc. It is specially designed high traffic websites.
Features
- Provide WebAdmin to manage the LiteSpeed web server.
- Easily install with a single script.
- Automatically rebuild LiteSpeed’s supported PHP.
- Manage versions, Licence and Service from WebAdmin console.
- Allows to switch between Apache and LiteSpeed Web Server
In this tutorial, we will explain how to install LiteSpeed web server on a cPanel server.
Requirements
- A server running CentOS 7 with cPanel installed.
- Root access to the server.
Install LiteSpeed Plug-in for cPanel
To install LiteSpeed on CentOS 7 with cPanel, first log in to your server via SSH with root privileges and download the LiteSpeed plug-in installation script for cPanel with the following command:
cd /usr/src
wget http://www.litespeedtech.com/packages/cpanel/lsws_whm_plugin_install.sh
Next, run the script with the following command:
sh lsws_whm_plugin_install.sh
Once the installation has been completed, you should see the following output:
Install LiteSpeed Web Server Plugin for WHM
==============================================


mkdir: created directory ‘/usr/local/cpanel/whostmgr/docroot/cgi/lsws’
mkdir: created directory ‘/usr/local/cpanel/whostmgr/docroot/templates/lsws’


... creating directories ...
mkdir: created directory ‘/usr/src/lsws_whm’
  Temp directory created
... downloading latest version of the plugin ...
--2019-07-13 03:52:29--  http://www.litespeedtech.com/packages/cpanel/lsws_whm_plugin.tar.gz
Resolving www.litespeedtech.com (www.litespeedtech.com)... 52.55.120.73
Connecting to www.litespeedtech.com (www.litespeedtech.com)|52.55.120.73|:80... connected.
HTTP request sent, awaiting response... 200 OK
Length: 665512 (650K) [application/gzip]
Saving to: ‘/usr/src/lsws_whm/lsws_whm_plugin.tar.gz’


100%[=====================================================================================================>] 6,65,512     460KB/s   in 1.4s


2019-07-13 03:52:31 (460 KB/s) - ‘/usr/src/lsws_whm/lsws_whm_plugin.tar.gz’ saved [665512/665512]

Done downloading.

... extracting ...

... moving files ...
... setting permission to files ...
   LiteSpeed is not installed, skip hook operation
Register LSWS Plugin ...
mkdir: created directory ‘/var/cpanel/apps’
  apps registration directory created
lsws registered
updated EA3 to EA4 migration scripts under /var/cpanel/ea4_migration_hooks

LiteSpeed WHM Plugin Installed Successfully.
==============================================
Next, remove the installation script with the following command:
rm -f lsws_whm_plugin_install.sh
Install LiteSpeed Web Server from WHM/cPanel
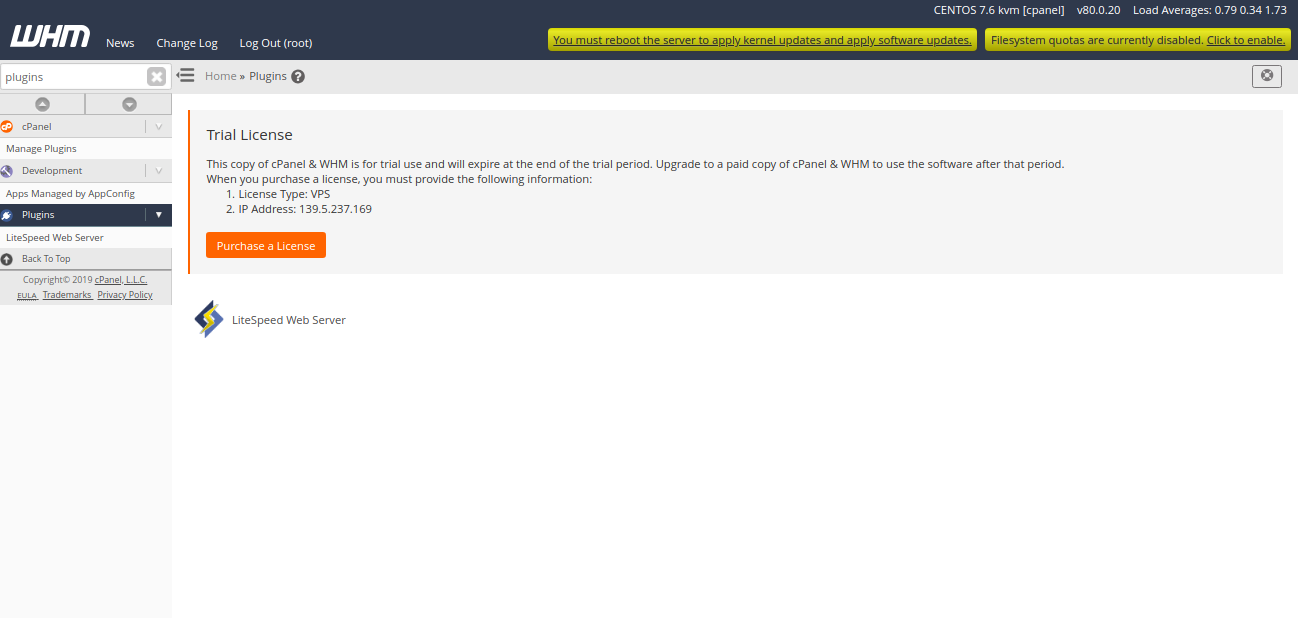
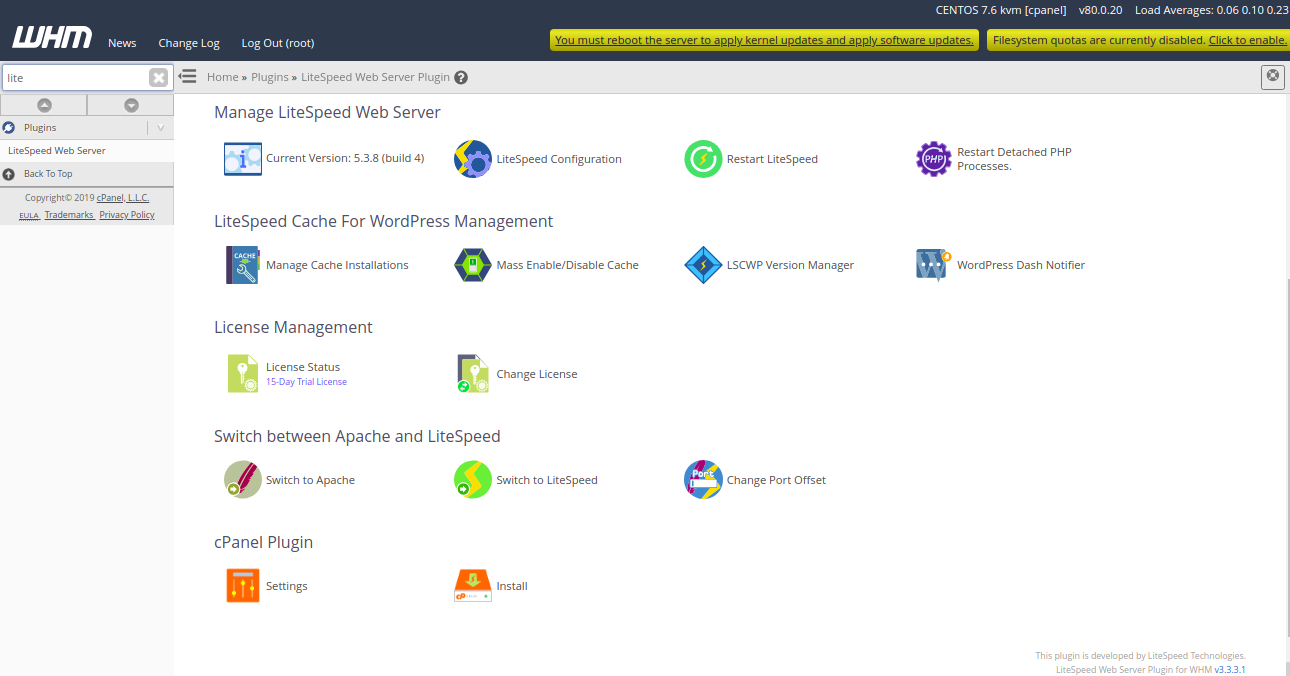
LiteSpeed plug-in for cPanel is now installed. Next, Log in to WHM Control Panel and navigate to Plugins. You should see the following page:
Next, click on the LiteSpeedWebServer, you should see the following page:
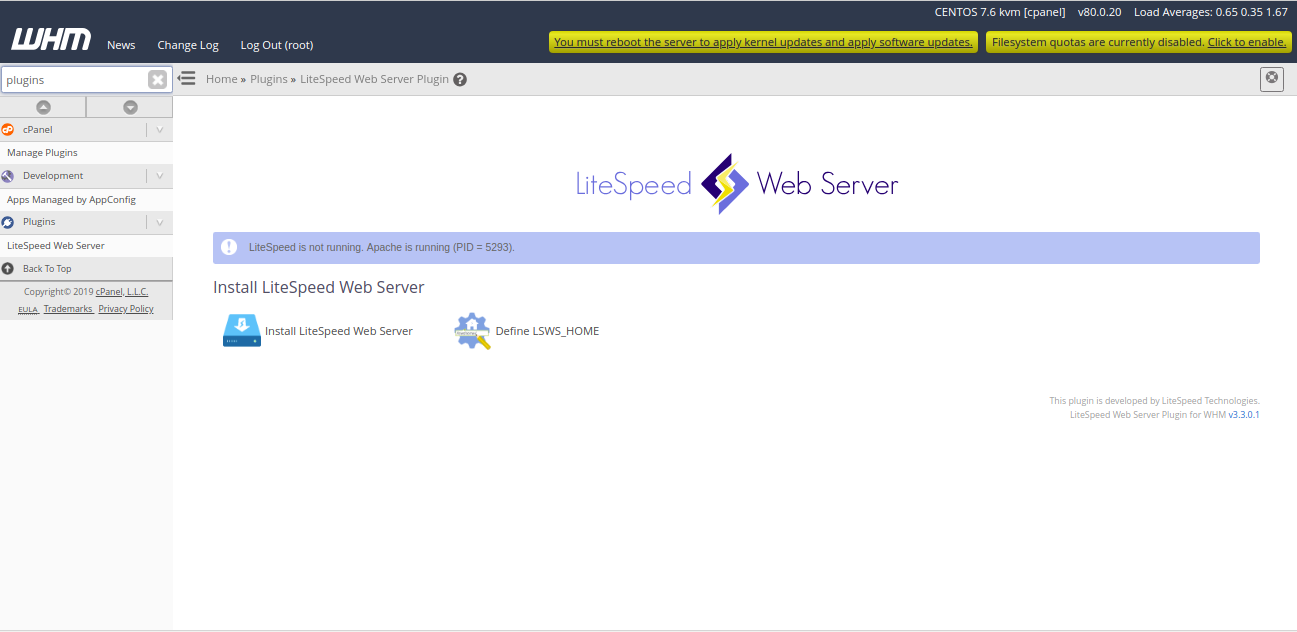
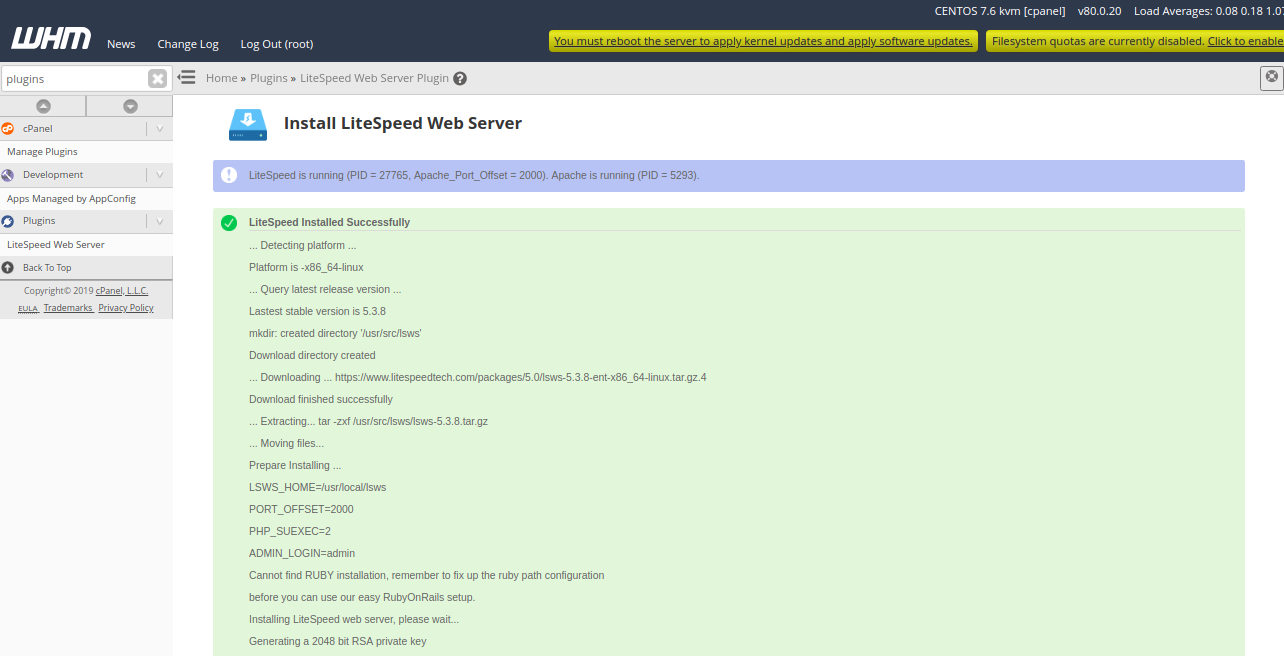
Next, click on “Install LiteSpeed Web Server“. You should see the following page:
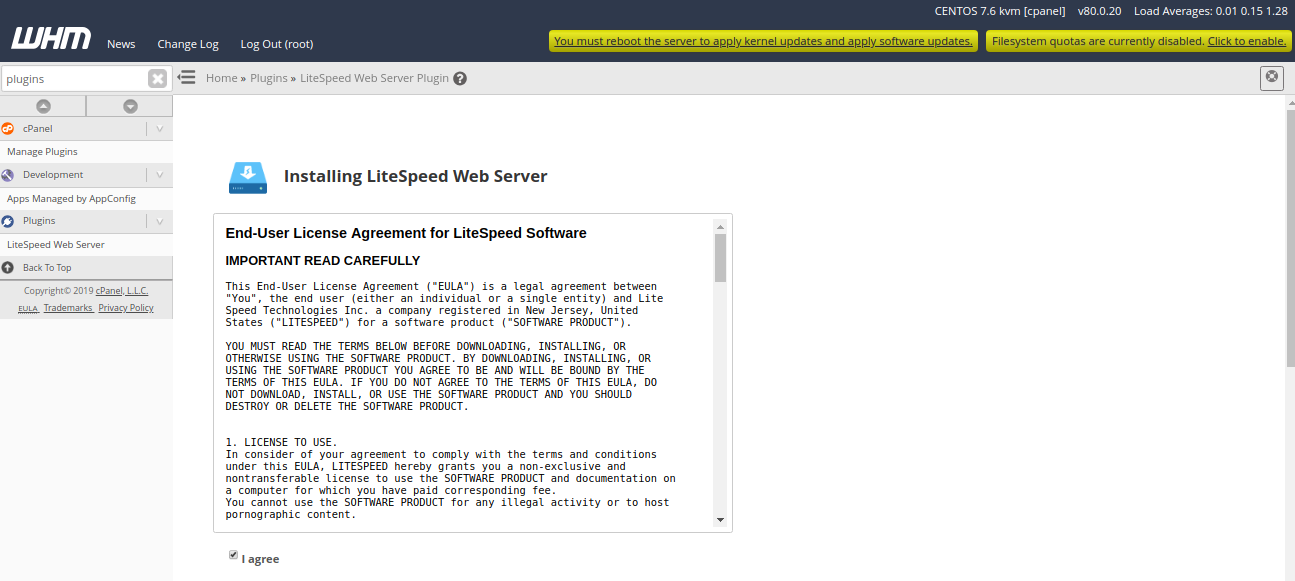
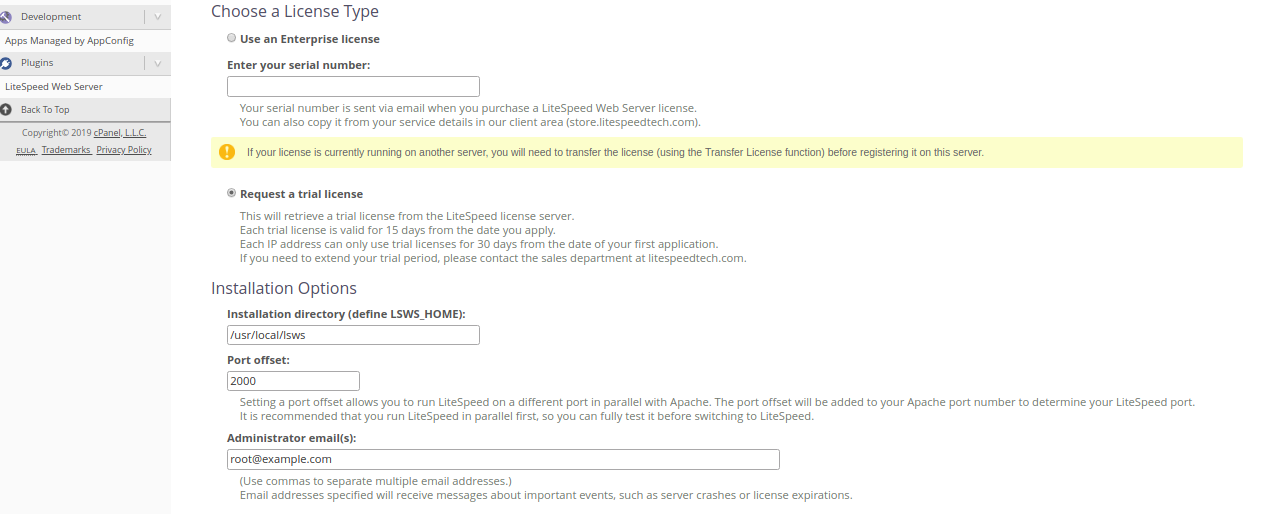
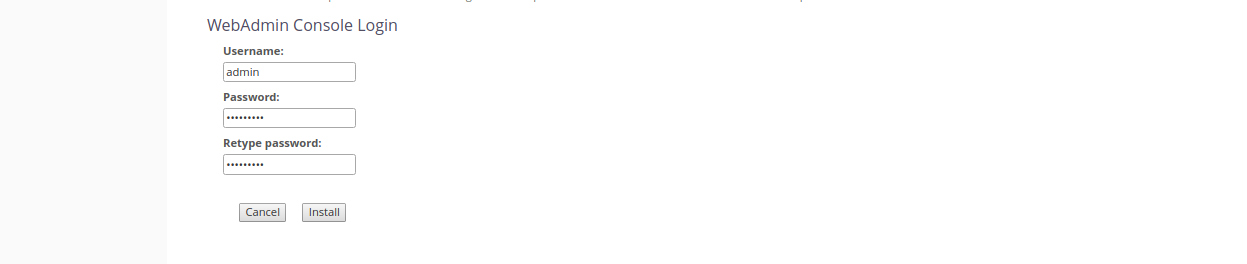
Next, accept the Licence Agreement, Select “Request a trial license”, Provide port offset (Set 0 to replace Apache, set 2000 to set LiteSpeed on port 2080), Provide user name and password for WebAdmin console. Then, click on the Install button. Once the installation has been completed, you should see the following page:
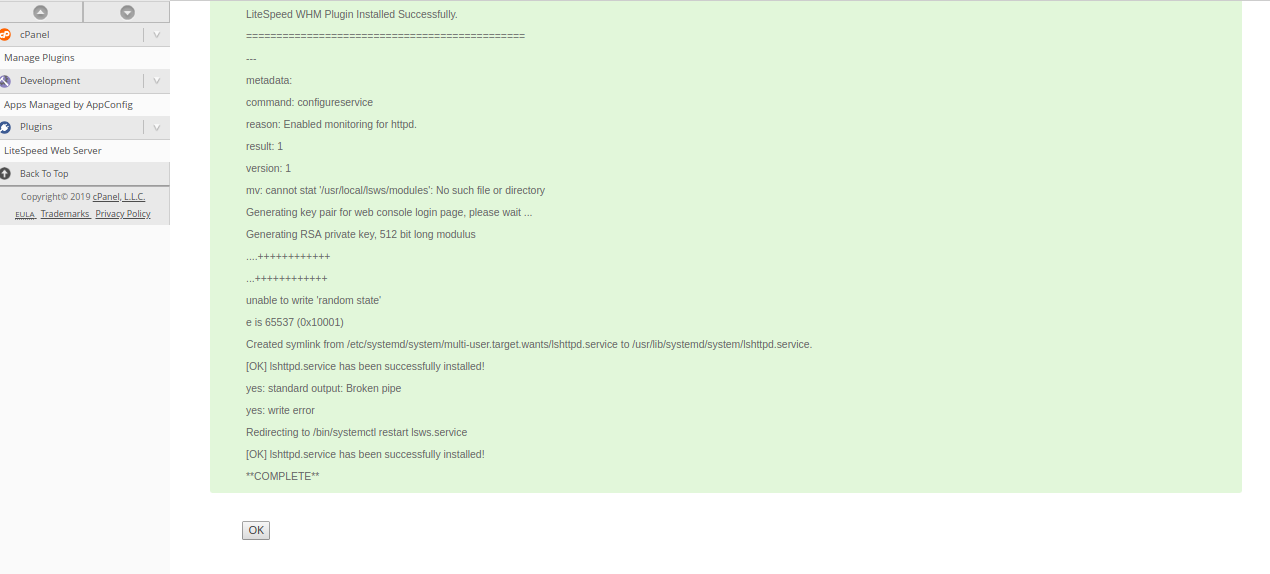
Next, click on the OK button. You should see the following page:
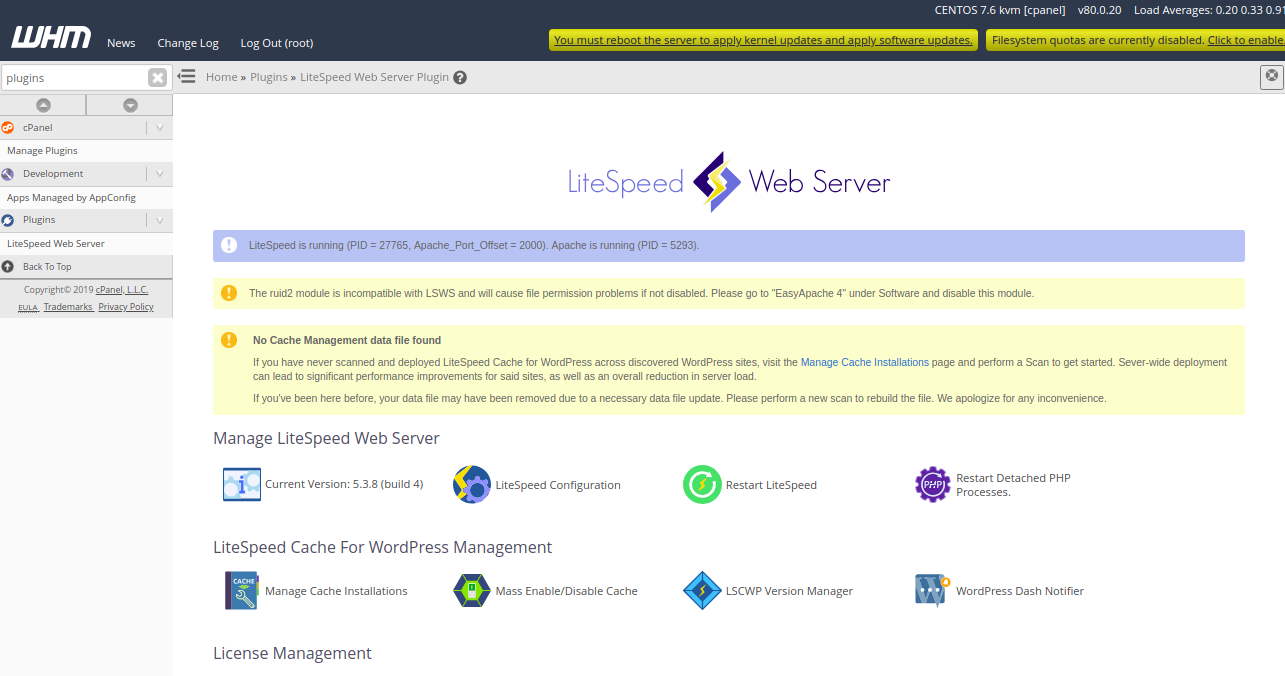
In the above page, you should see some warning. To remove them, first uninstall ruid2 module with the following command on your terminal:
yum remove ea-apache24-mod_ruid2
Next, from the WHM / cPanel dashboard, click on the “Manage Cache Installations” to generate cache management data. You should see the following page:
Next, click on the “Switch to LiteSpeed” button to replace Apache with LiteSpeed Web Server. You should see the following page:
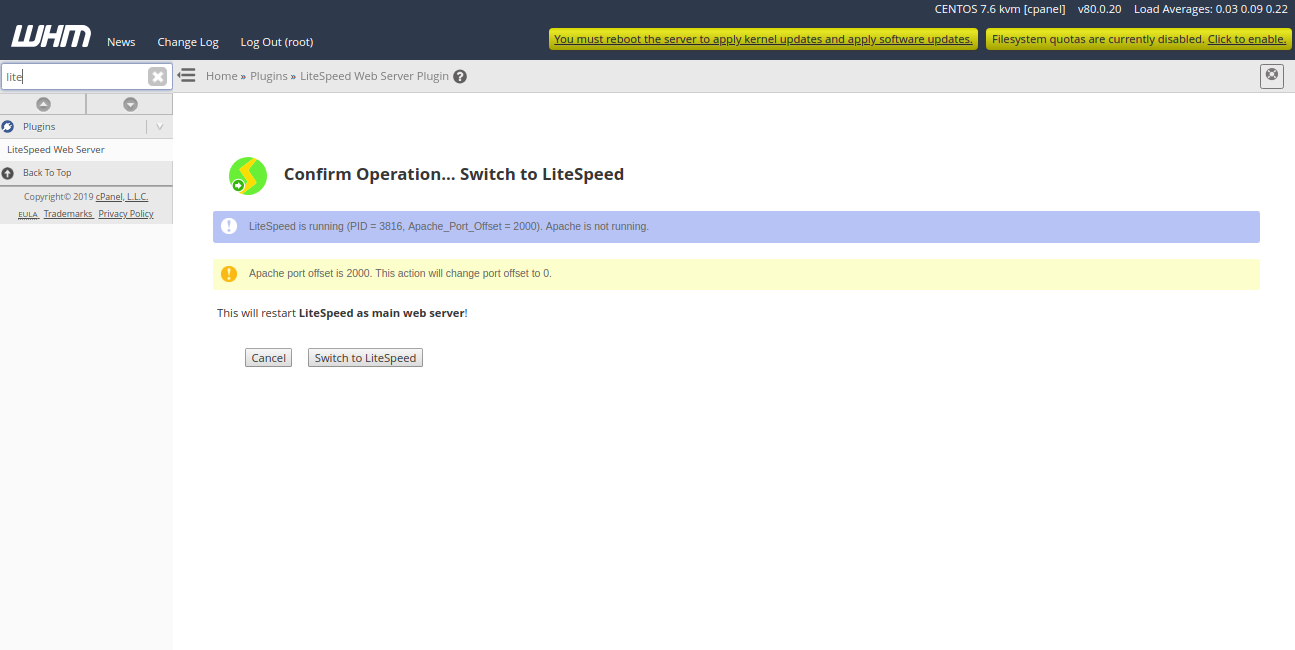
Now, click on the “Switch to LiteSpeed” to restart LiteSpeed as a main web server. You should see the following page:
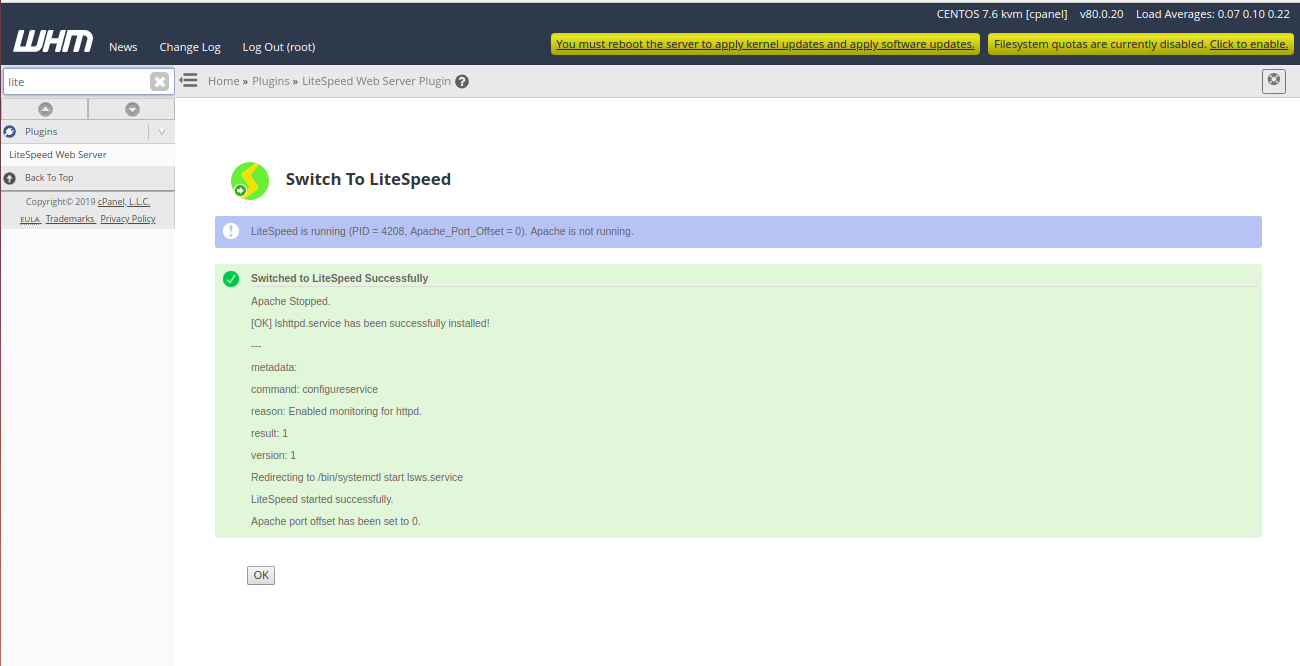
Now, click on the OK button to finish the installation.
Open your terminal and check the status of LiteSpeed service with the following command:
systemctl status lshttpd
If everything is fine, you should see the following output:
 lshttpd.service - LiteSpeed HTTP Server
   Loaded: loaded (/usr/lib/systemd/system/lshttpd.service; enabled; vendor preset: disabled)
   Active: active (running) since Sat 2019-07-13 03:10:00 EDT; 52min ago
 Main PID: 5293 (httpd)
   CGroup: /system.slice/httpd.service
           ├─5293 /usr/sbin/httpd -k start
           ├─5295 /usr/local/cpanel/bin/splitlogs --dir=/etc/apache2/logs/domlogs --main=cpanel.example.com --suffix=-bytes_log
           ├─5296 /usr/local/cpanel/bin/splitlogs --dir=/etc/apache2/logs/domlogs --main=cpanel.example.com --mainout=/etc/apache2/logs/acce...
           ├─5298 /usr/local/cpanel/3rdparty/bin/perl /usr/local/cpanel/bin/leechprotect
           ├─5300 /usr/sbin/httpd -k start
           ├─5301 /usr/sbin/httpd -k start
           ├─5302 /usr/sbin/httpd -k start
           ├─5303 /usr/sbin/httpd -k start
           ├─5304 /usr/sbin/httpd -k start
           └─5449 /usr/sbin/httpd -k start


Jul 13 04:01:07 cpanel.example.com systemd[1]: Starting LiteSpeed HTTP Server...
Jul 13 04:01:08 cpanel.example.com lswsctrl[27749]: 2019-07-13 04:01:08.410168 [NOTICE] Memory size is: 1014968KB.
Jul 13 04:01:09 cpanel.example.com lswsctrl[27749]: 2019-07-13 04:01:09.460561 [NOTICE] [OK] Updated license key has been created at ...al.key.
Jul 13 04:01:09 cpanel.example.com lswsctrl[27749]: [OK] litespeed: pid=27765.
Jul 13 04:01:11 cpanel.example.com systemd[1]: Started LiteSpeed HTTP Server.
Hint: Some lines were ellipsized, use -l to show in full.
Access LiteSpeed WebAdmin Console
Now, open your web browser and type the URL https://your-server-ip:7080. You will be redirected to the LiteSpeed WebAdmin log in page:
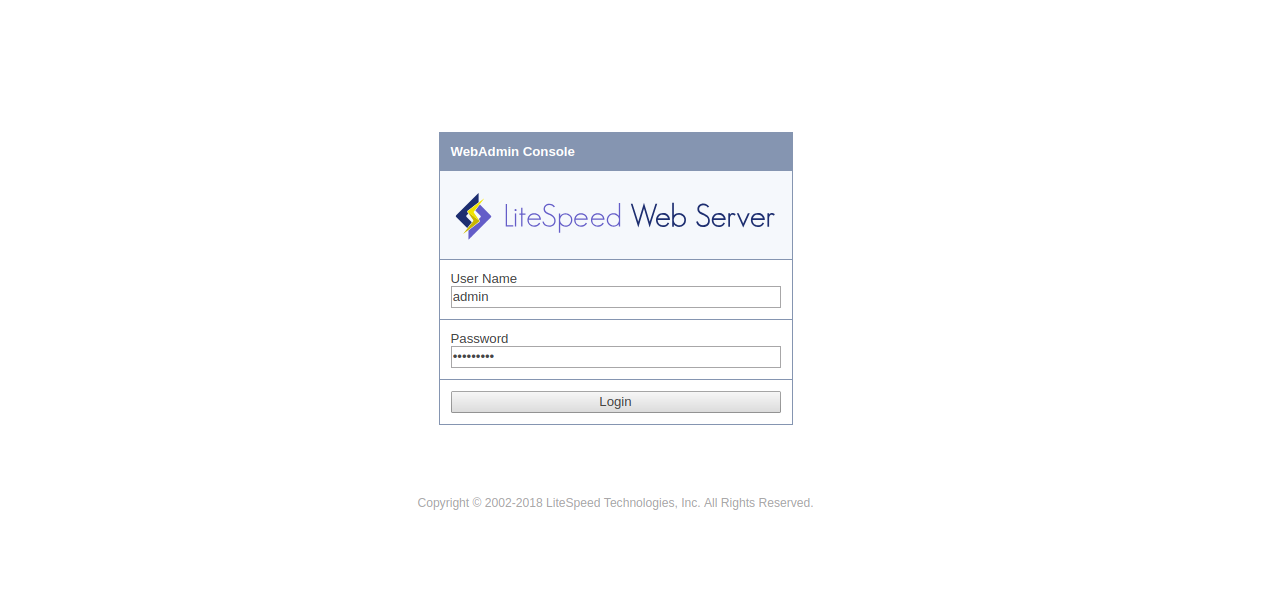
Provide your WebAdmin username and password, then click on the Login button. You should see the following page:
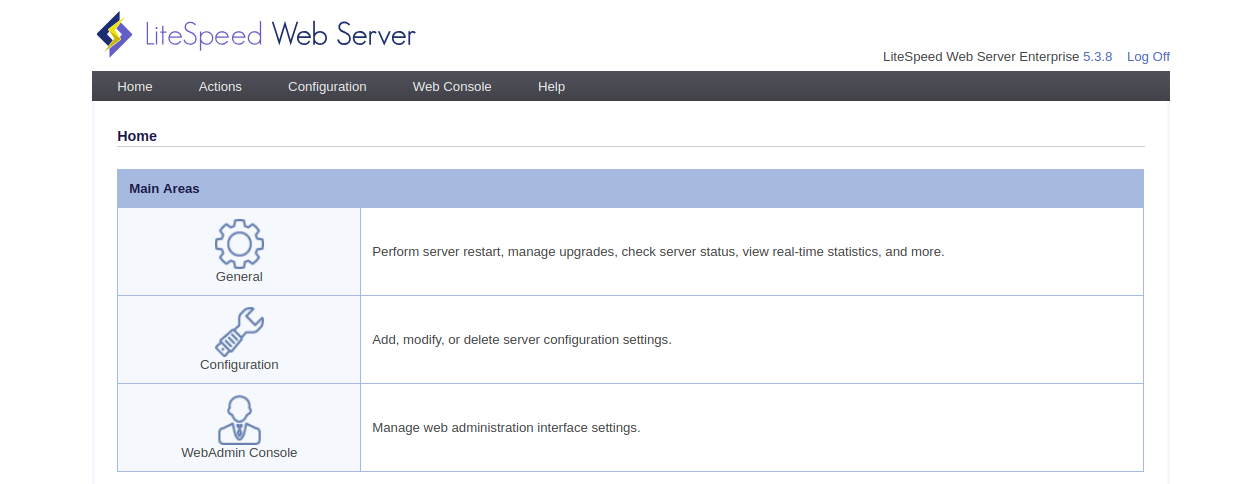
Conclusion
Congratulations! you have successfully installed and configured LiteSpeed on cPanel server. You can now easily create and manage websites from WebAdmin web interface. For more information, you can visit the LiteSpeed official doc at https://www.litespeedtech.com/docs.

