Call us at 1-888-GTCOMM1
Version control system records each and every change of a file of set or file over time so that you can download a specific version later. If you have modified a file and it causes a problem, you can easily revert the selected file back to a previous state. This will speed up your software development process and also save lots of time.
Git is an open-source and most widely used distributed version control system developed by Linux Torvalds. It is specially designed to handle small to very large projects with speed and efficiency. It is used to store multiple versions of a file in a local or remote repository and also used to track every change made by users.
In this tutorial, we will explain how to install Git on CentOS 8.
Requirements
Install Git From the Repository
The simple and easiest way to install Git is to install it from the repository.
Open your terminal interface and run the following command to install Git on your system.
dnf install git -y
Once the installation is finished, verify the Git version using the following command:
git --version
You should get the following output:
git version 2.18.2
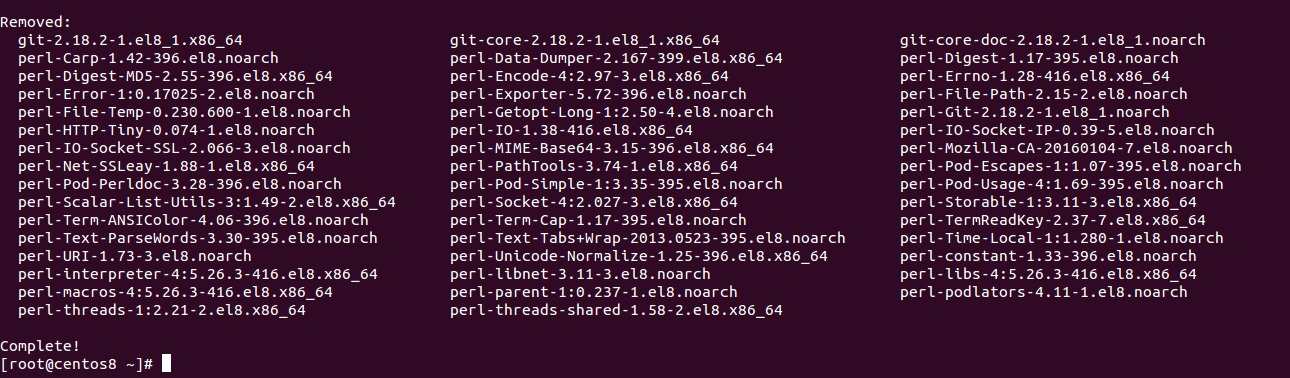
You can also remove the Git from your system using the following command:
dnf remove git
Install Git From the Source
Installing Git from the source is a good option for you if you want to install a specific version of Git in your system.
First, you will need to install some required packages to build Git from the source. You can install all of them with the following commands:
 dnf groupinstall "Development Tools"

dnf install wget unzip gettext-devel openssl-devel perl-CPAN perl-devel zlib-devel libcurl-devel expat-devel -y
Once all the packages are installed, go to the Git download page as shown below:
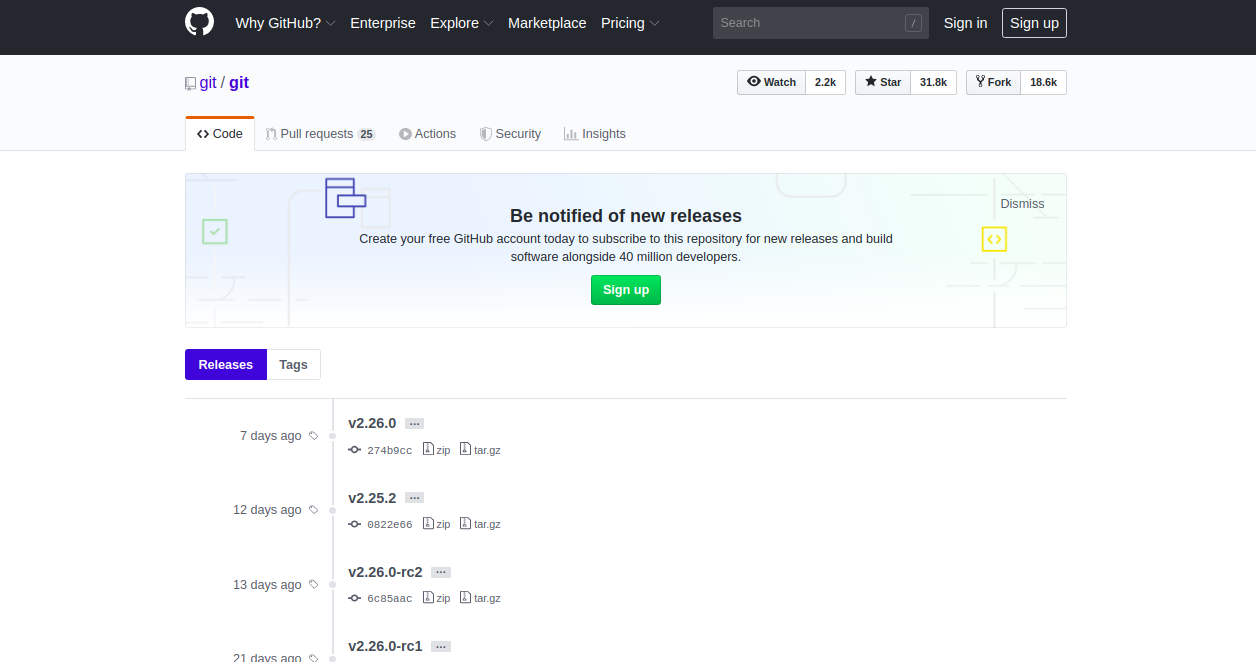
Next, download the latest version of the Git using the following command:
wget https://github.com/git/git/archive/v2.26.0.tar.gz
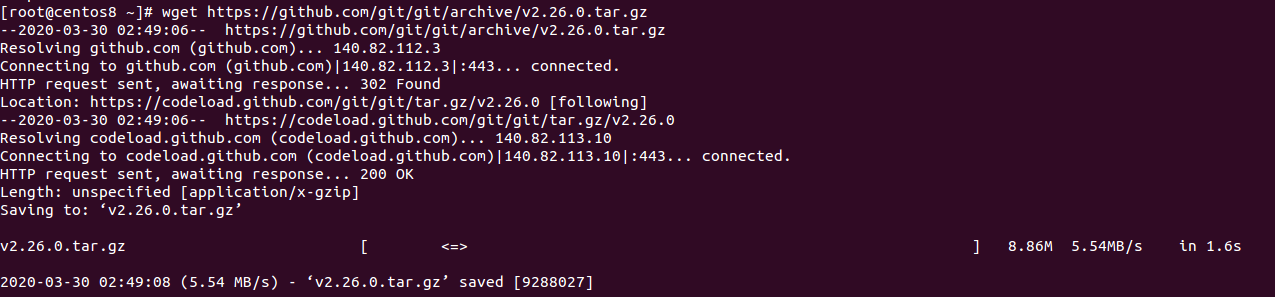
Once the download is completed, extract the downloaded file with the following command:
tar -xvzf v2.26.0.tar.gz
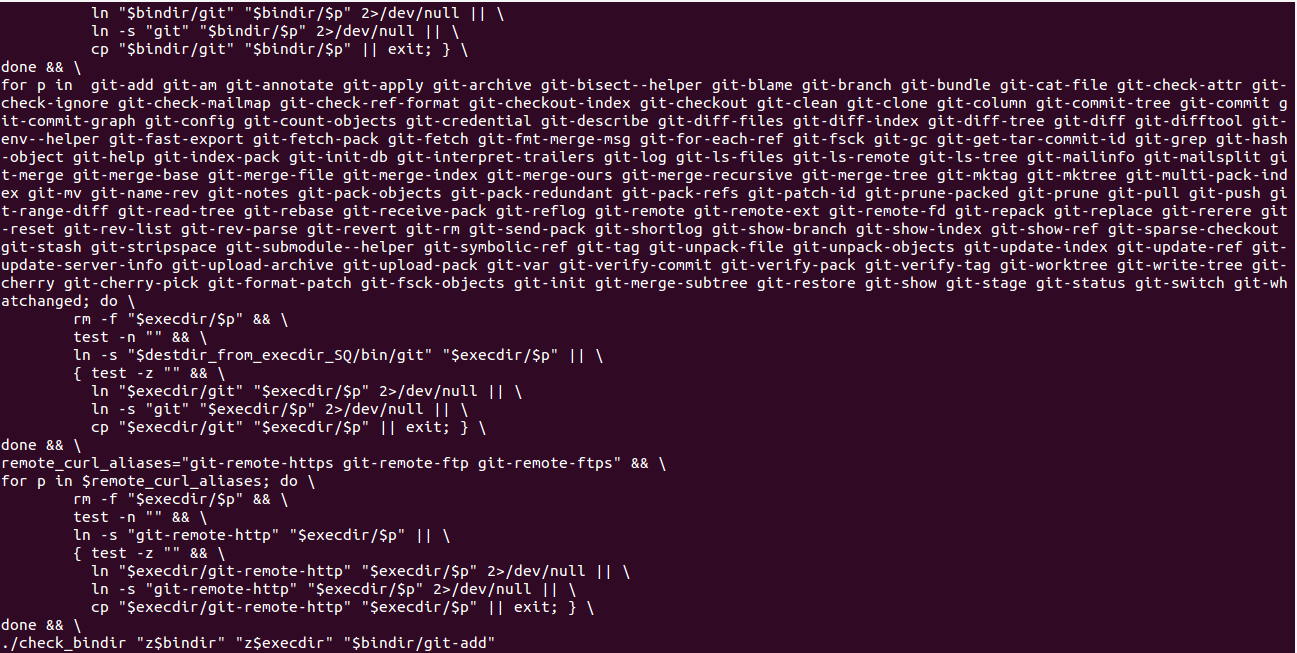
Next, change the directory to the extracted directory and install it with the following command:
 cd git-2.26.0

 make prefix=/usr all

 make prefix=/usr install
Once installed, you should see the following screen:
You can now verify the installed version of Git using the following command:
git --version
You should get the following output:
git version 2.26.0
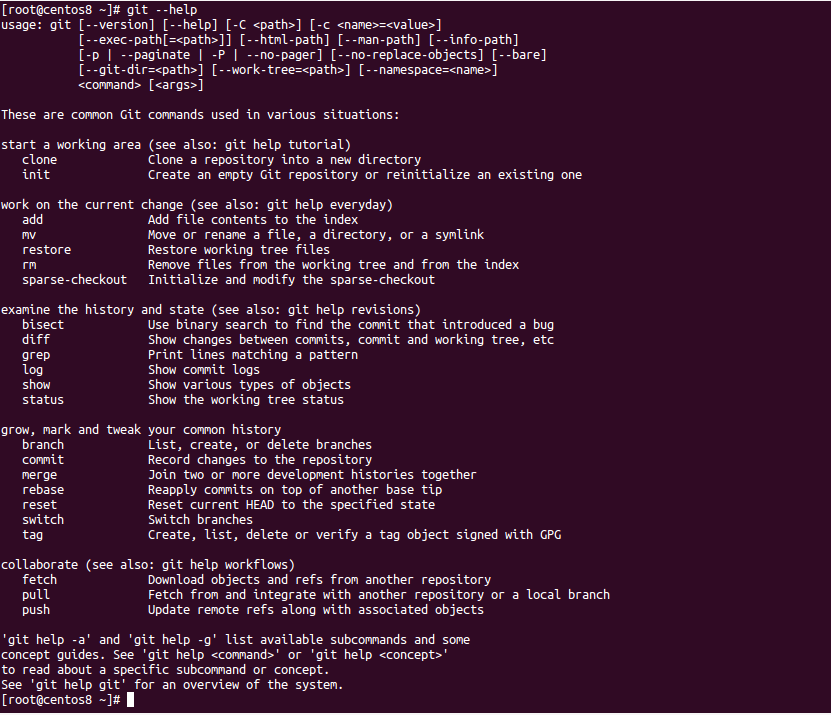
You can also see Git help page using the following command:
git –help
You should see the following screen:
Configure Git
At this point, Git is installed in your system. Next, you will need to configure it with your correct information.
You can configure your global username and email address using the following command:
 git config --global user.name "Your Name"

 git config --global user.email "Your-Email@globo.tech"
Next, list your configured information with the following command:
git config --list
You should get the following output:
 user.name=Your Name
 user.email=Your-Email@globo.tech
By default, Git stores all information in ~/.gitconfig file. You can see it with the following command:
cat ~/.gitconfig
You should get the following output:
 [user]
       name = Your Name
       email = Your-Email@globo.tech
Conclusion
Congratulations! you should now know how to install Git on CentOS 8. To learn more about how to use, visit the Git documentation at Git doc.