 Call us at 1-888-GTCOMM1


Backing up your SQL Server databases regularly is a good practice for any database administrator to prevent data loss or corruption. Backing up is the only way to protect and recover your data from many failures including, Media failure, Hardware failures, User errors and many more.
Moreover, a database backup is also useful for day-to-day administrative tasks such as, database mirroring, archiving and copying a database from one server to another.
MSSQL is the most widely used database management system for Windows-based systems developed and marketed by Microsoft. It is used to store website data like, blog and user information.
In this tutorial, we will show you how to backup and restore the MSSQL database on Windows operating system.
Prerequisites
- A server running Windows server 2016.
- SQL Server and SQL Server Management Studio (SSMS) installed in your system.
Create a New Database
First, we will create a new database using the SQL Server Management Studio (SSMS) for testing purposes.
Follow the below steps to create a new database:
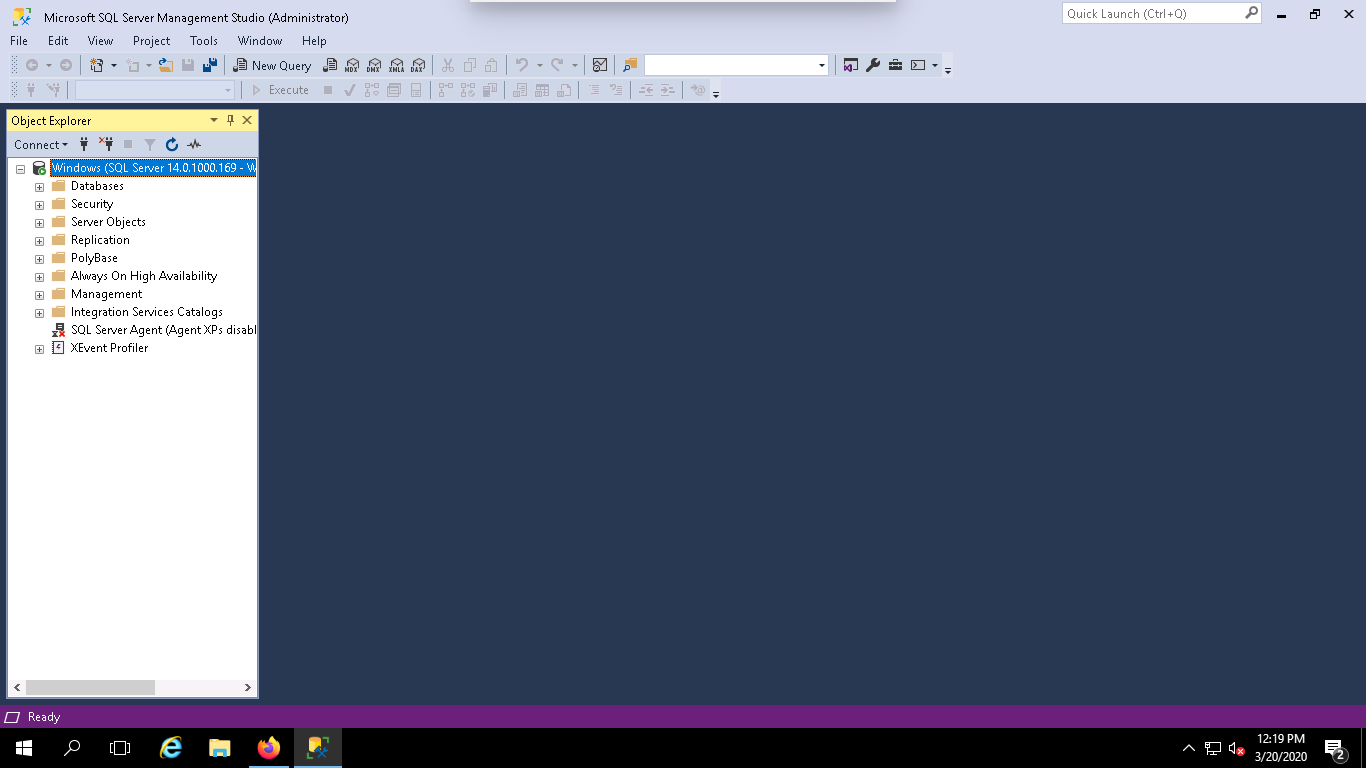
Step 1 – Open SQL Server Management Studio (SSMS) from the Start menu as shown below:
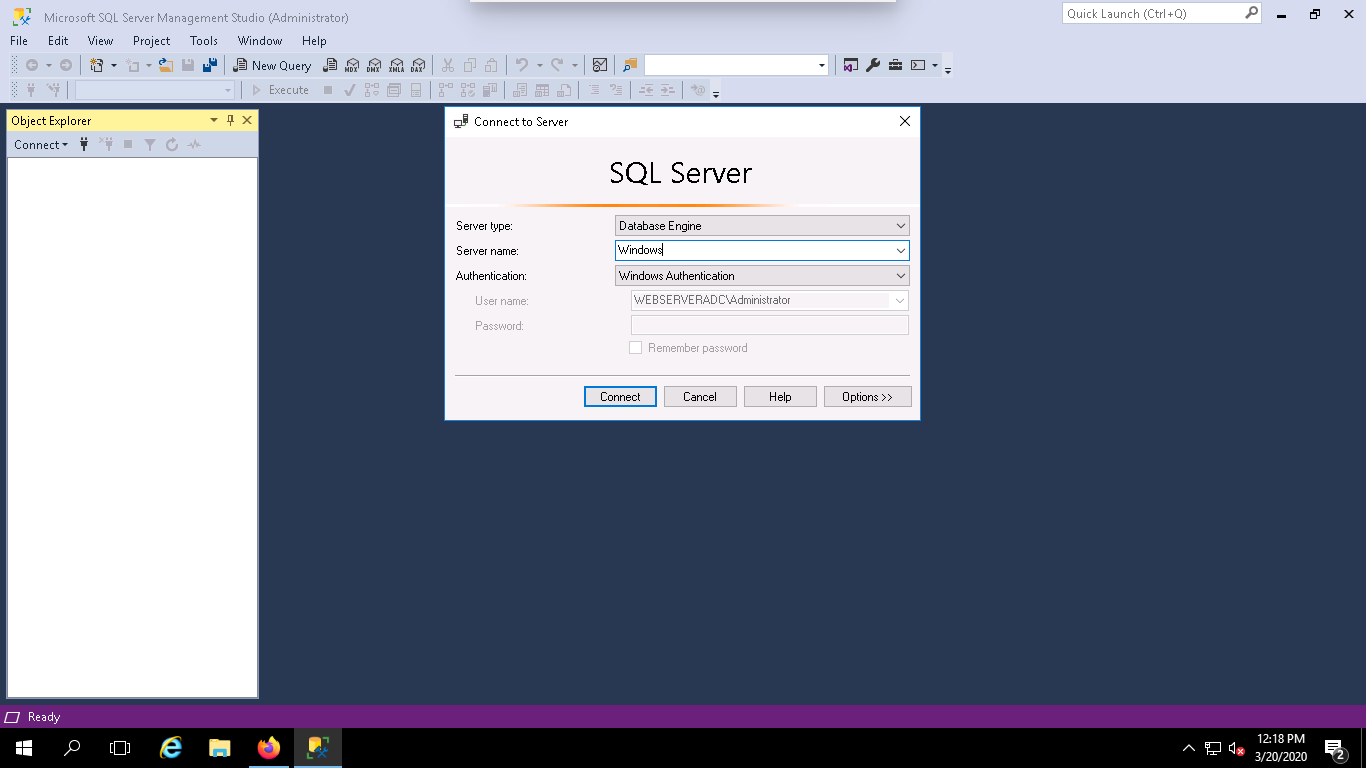
Step 2 – Click on the connect button to connect with your MSSQL Server instance. You should see the following page:

Step 3 – Click on the New Query button to open a new Query window as shown below:
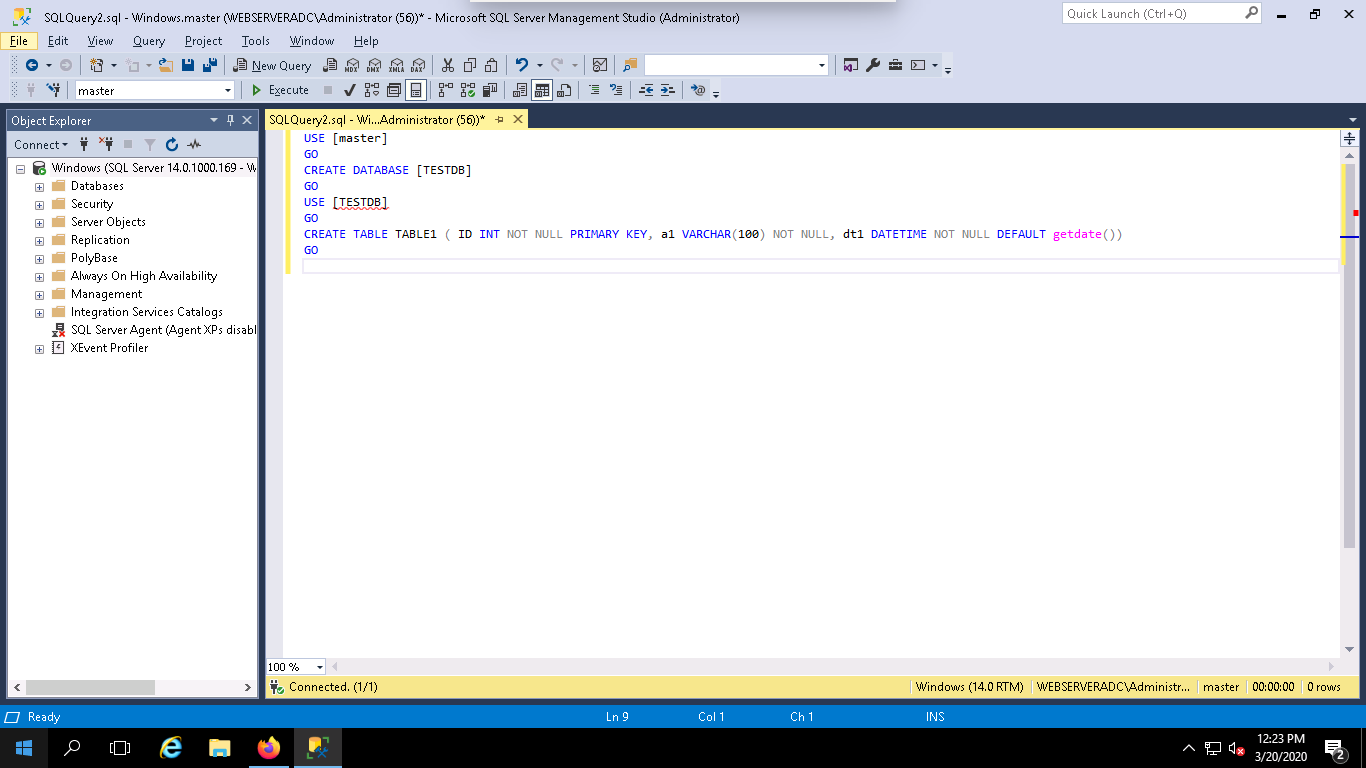
Step 4 – Type the following query in the above query window to create a new database named TESTDB and create a new table named TABLE1:
USE [master]
GO
CREATE DATABASE [TESTDB]
GO
USE [TESTDB]
GO
CREATE TABLE TABLE1 (
ID INT NOT NULL PRIMARY KEY,
a1 VARCHAR(100) NOT NULL,
dt1 DATETIME NOT NULL DEFAULT getdate()
)
GO
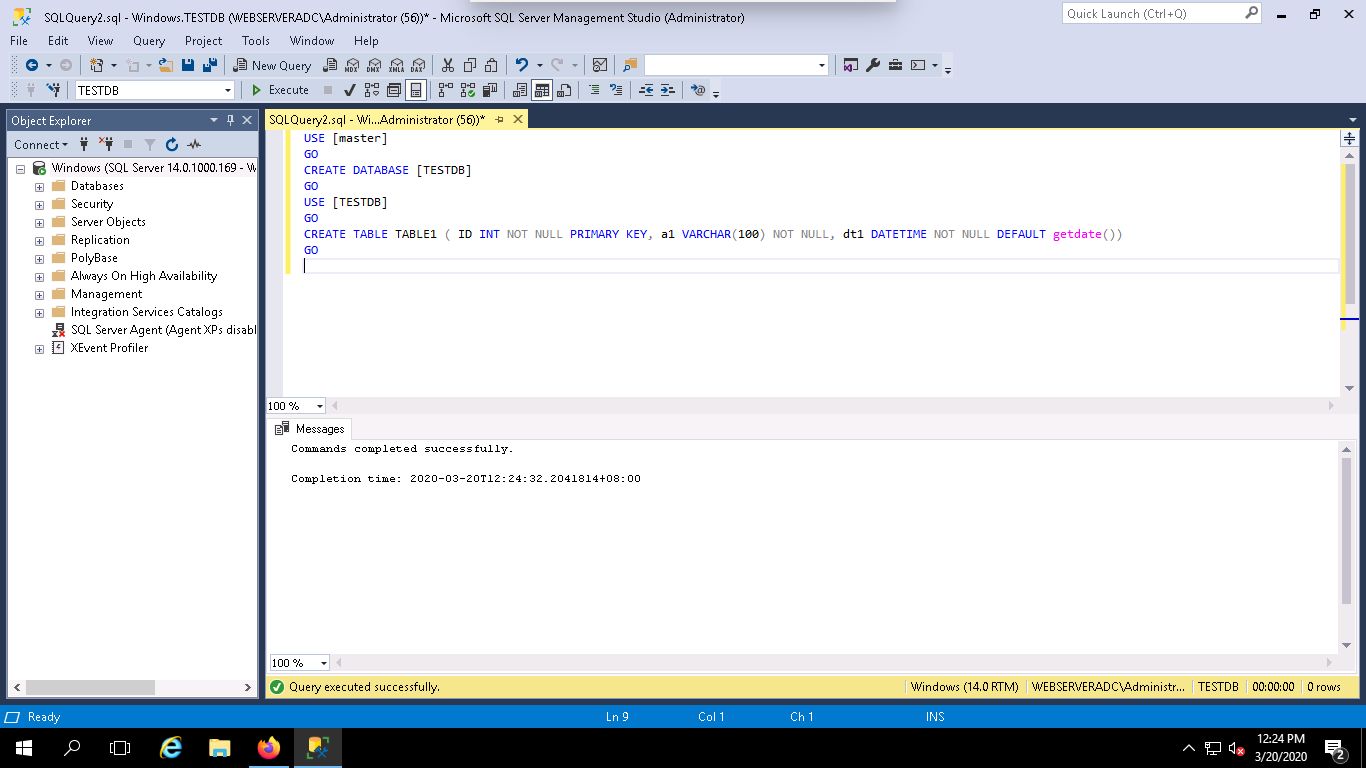
Next, click on the Execute button to run the query. Once the query has been executed successfully, you should see the following page:
Take a Backup with SSMS
In this section, we will learn how to take a backup of a database named TESTDB using the Microsoft SQL Server Management Studio (SSMS).
Follow the below steps to back up the TESTDB database:
Step 1 – Launch the MSSQL Server Management Studio (SSMS) and expand the Databases as shown below:

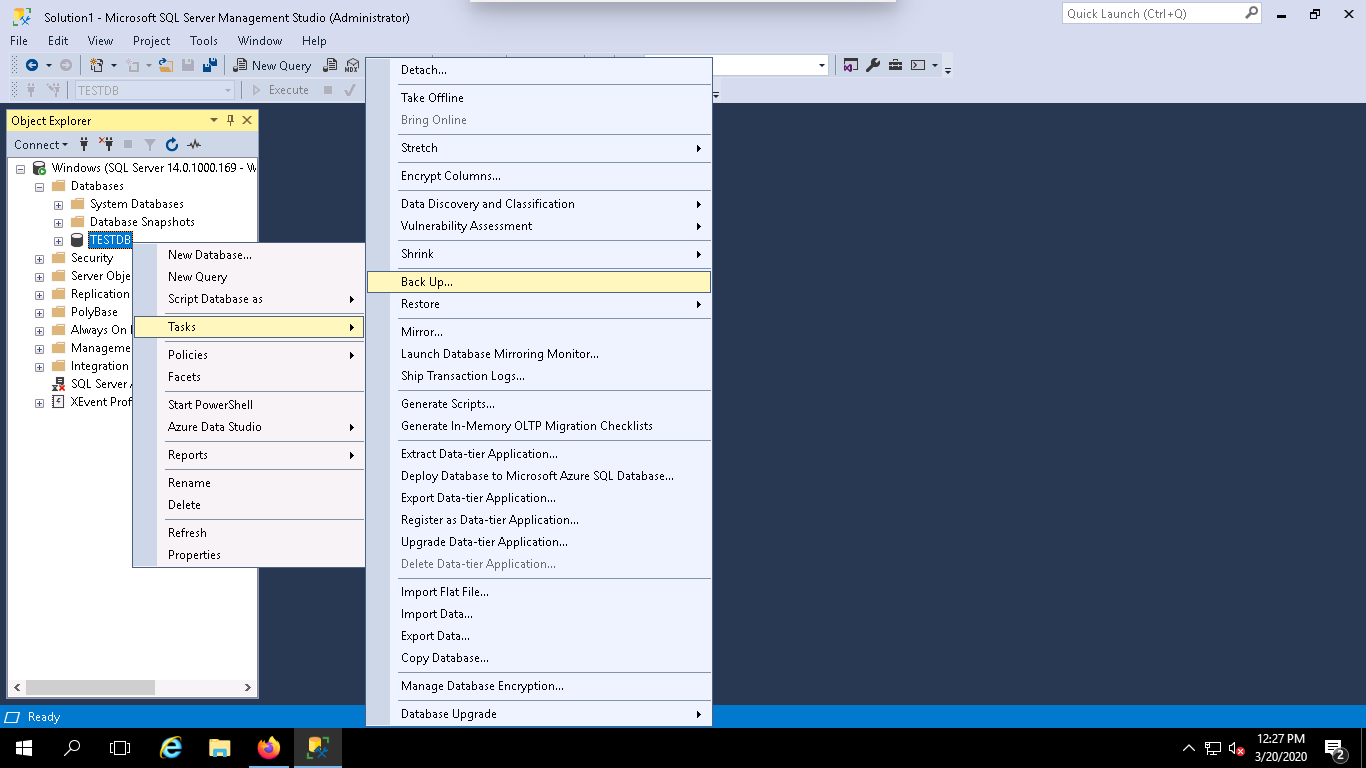
Step 2 – Right-click on the TESTDB and click on the Tasks => Back Up. You should see the following page:
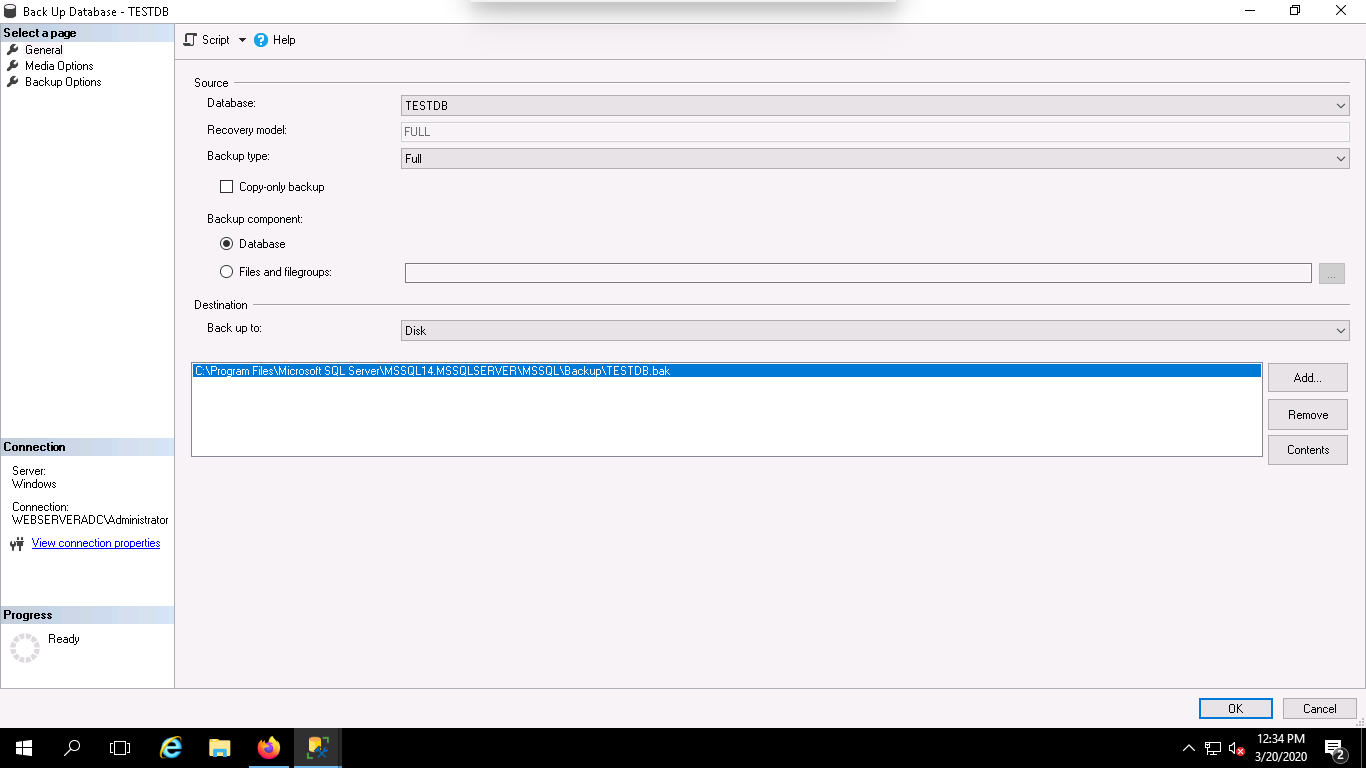
Step 3 – Select all required information like, Database, Backup type, Backup path and click on the OK button. Once the backup has been created successfully, you should see the following page:
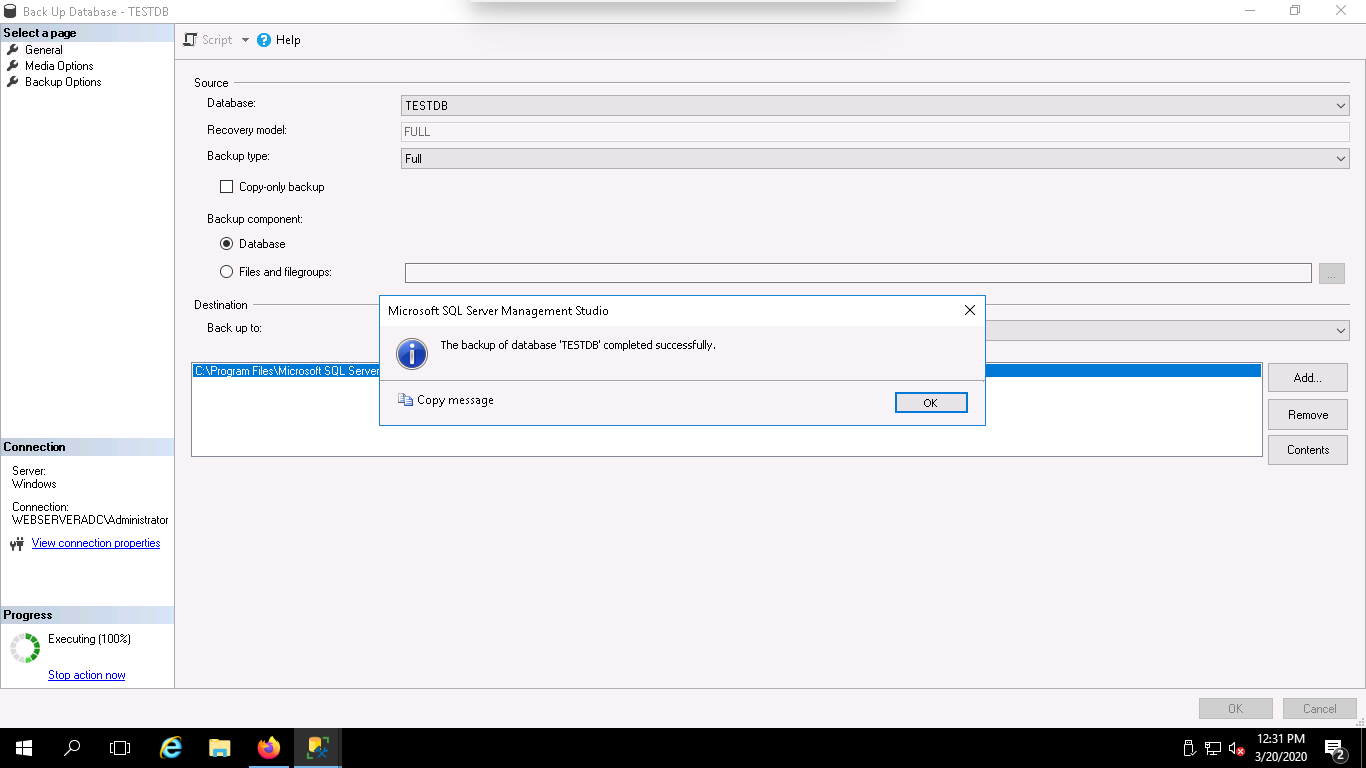
Step 4 – If the backup is successfull, you get the confirmation message “The backup of database “DBTEST” completed successfully, as follow:
Take a Backup with Transact-SQL
You can also take a backup of your database with Transact-SQL command from the query window.
Follow the below steps to backup your TESTDB database with Transact-SQL command:
Step 1 – Launch the Microsoft SQL Server Management Studio (SSMS).
Step 2 – Click on the New Query button to open a new Query window as shown below:
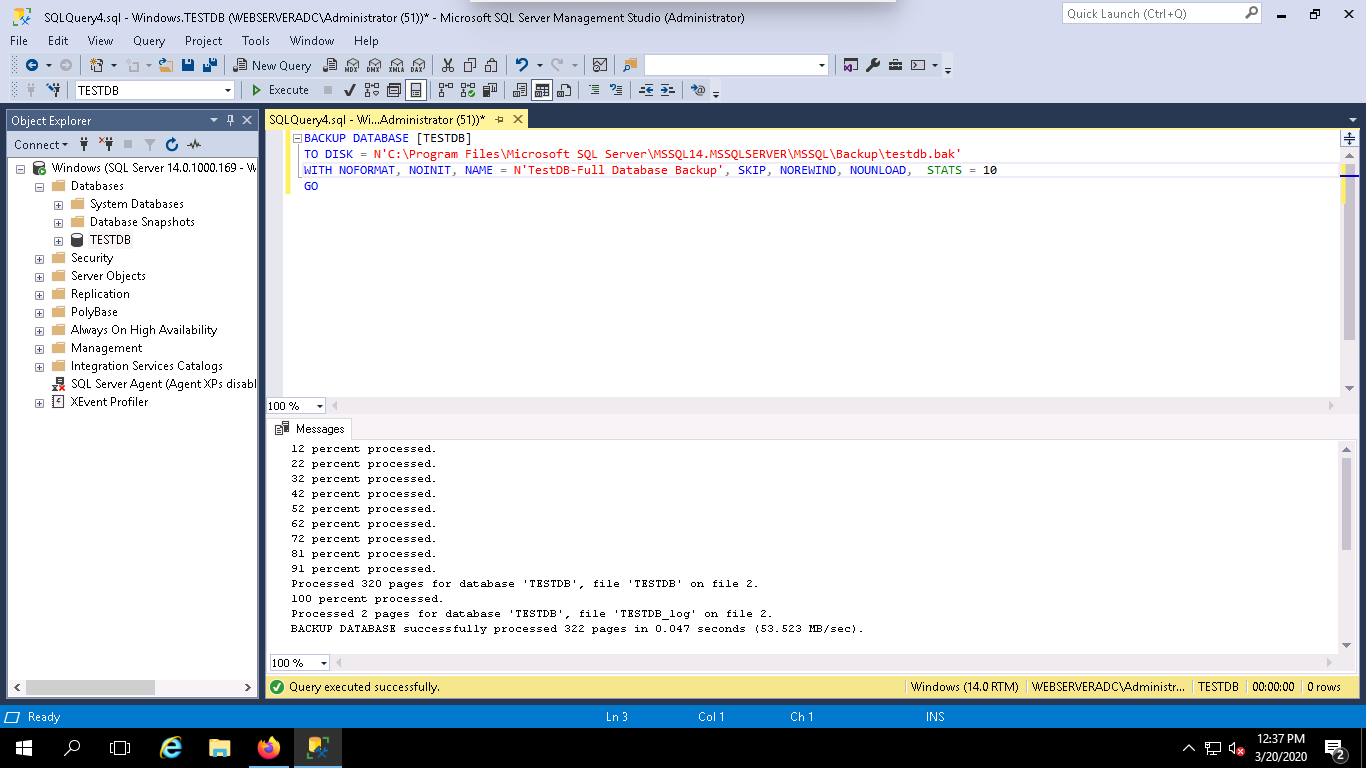
Step 3 – Type the following query in the above query window to take a backup of TESTDB database:
BACKUP DATABASE [TESTDB]
TO DISK = N'C:\Program Files\Microsoft SQL Server\MSSQL14.MSSQLSERVER\MSSQL\Backup\TESTDB.bak'
WITH NOFORMAT, NOINIT,
NAME = N'TestDB-Full Database Backup', SKIP, NOREWIND, NOUNLOAD, STATS = 10
GO
Step 4 – Click on the Execute button to create a backup.
Restore a Backup
You can also restore a backup using the SQL Server Management Studio (SSMS).
Follow the below steps to restore your database named TESTDB:
Step 1 – Launch the SQL Server Management Studio (SSMS).
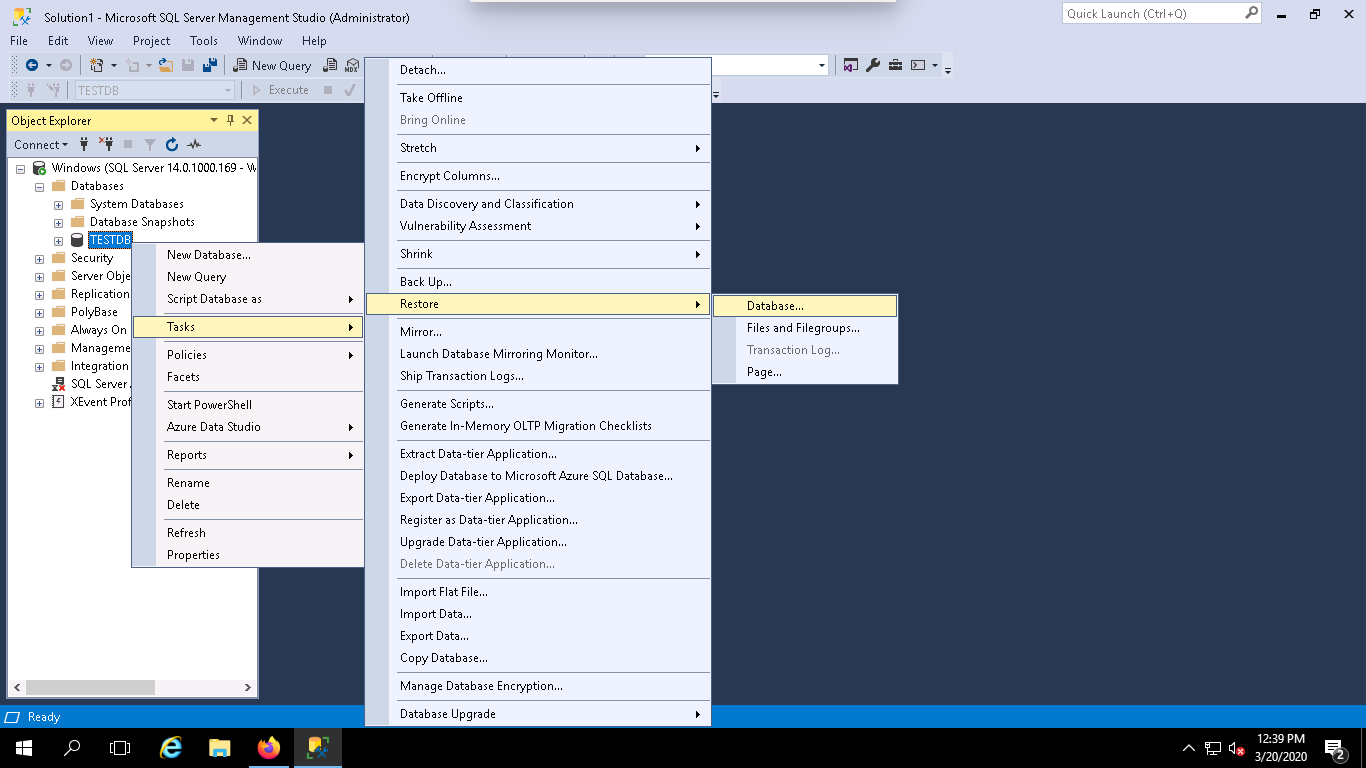
Step 2 – Right-click on the TESTDB and click on the Tasks => Restore => Database. You should see the following page:
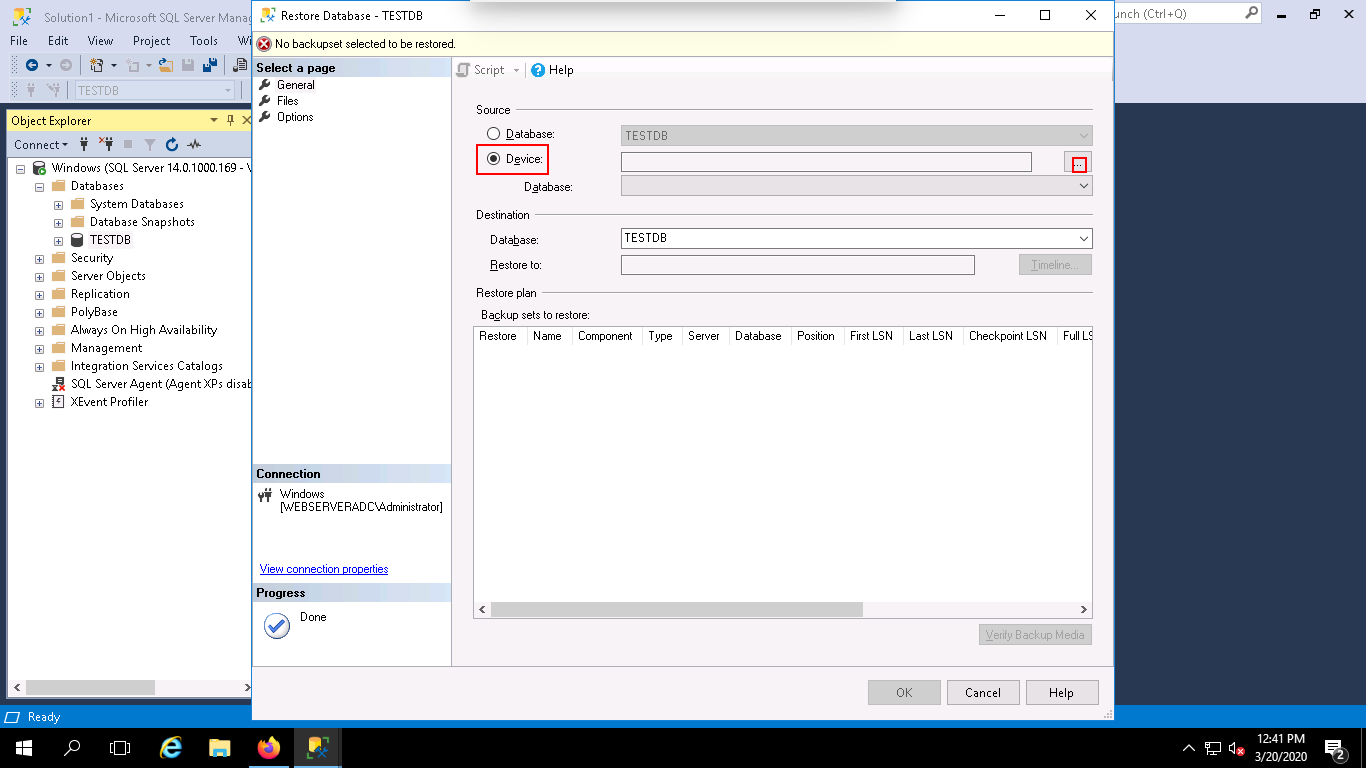
Step 3 – Select Device and click on the “…“. You should see the following page:
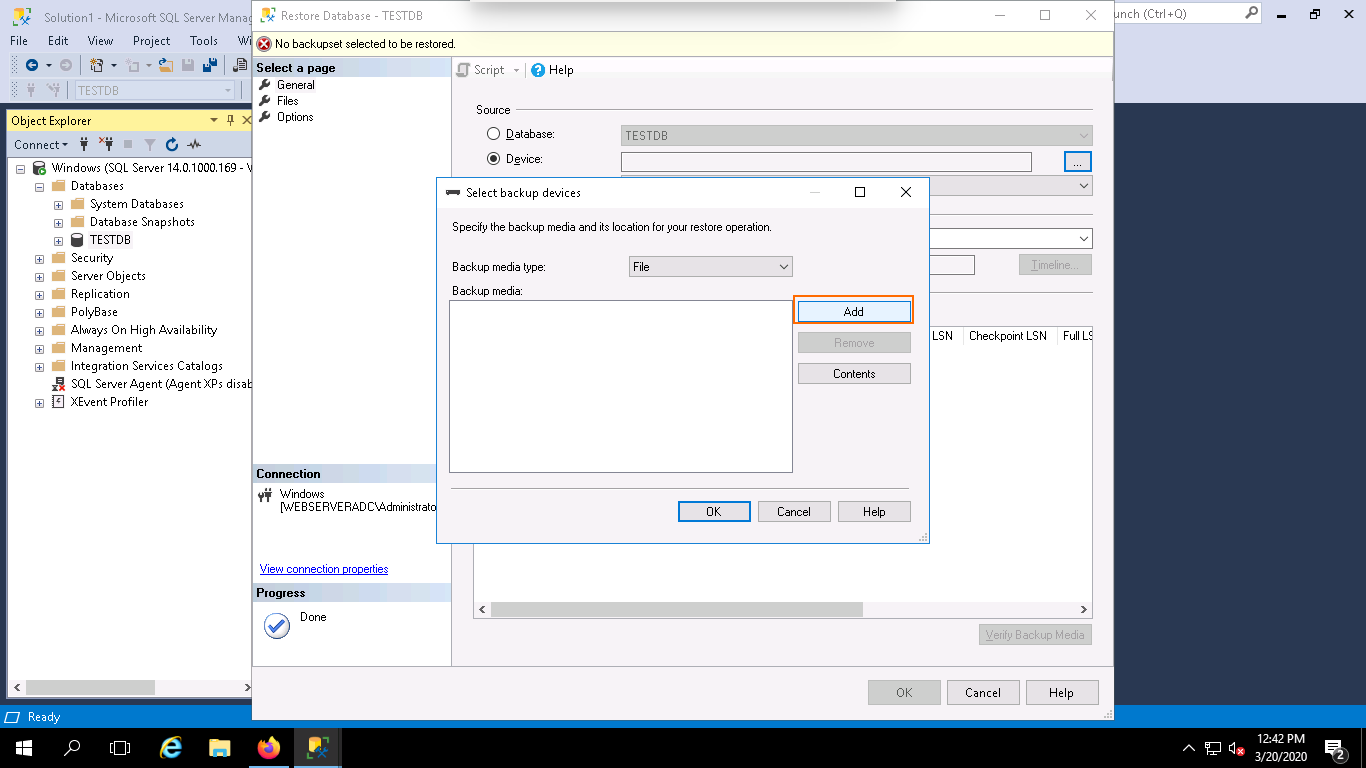
Step 4 – Click on the Add button. You should see the following page:
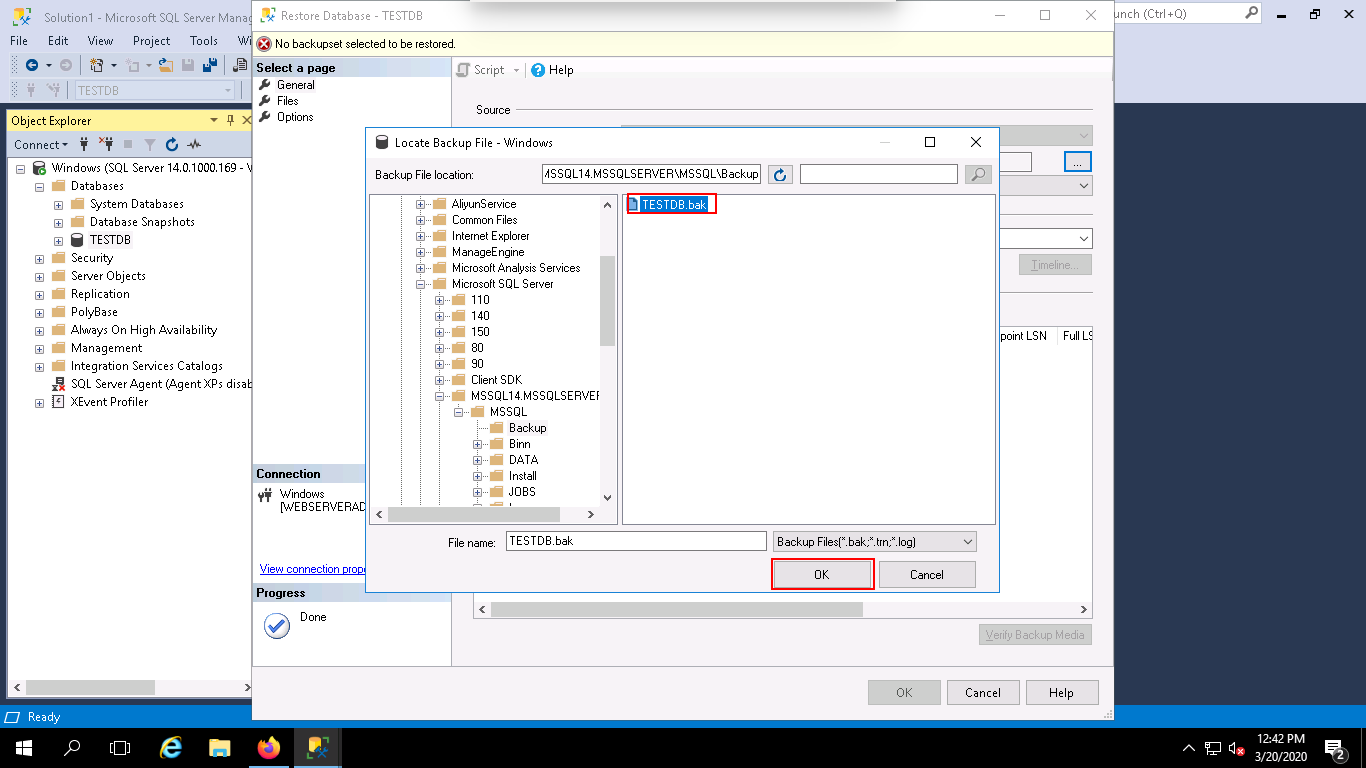
Step 5 – Select your database backup file and click on the OK button. You should see the following page:
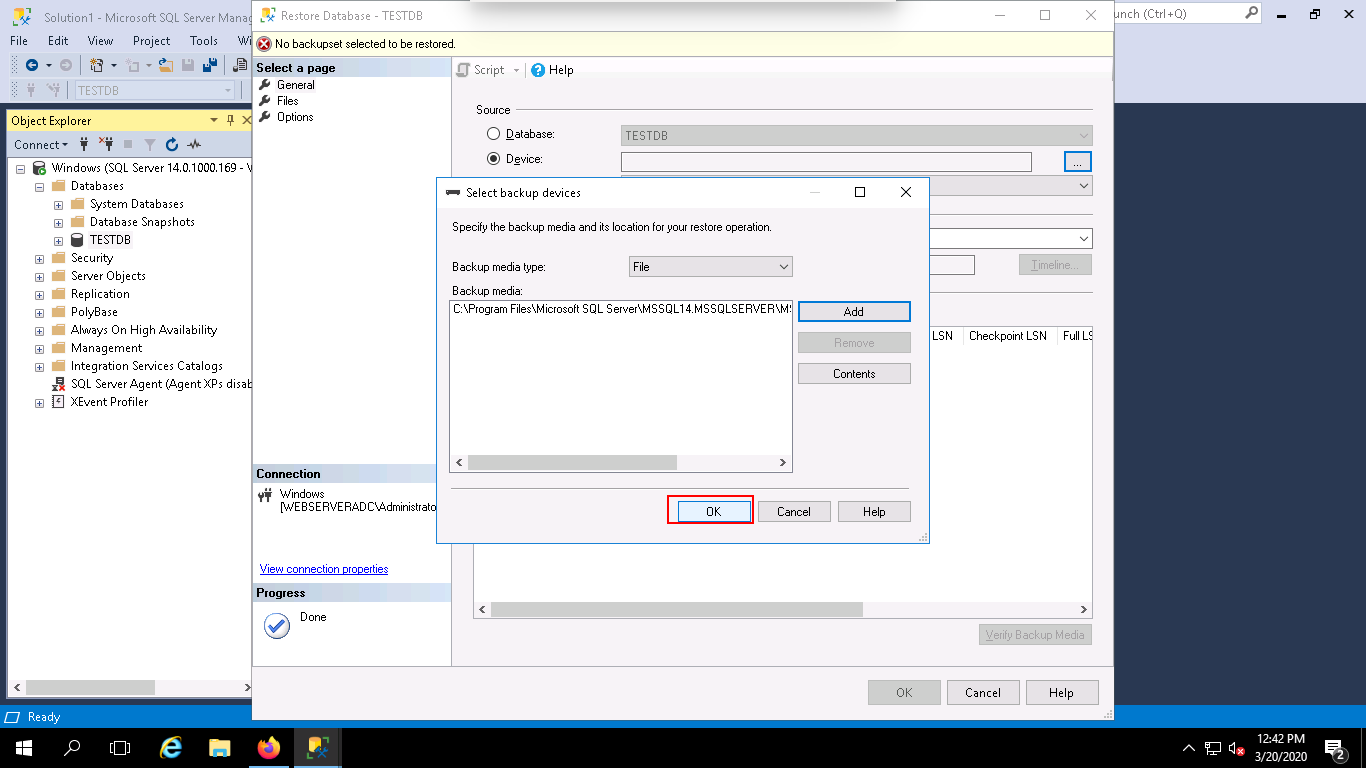
Step 6 – Click on the OK button again to close the “Select backup devices window”. You should see the following page:
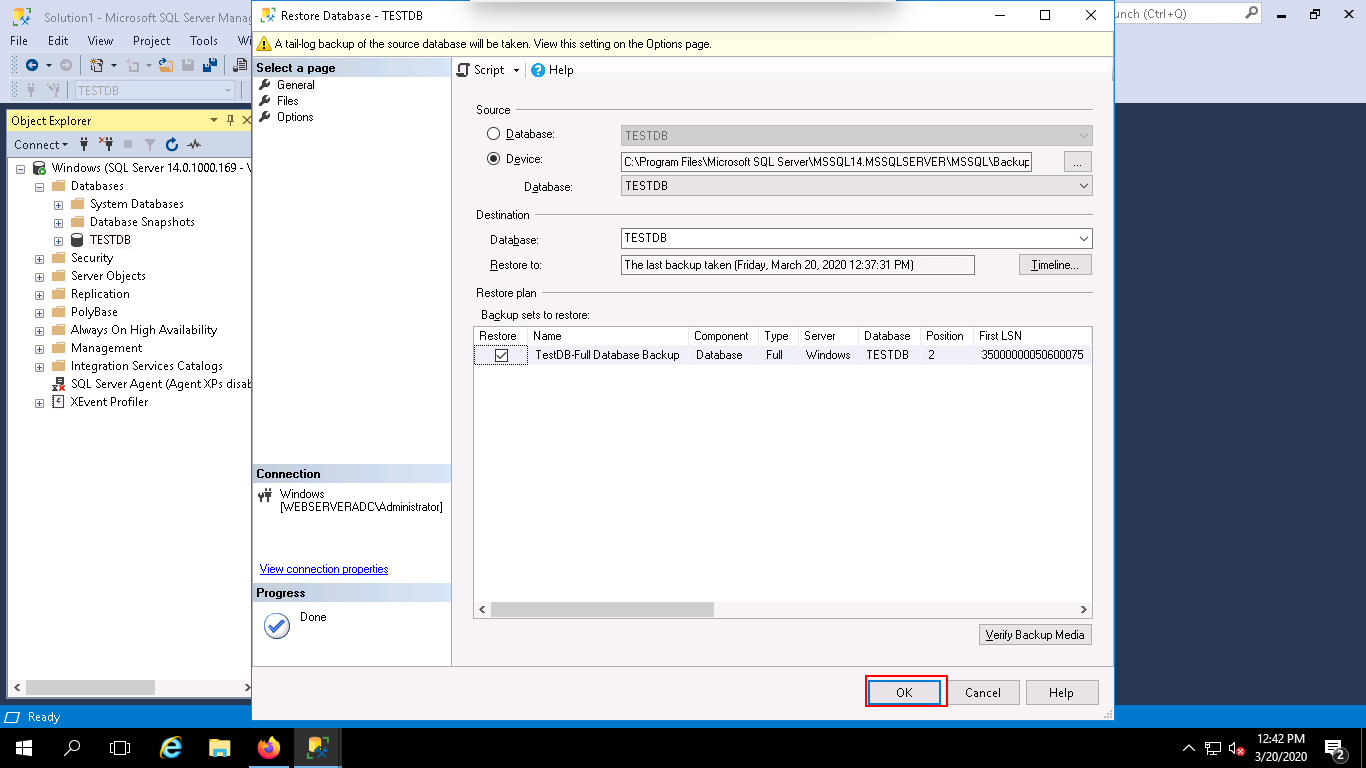
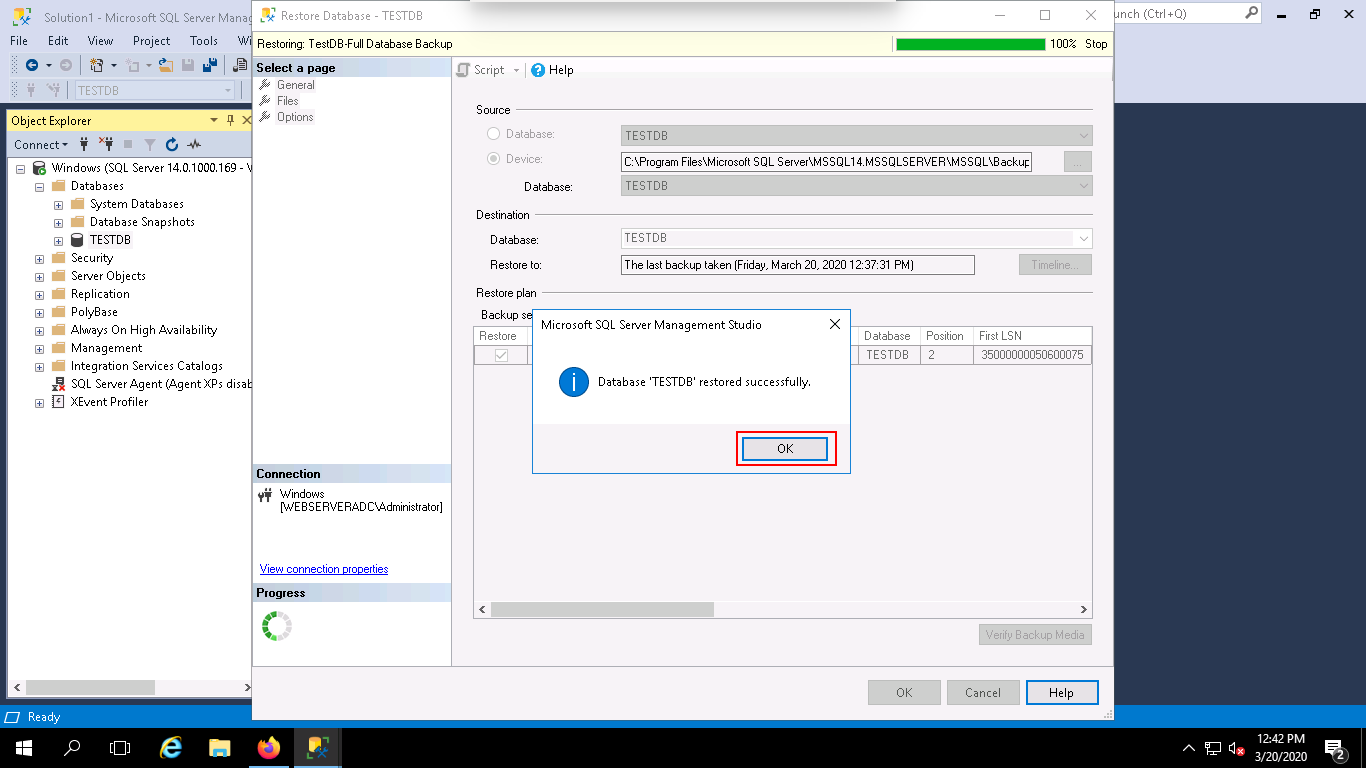
Step 7 – Next, click on the OK button to restore the backup of your database. Once the backup completed successfully, you should see the following page:
Conclusion
In this guide, you learned how to backup and restore the MSSQL database in Windows server 2016. I hope this will help you to recover data in case of data corruption issue.

