 Call us at 1-888-GTCOMM1


What should you understand to start?
In this tutorial, we will explain how hosts file works on your local computer, for users running Linux, Windows or MacOS and how to modify it.
The way how hosts file works is a very simple. The hosts file is simple and small, but very useful file located in your local computer that can be used to map hostnames to IP addresses. The information entered into the hosts file will by-pass the public DNS server response. It is very useful for developers to test their application, when the application can not resolve an IP via DNS or must resolve to a different IP than the public DNS IP. They don’t need to buy separate Domain to test the application. They just need to add a static entry in hosts file to allow the application to access with the hostname. Host file allows you to manually point a website address to a specific IP address. Using host file you can override DNS servers and control access to websites and network traffic.
Hosts file on Linux
You can modify the hosts file in Linux-based operating system with the following steps :
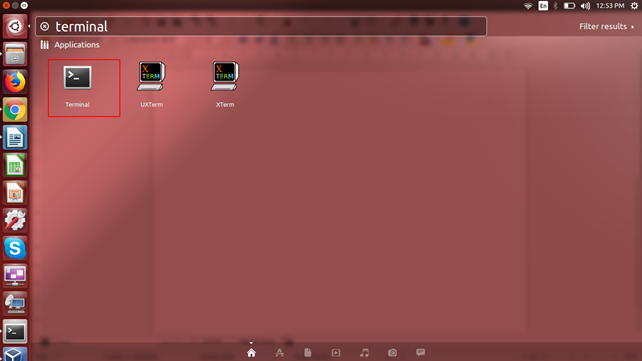
1. Open a new terminal window.
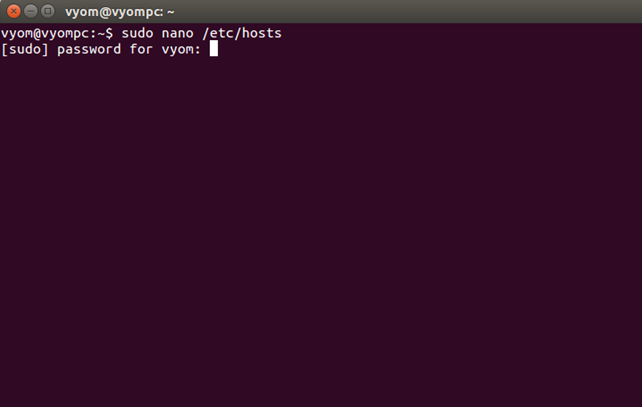
2. Use your favorite text editor to open the hosts file, located into /etc/hosts.
sudo nano /etc/hosts
3. Add your DNS entry into at the end of the hosts file. The syntaxe must be as following: IP address host1 host2.
192.168.0.100 yourdomain.com www.yourdomain.com
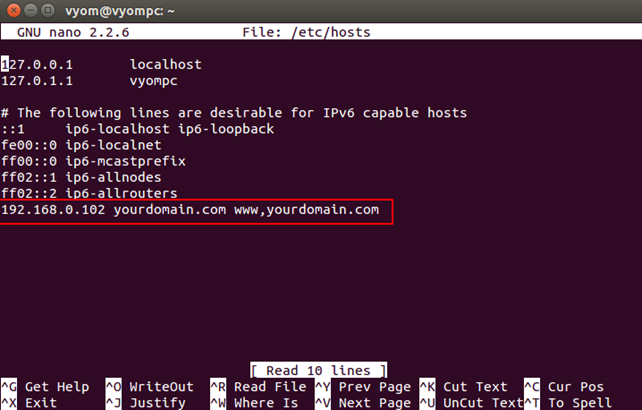
4. Save and close the file, when you are finished.
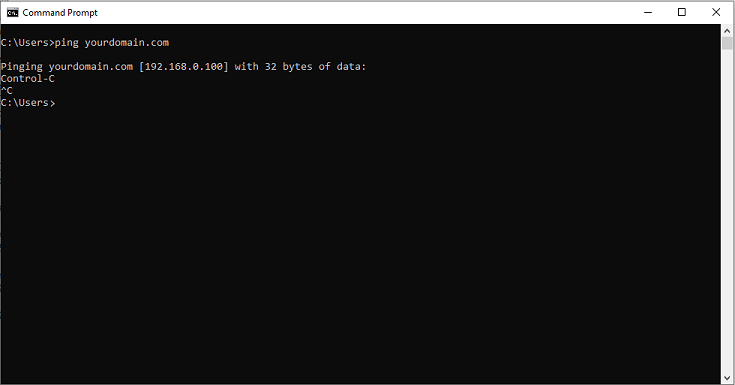
You can now test the name resolution with the following command:
ping yourdomain.com
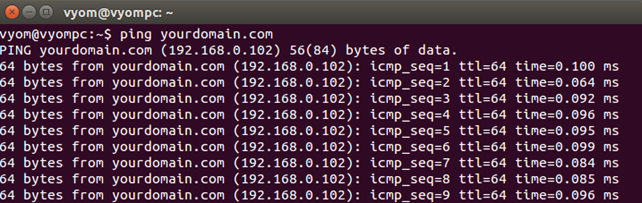
You can also test the name resolution with the web browser. Open your web browser and type the URL http://yourdomain.com. You will be redirected to the website hosted on the server with IP 192.168.0.100.
Modify Hosts File in Windows 10
You can modify the hosts file in Windows 10 operating system with the following steps:
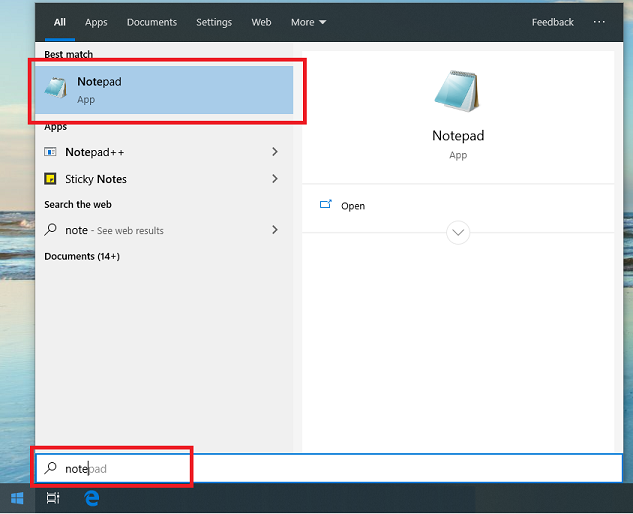
1. Press the windows key or click the “Start” button and then type “notepad” in the search bar.
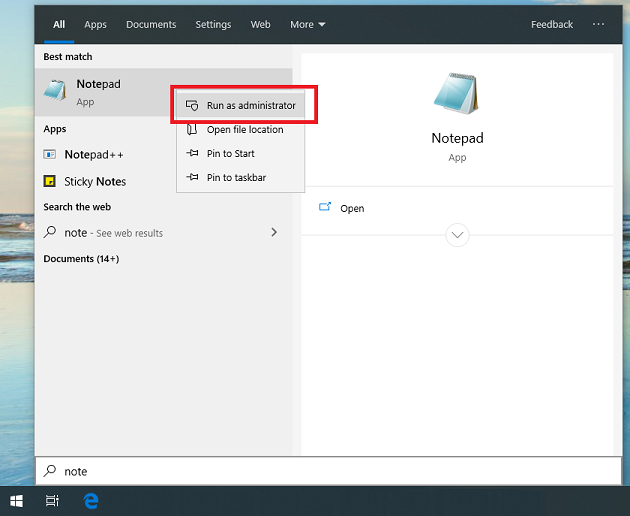
3. Right click on Notepad and select Run as administrator. This will open Notepad application with administrator rights.
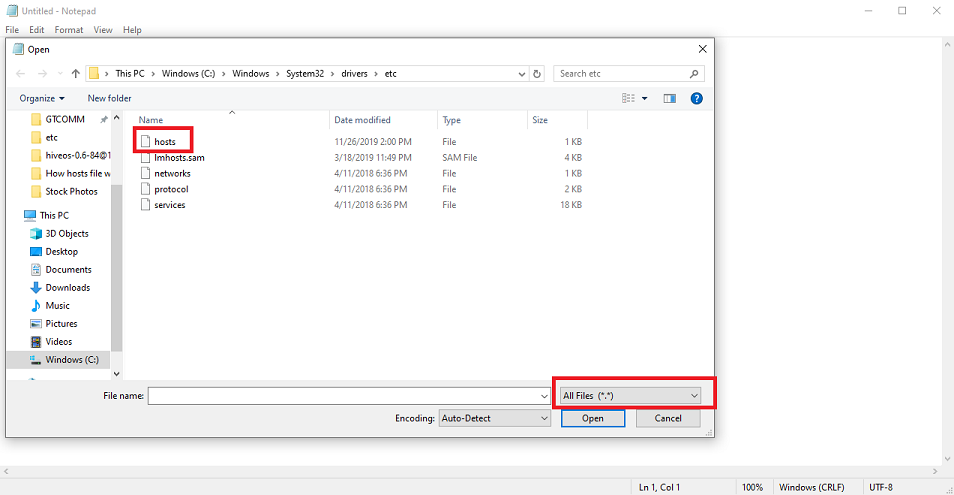
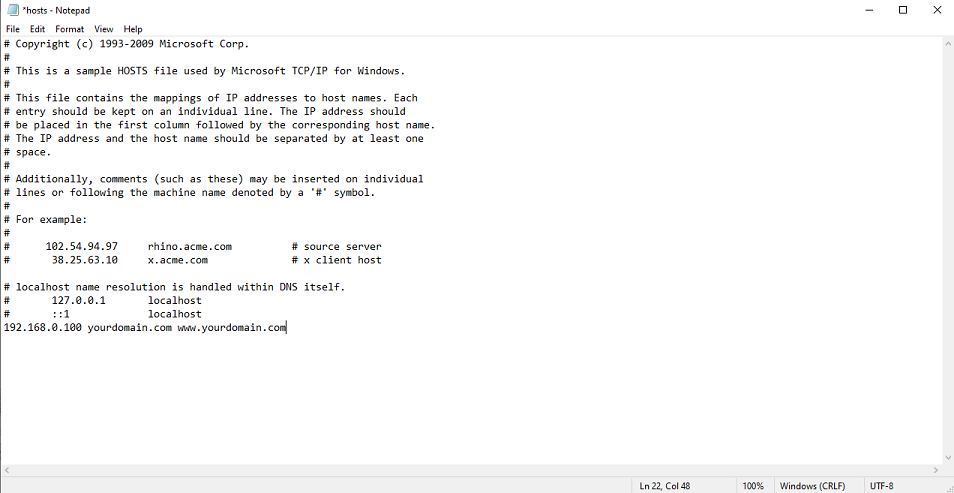
4. From Notepad, click on the File menu and then click Open. Browse into X:\Windows\System32\Drivers\etc\hosts, and then selection “All files (*.*). Then click on file named “hosts” and click Open.
5. Add your DNS entry into at the end of the hosts file. The syntaxe must be as following: IP address host1 host2
192.168.0.100 yourdomain.com www.yourdomain.com
6. Save and close the file.
7. Open yourdomain.com through the web browser. The host should now resolve the IP that been entered into the hosts file.
Modify Hosts File in MacOS
Into MacOS, you can create the hosts file using the following steps:
1. Open your terminal from Applications -> Utilities -> Terminal
2. Use your favorite text editor to open the hosts file, located into /private/etc/hosts:
sudo nano /private/etc/hosts
3. You will need to provide your user’s password. Then, add the following line at the end of the file:
192.168.0.100 yourdomain.com www.yourdomain.com
4. Save and close the file, when you are finished.
Open yourdomain.com through the web browser. The host should now resolve the IP that been entered into the hosts file.
Conclusion
I hope you have now enough knowledge to setup hosts file for name resolution. You can now test your website without purchasing domain name using the hosts file.

