 Call us at 1-888-GTCOMM1


How to Create a Package in WHM
WHM stands for Web Host Manager, which is a program designed for administrative access and management of the back end of an interface solution called cPanel. WHM provides the administrator with more control, more flexibility, and the ability to create or manage different cPanel instances. WHM provides users with a variety of tools that make administration more comfortable, which includes building or deleting cPanel accounts, managing sites, monitoring sites, configuring support requests, customization of the control panel and hosting solutions, and much more. Users should explore this solution when they need flexibility, more creative management solutions, and when they’re managing multiple sites.
Getting Started
To get started creating a package, you will need to have cPanel already setup. The goal of cPanel packages is to create an account with pre-selected settings and resources, which helps to speed up account creation without having to change settings each time a new account is created. Additionally, you will need to have a Linux-based hosting solution employed, since cPanel and the accompanying solutions are not designed for use on Windows instances.
If you’re unfamiliar with cPanel, it is an online web hosting control panel that is Linux-based, allowing the user to have a graphical interface, automation tools, and simplified management for web hosting options. The graphic user interface, often abbreviated GUI, provides a graphic and straightforward management console, similar to the point and click style of Windows systems. However, an interface like cPanel only works for Linux-based hosting solutions.
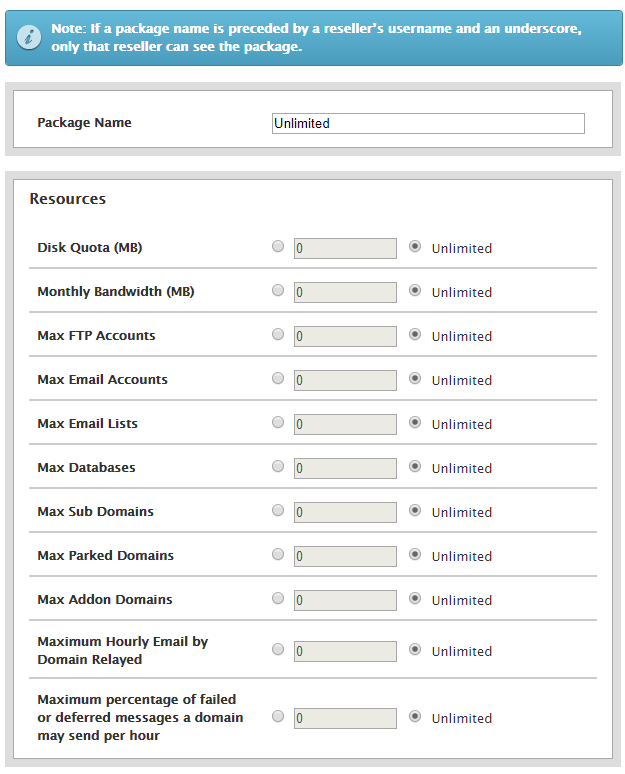
During this tutorial, a package named “unlimited” with the default resources was created, with a change to the Max Parked Domains and the Max Addon Domains; each of these options has been changed to unlimited.
Remember that many of the functions that exist in cPanel or the web hosting manager can require a more advanced understanding of the solution, and this means that the solution should be used on fresh installations that do not have a large amount of pre-existing configuration. Make sure to examine the needs of your server hosting solution before making your choice.
Creating packages in Web Hosting Manager
The first step in creating a package is logging into your WHM instance at the following address:

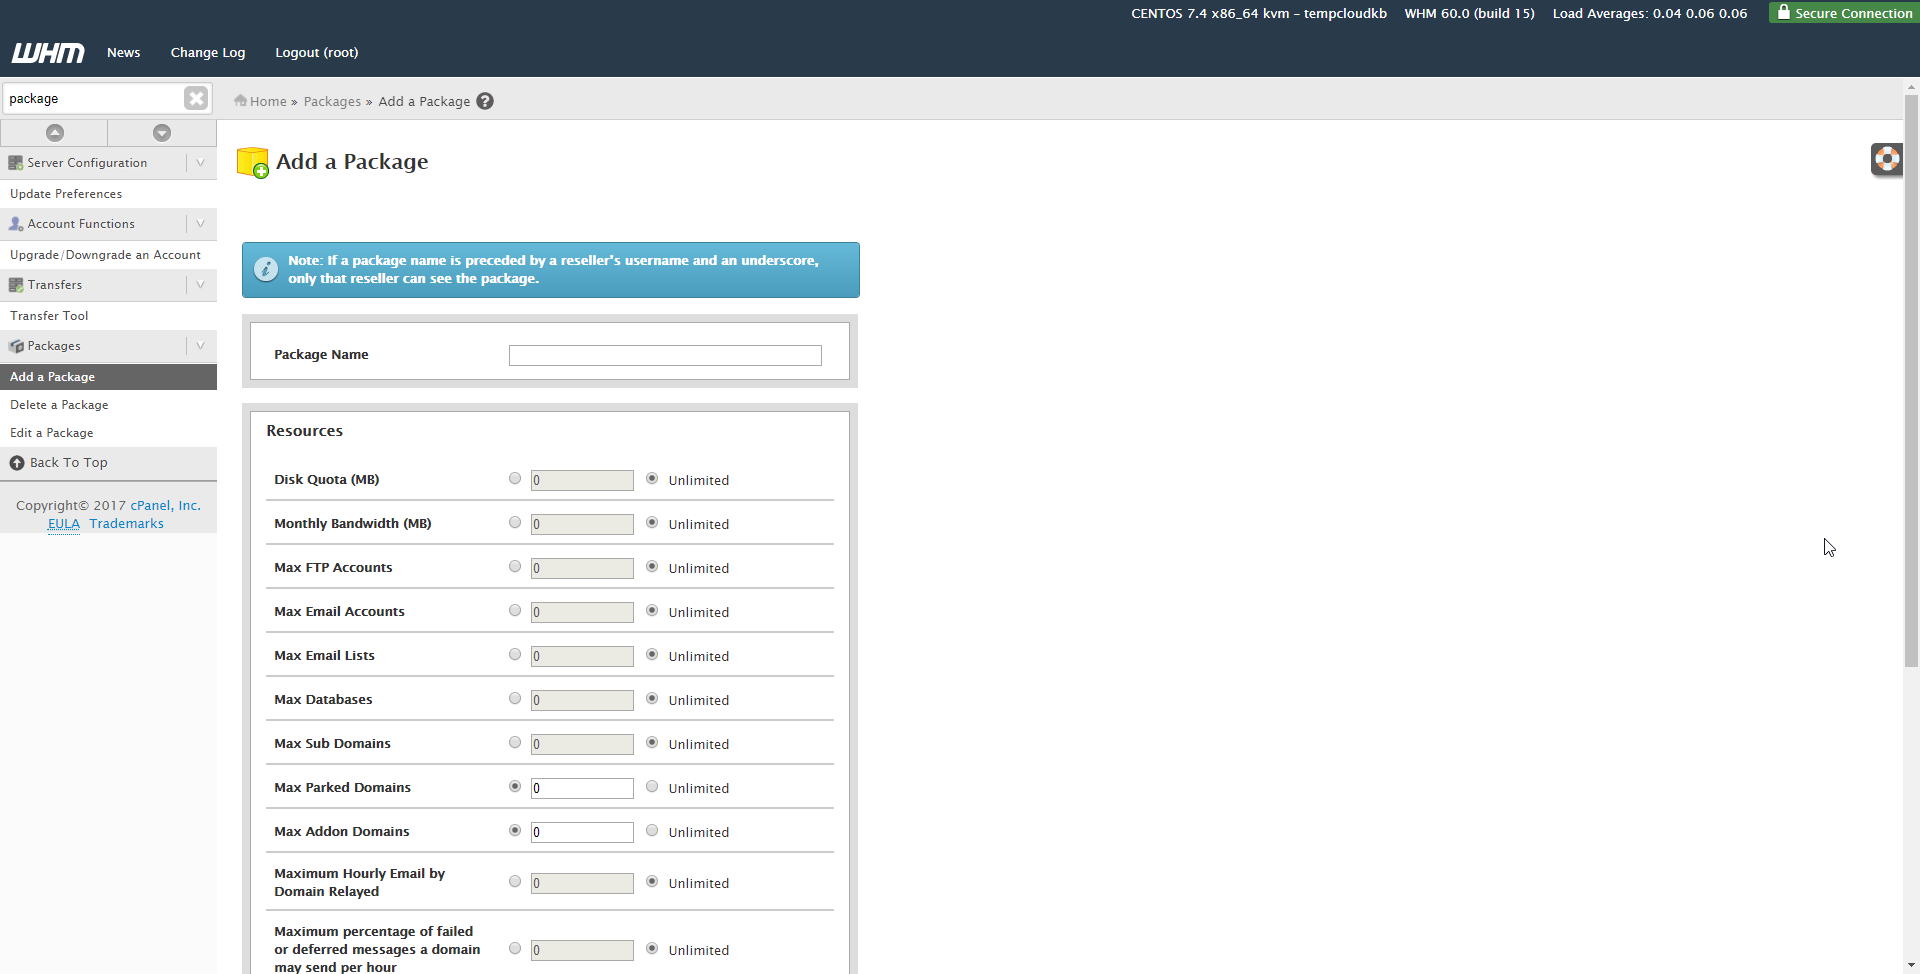
Once you’ve logged in, you can search at the top left search box for “package,” clicking on the option to “add a package” when you locate it:
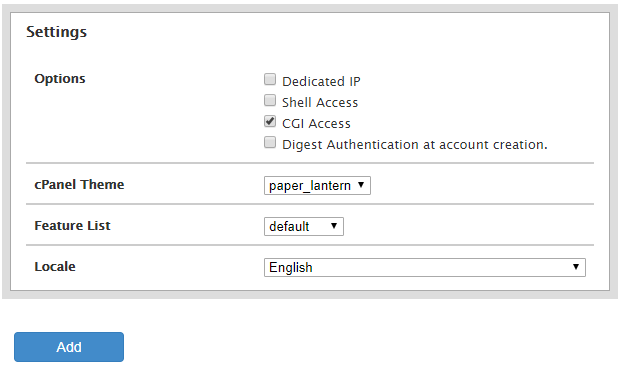
When selected, you can change the package’s name and the preferred resources and options for this creation, clicking “add” when complete:
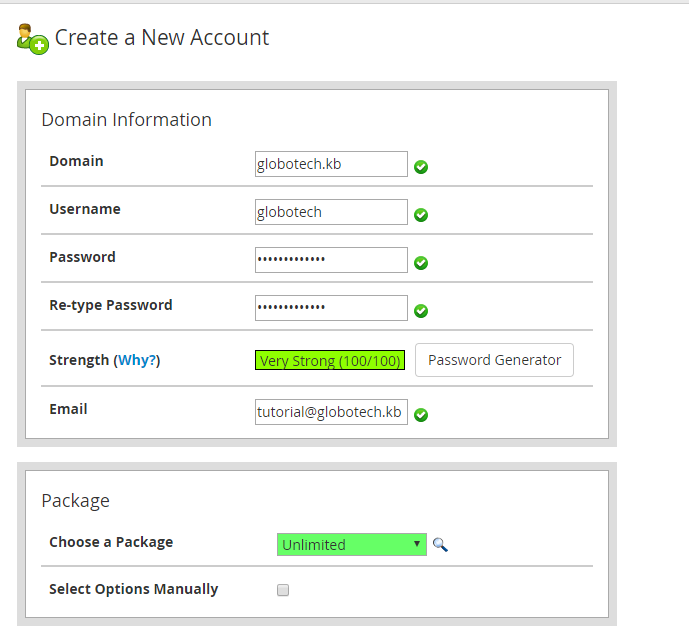
After your new package’s options have been selected and added, you can create new accounts using them:
Conclusion
Congratulations, you’ve successfully created a new package in WHM, giving you the ability to create new accounts with selected resources and options quickly. Make sure to remember the name you’ve assigned and you can always log back in and make changes to the preferred resources and options you selected. If you found this tutorial helpful, please share it with other users that are setting up packages in Web Hosting Manager.

