 Call us at 1-888-GTCOMM1
-

- Dedicated Hosting
- Cloud hosting
- Services
- Support
- Learning Center
- Referral Program
- Français
-
Why globotech
- Log in
Vesta control panel (often abbreviated as VestaCP) is an open source hosting control panel, allowing the user to manage websites, create email accounts, manage email accounts, manage FTP accounts, and more. During this guide, we will install VestaCP on Debian 9, which is a freely provided operating system designed to be similar to Unix systems and is a popular system used with cloud and dedicated server instances.
To get started installing VestaCP on Debian 9, you will need a node running Debian 9; you can choose to use a cloud server or dedicated server to host your node. Your node should be running the most up-to-date version of Debian 9.
Now that you’ve selected your cloud or dedicated server, you’ve verified your node is running Debian 9, and you’ve confirmed Debian 9 is running the current software version, you’re ready to begin.
The first step is getting a Debian 9 minimal install on a virtual private server (VPS) or dedicated server.
Then it’s time to run the update for Debian 9 and reboot your node:
apt update && apt upgrade -y && reboot
Once the update is complete, you can download the VestaCP installation script:
curl -O http://vestacp.com/pub/vst-install.sh
After downloading the installation script, you can run it on your node:
bash vst-install.sh
If you need to customize your VestaCP installation, you can do so at https://vestacp.com/install/.
While running the installation script, you will be prompted to fill in the following questions with the appropriate answer:
Would you like to continue [y/n]: y
Please enter admin email address: your_email@email.com
Please enter FQDN hostname [vestacp]: server.example.com
The installation of VestaCP may take up to 15 minutes to complete.
Once the installation script completes, you may receive the following notification:
root is not in the sudoers file. This incident will be reported.

=======================================================

_| _| _|_|_|_| _|_|_| _|_|_|_|_| _|_|

_| _| _| _| _| _| _|

_| _| _|_|_| _|_| _| _|_|_|_|

_| _| _| _| _| _| _|

_| _|_|_|_| _|_|_| _| _| _|
You’ve completed the installation of VestaCP. You will receive a prompt with the username, password, and host once complete.
https://********:8083

username: admin

password: *******
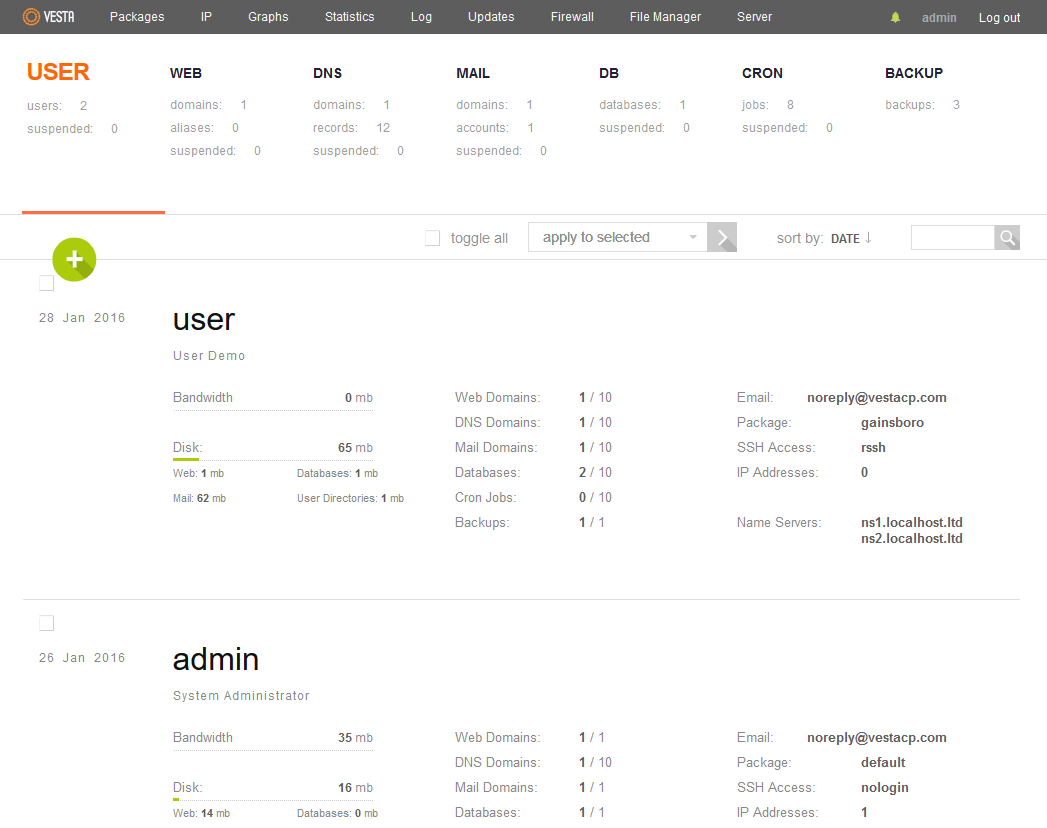
You can now sign into your control panel and begin utilizing your VestaCP installation.
Congratulations on completing your install of Vesta CP on Debian 9, you’re now ready to begin managing websites, email accounts, FTP accounts and more. If you found the use of this guide helpful in setting up your new control panel, please share it with other users engaging in the same setup process.
MongoDB is a free, open-source document-oriented database, which is classified as a NoSQL database; NoSQL databases are not relational databases but are based on other data storage and retrieval means. Unlike other database programs, such as MySQL and MariaDB, MongoDB is based on JSON-like documents that are flexible, which means fields in different documents can vary and the data structure can change over time. MongoDB also provides users with high availability, smooth scaling, and simple geographic distribution, making it an efficiently utilized solution.

MongoDB was released in February of 2009 and is made available for free use while offering commercial support and other services to consumers.
To install MongoDB on Debian 9, sometimes called Debian Stretch, you will need one node that is running the Linux Debian 9 operating system; the node you choose may be a cloud server node or dedicated server node. The operating system needs to be up to date, and you will need root access to your server.
Root access normally requires a root username and root password, and this allows you to execute commands with higher levels of authority than a standard user would have access to execute.
The first thing to remember is that each command executed below is executed with root user access.
First, it’s essential to update the server before attempting to install MongoDB:
apt-get update && apt-get upgrade -y
When the server is finishing updating, it’s time to install MongoDB:
apt-get install mongodb
Once MongoDB is installed, you will need to start and stop MongoDB, verifying that it functions correctly:
systemctl start mongodb

systemctl stop mongodb
Now you can check your MongoDB version, making sure it’s the proper version or the version you were expecting:
mongod --version
db version v3.2.11

git version: 009580ad490190ba33d1c6253ebd8d91808923e4

OpenSSL version: OpenSSL 1.0.2l  25 May 2017

allocator: tcmalloc

modules: none

build environment:

distarch: x86_64

target_arch: x86_64
After completing the installation and verifying the MongoDB version, it’s time to test MongoDB, making sure it functions as anticipated on your server:
mongo
MongoDB shell version: 3.2.11
connecting to: test
> help
db.help() help on db methods
db.mycoll.help() help on collection methods
sh.help() sharding helpers
rs.help() replica set helpers
help admin administrative help
help connect connecting to a db help
help keys key shortcuts
help misc misc things to know
help mr mapreduce
show dbs show database names
show collections show collections in current database
show users show users in current database
show profile show most recent system.profile entries with time >= 1ms
show logs show the accessible logger names
show log [name] prints out the last segment of log in memory, 'global' is default
use
db.foo.find() list objects in collection foo
db.foo.find( { a : 1 } ) list objects in foo where a == 1
it result of the last line evaluated; use to further iterate
DBQuery.shellBatchSize = x set default number of items to display on shell
exit quit the mongo shell
> exit
bye
Congratulations, you’ve completed installing MongoDB on Linux Debian 9, and it’s time to move your server into production. If you found this guide helpful, please share it with other users that are interested in setting up the same document-oriented database system.
Varnish Cache is an often used but not commonly known accelerator designed specifically for use with Hypertext Transfer Protocol, known by the abbreviation HTTP. As an HTTP accelerator, Varnish Cache works by taking information or data, storing it in a virtual memory cache, and then allowing the operating system to decide if information needs to be moved to more traditional storage. This alleviates the condition where the operating system continues to try and store tons of data on the disk itself. In practical use, Varnish Cache helps load web pages quicker when requested by a user.

Varnish Cache is open-source, meaning the software belongs to a family of free software licenses, allowing use and distribution with minimal restriction.
To install and configure Varnish Cache, a node with an updated Linux Debian 9 installation is required. Debian 9, sometimes called Debian Stretch, is a specific Linux-based operating system we’re using for this installation. Additionally, the node you choose may be cloud-based, or it can be hosted on a dedicated server.
Now that you’re chosen your node and have confirmed your node has Linux Debian 9 installed, we can setup Varnish Cache and Apache.
Installing Apache
Before we can install and configure Varnish Cache, we need to install Apache on your node. The first step in that process is updating the Apache package and the operating system:
apt update

apt upgrade
After the package is downloaded and the operating system is updated, install Apache 2.4:
apt -y install apache2
When the installation completes, it’s time to start and enable the Apache service:
systemctl enable apache2 && systemctl start apache2
If you have UFW enabled, you can utilize the commands below. If you do not have UFW enabled, skip the commands below:
ufw allow 80/tcp

ufw allow 443/tcp

ufw reload
Installing and Configuring Varnish Cache
With the Apache installation complete, it’s time to move onto Varnish Cache.
The first step is to download the GPG key and then add it:
curl -L https://packagecloud.io/varnishcache/varnish5/gpgkey | sudo apt-key add -
Next, the package repository requirements need to be installed:
apt install -y debian-archive-keyring apt-transport-https
Once complete, the repository needs to be added to the source list:
echo "deb https://packagecloud.io/varnishcache/varnish5/debian/ stretch main" > /etc/apt/sources.list.d/varnishcache5.list
The package manager will also need to be updated so that the new repository can be added:
apt update
Now that the repository has been installed and the necessary components are updated, Varnish Cache may be installed:
apt install -y varnish
With any installation, once complete, it’s important to check that the installed version matches what you anticipated. Check that Varnish Cache is installed and the proper version was installed:
varnishd -V
After confirming your installation, we can configure Varnish Cache to listen to port 80 by editing the following file, replacing port 6081 by port 80:
nano /lib/systemd/system/varnish.service
From:
ExecStart=/usr/sbin/varnishd -a :6081 -T localhost:6082 -f /etc/varnish/default.vcl -S /etc/varnish/secret -s malloc,256m
To:
ExecStart=/usr/sbin/varnishd -a :80 -T localhost:6082 -f /etc/varnish/default.vcl -S /etc/varnish/secret -s malloc,256m
Once the file has been edited, we need to reload the system daemon to update the file:
systemctl daemon-reload
When the reload is complete, the default configuration needs to be modified, telling the system where to redirect the received Varnish Cache requests:
nano /etc/varnish/default.vcl
backend default {

.host = "127.0.0.1";

.port = "8080";

}
Apache 2.4 will also need a slight modification, enabling it to listen on port 8080 instead of port 80:
nano /etc/apache2/ports.conf
Listen 8080
nano /etc/apache2/sites-enabled/000-default.conf
<VirtualHost *:8080>
Once the modification has been made, restart Apache 2.4 and Varnish Cache. When the restart completes, enable Varnish Cache:
systemctl restart apache2

systemctl restart varnish

systemctl enable varnish
Now it’s time to test Varnish Cache and Apache 2.4, ensuring both are functioning as expected:
curl -I http://127.0.0.1
HTTP/1.1 200 OK

Server: Apache/2.4.25 (Debian)

Vary: Accept-Encoding

Content-Type: text/html

X-Varnish: 2

Age: 0

Via: 1.1 varnish (Varnish/5.1)

ETag: W/"29cd-55771150d08a7-gzip"

Accept-Ranges: bytes

Connection: keep-alive
If necessary, the Varnish Cache stats can be checked using the following command:
varnishstat
Congratulations, you’ve successfully installed Apache 2.4 and the installed and configured Varnish Cache on your Linux Debian 9 node. This installation allows you to streamline your web page distribution, allowing users to access information quicker and more efficiently than before. If you found this guide helpful during your setup, or if you know of anyone else attempting the same installation, please share this with them.
Debian is an operating system similar to Unix-based systems, which is open source and maintained by multiple active users. However, when major changes are made to the source code and a new, stable release comes out, it’s provided a codename. The previous stable release, Debian 8, was named Jessie, while the newest stable release of Debian 9 is named Stretch. Each major update typically provides new package availability, changes to software, and other necessary updates. Additionally, Debian receives stable updates every two years, and each stable release typically receives support for three years.

Before we can proceed with upgrading to Debian 9, Stretch, the current stable release, you will need a node hosting a Linux Debian 8, Jessie, instance. The node you choose should be hosted on a cloud server or dedicated server, whichever you prefer.
Before proceeding with the installation, there’s one major change from Debian 8 to Debian 9. In Debian 9, MariaDB is replacing MySQL, which was the default. With this new release, MariaDB is now the default SQL-based system, and previously existing instances of MySQL will be replaced by the equivalent MariaDB instance.
Additionally, when the upgrade is complete, you will need to confirm the functionality of any third party applications. Changes to a release can render some services non-functional due to compatibility issues.
The first step in this update is to make sure your system is making sure your current node is completely upgraded, any relevant and necessary updates installed, and then freshly rebooted:
apt-get update

apt-get upgrade

apt-get dist-upgrade
Before continuing, it’s vital that an update of your Debian 8 machine or virtual machine is created. Once the upgrade has completed, it will not be possible to revert from Debian 9 to Debian 8.
After creating your backup, check the database for consistency, making sure there is no hold on the system package. A packaged hold cannot be upgraded, which will lead to system instability or a failure to boot:
dpkg -C

apt-mark showhold
Once confirming the system package is available, the package repository should be backed up and then updated:
cp /etc/apt/sources.list /etc/apt/sources.list_backup
Now let’s update your package repository from the previous stable release to the newest stable release:
sed -i 's/jessie/stretch/g' /etc/apt/sources.list
After pulling the newest stable release repository, it’s time to update your existing package with the new release repository:
apt-get update
It’s time to run your upgrade. When you run this upgrade, the system will prompt you, asking if you would like to restart the service automatically:
apt-get upgrade

apt-get dist-upgrade
Once complete, it’s time to reboot your system:
reboot
Onto your last step! Access your system information and confirm that the most recent, stable release is installed:
cat /etc/*release
Congratulations! You’ve successfully updated your cloud server or dedicated server node to the recent, stable Debian release, Debian 9. During this process, you’ve updated packages, made a backup just in case, and replaced your previous stable release, Jessie, with Stretch. If you found this guide helpful, please share it with other users working through the same process.
Debian 9 is the latest stable release in the Debian operating system line, which is an open source project based on Unix systems. The current release, given the codename Stretch, has several changes that impact user functionality and third-party application compatibility. Each major Debian release provides new packages, software updates, and comes with three years of support for the release; stable releases, such as Stretch, are released every two years.

However, one major change from the previous Debian 8 release is the change from MySQL to MariaDB. With the new release, the previous instances of MySQL are being replaced by the equivalent instance of MariaDB. This guide will help you install MySQL 5.7 on a node running the Debian Stretch operating system.
To get started with installing the MySQL packages on Stretch, you need to have a cloud server or dedicated server node, whichever you prefer, with an current instance of Debian Stretch installed.
Mentioned earlier, one of the biggest changes from the previous stable release to this release was the replacement of MySQL with MariaDB; MySQL was the default. However, it’s possible to install MySQL as the default database, replacing MariaDB, with an official MySQL repository.
During this process, having root user access, sometimes called privileged access, may be necessary to complete the setup. You will be prompted to create a MySQL root password during installation as well.
The first step in installing the official MySQL instance is to go to MySQL’s website, find the correct .deb package, and download the .deb package.
Now that the .deb package is downloaded, you will need to download it to your Debian server, following the below example:
wget https://dev.mysql.com/get/mysql-apt-config_0.8.8-1_all.deb
Once downloaded to your server, check the .deb package name, then install it with dpkg:
ls mysql-apt-config_0.8.8-1_all.deb
Follow the steps to complete the download of your .deb package:
dpkg -i mysql-apt-config_0.8.8-1_all.deb
During the installation, you will be prompted to select options for your install. Make sure to leave the default options in place, then click “OK”
After the installation is complete, now you can update the package list:
apt update
When the above steps have completed, you are now ready to proceed with installing MySQL, both the server and the client. You will also receive a prompt, during setup, to create a MySQL root user password:
apt install mysql-server mysql-client
Once the installation of the MySQL server and MySQL client have completed, you need to enable the MySQL instance on your server, then start MySQL:
systemctl enable mysql && systemctl start mysql
Securing your MySQL installation is essential, so run the below script, leaving the default settings alone, to secure your MySQL server and client:
mysql_secure_install
Congratulations! You’ve completed an install of MySQL 5.7 on your Debian 9 cloud server or dedicated server node. While installing this official MySQL instance, you’ve replaced the existing MariaDB instance; this makes MySQL the default database software. If you had success using this guide to update your current Debian release with the MySQL instance, please share it with others going through the same process.
If you’ve administered a Linux server, you’ve almost certainly used the program top to monitor system processes. Unfortunately, top is a bit lacking in the user friendliness department.
There’s an excellent alternative available called htop which provides much more information about the processes that are running on your system. Whereas top only shows the processes consuming the most resources, htop is much more verbose, displaying every process currently running. It’s also easier to navigate and view the information provided with both horizontal and vertical scrolling included. Finally, it has a much more pleasant color scheme than the original top program.
To complete this guide, you will need the following:
• 1 Node (Cloud Server or Dedicated Server) running Ubuntu, Debian or CentOS.
• All commands should be run as the root user
Installing htop on CentOS 6/7 requires that you add the Epel repository to your system.
yum install epel-release -y
Now you can run the following command to download and install htop.
yum install htop -y
On Debian and Ubuntu, htop is included in the default repos, and so installing htop requires just one step.
apt-get install htop
Once you have htop installed, you can run it with the following command:
htop
htop will run in a fullscreen ncurses window. There are three separate sections, each with a different category of information.
The top of the window displays information about the current system status, such as the system uptime; current CPU, memory and swap utilization; and the number of tasks that are active.
The bottom of the window shows various commands that you can access using the function keys. You can use these commands to look up help, to filter htop results, and more.
The middle of the window shows the currently running processes. You can switch from the default view to a handy tree view by pressing the ‘t’ key. If you’d like to change the sorting, simply press F6. You will then be presented with a number of values by which you can reorder the list of processes. A common one is CPU%, which will sort the processes by what percentage of the CPU they are using. You can also sort by USER, MEM% and TIME%, among other options.
It’s essential to be able to quickly see what processes are taking up memory. With htop, you have an easy way to quickly view a variety of different kinds of information on running processes and your system as a whole. Experiment to see how you can tweak htop to suit your personal needs. If this guide was helpful to you, kindly share it with others who may also be interested.